Kitchen methods: kits first, then bags
Reusable steps for ready-to-fruit gourmet kits — and when to level up to grow bags after one successful harvest. Edible kitchen growing only.
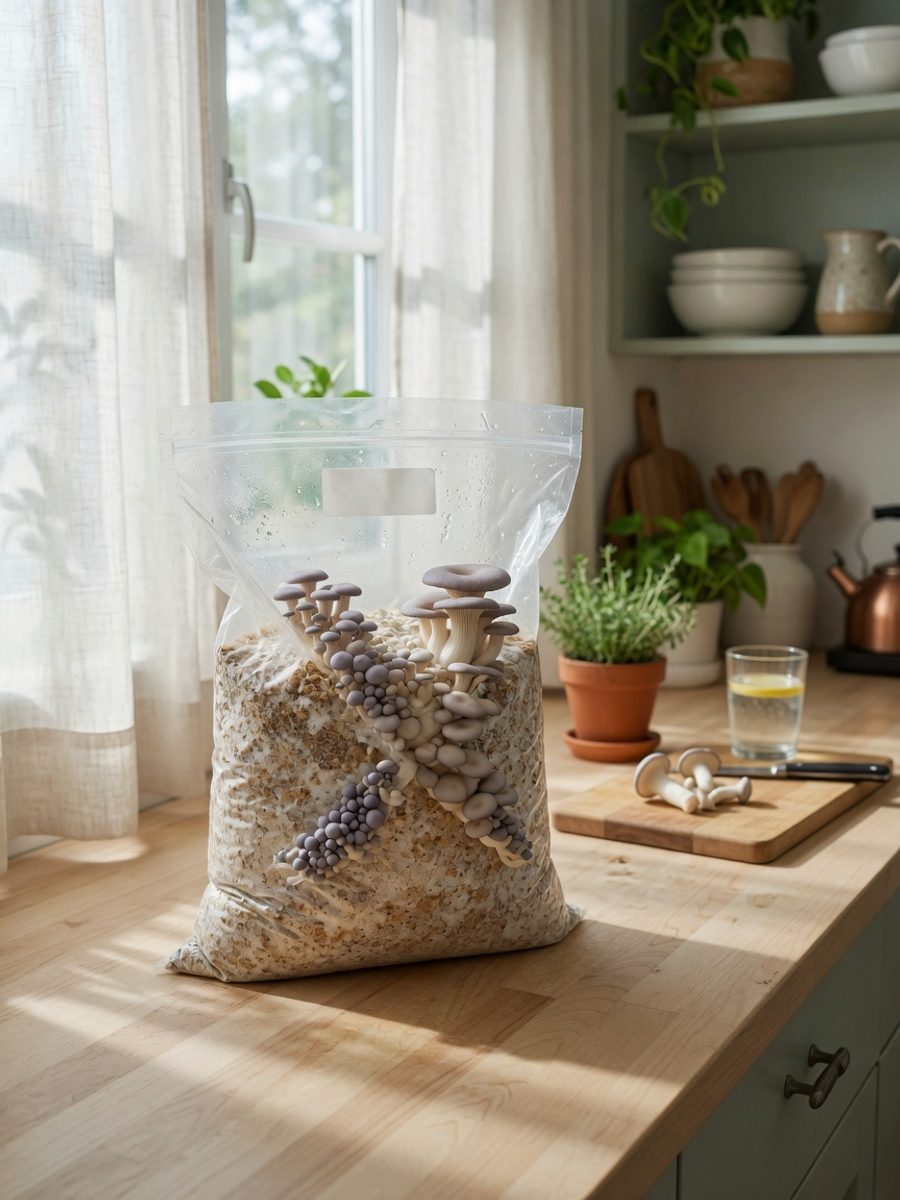
Choose your path
Default path
I have a grow kit
The reusable manual for ready-to-fruit blocks — open, mist, pins, harvest, second flush. Kitchen-scale, not a lab.
- Step checklist you can re-open anytime
- Light, humidity, and air — minimum conditions
After first harvest
I want grow bags
Level up only after a successful kit. Bags mean more control — and more contamination surface. We write the upgrade path honestly.
- When to leave kits (if-then)
- Bag roles & contamination risks
Launch manuals
The guides you will reopen
Kit first, then bags when you are ready — plus the conditions that make pins show up.
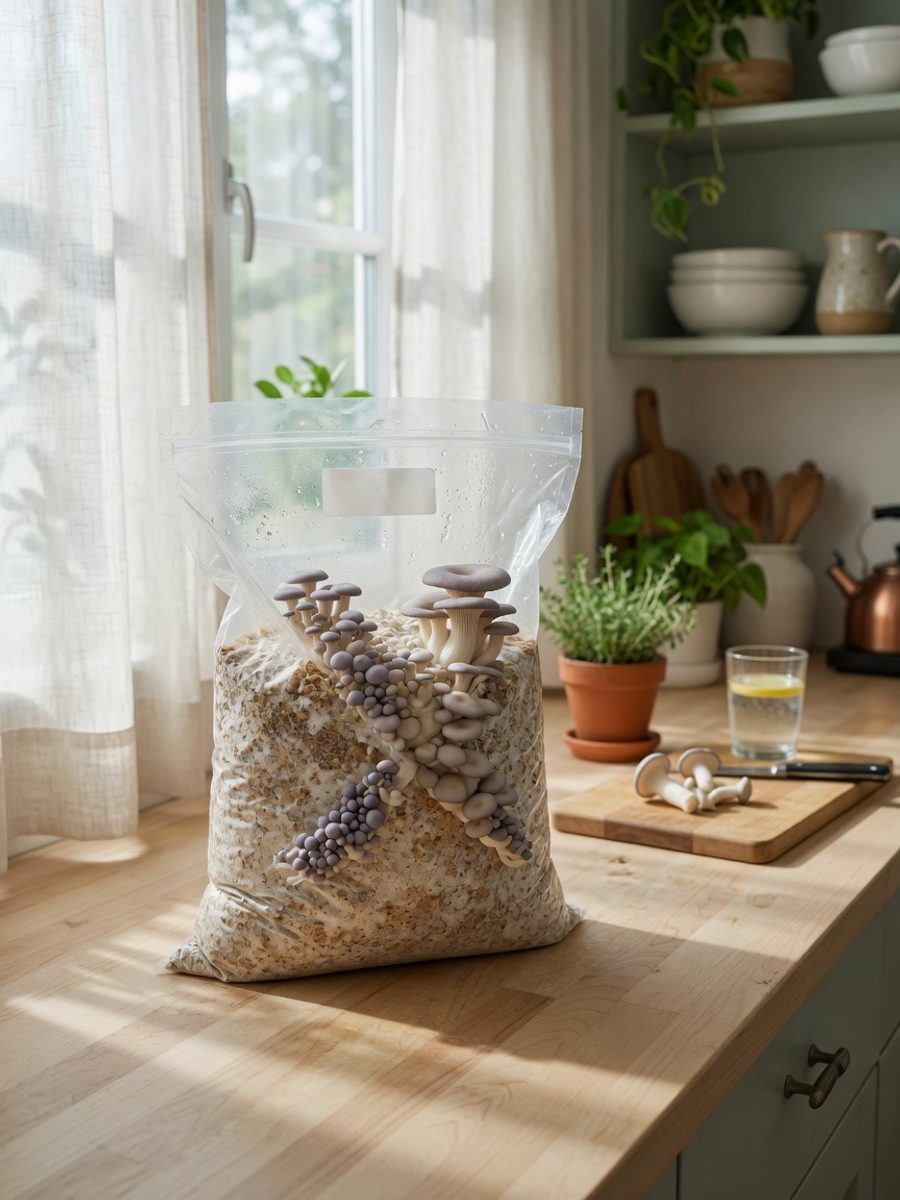 Default path
 How grow kits work
Reusable kit manual — open, mist, pins, harvest, second flush. Kitchen-scale, not a lab.
Open manual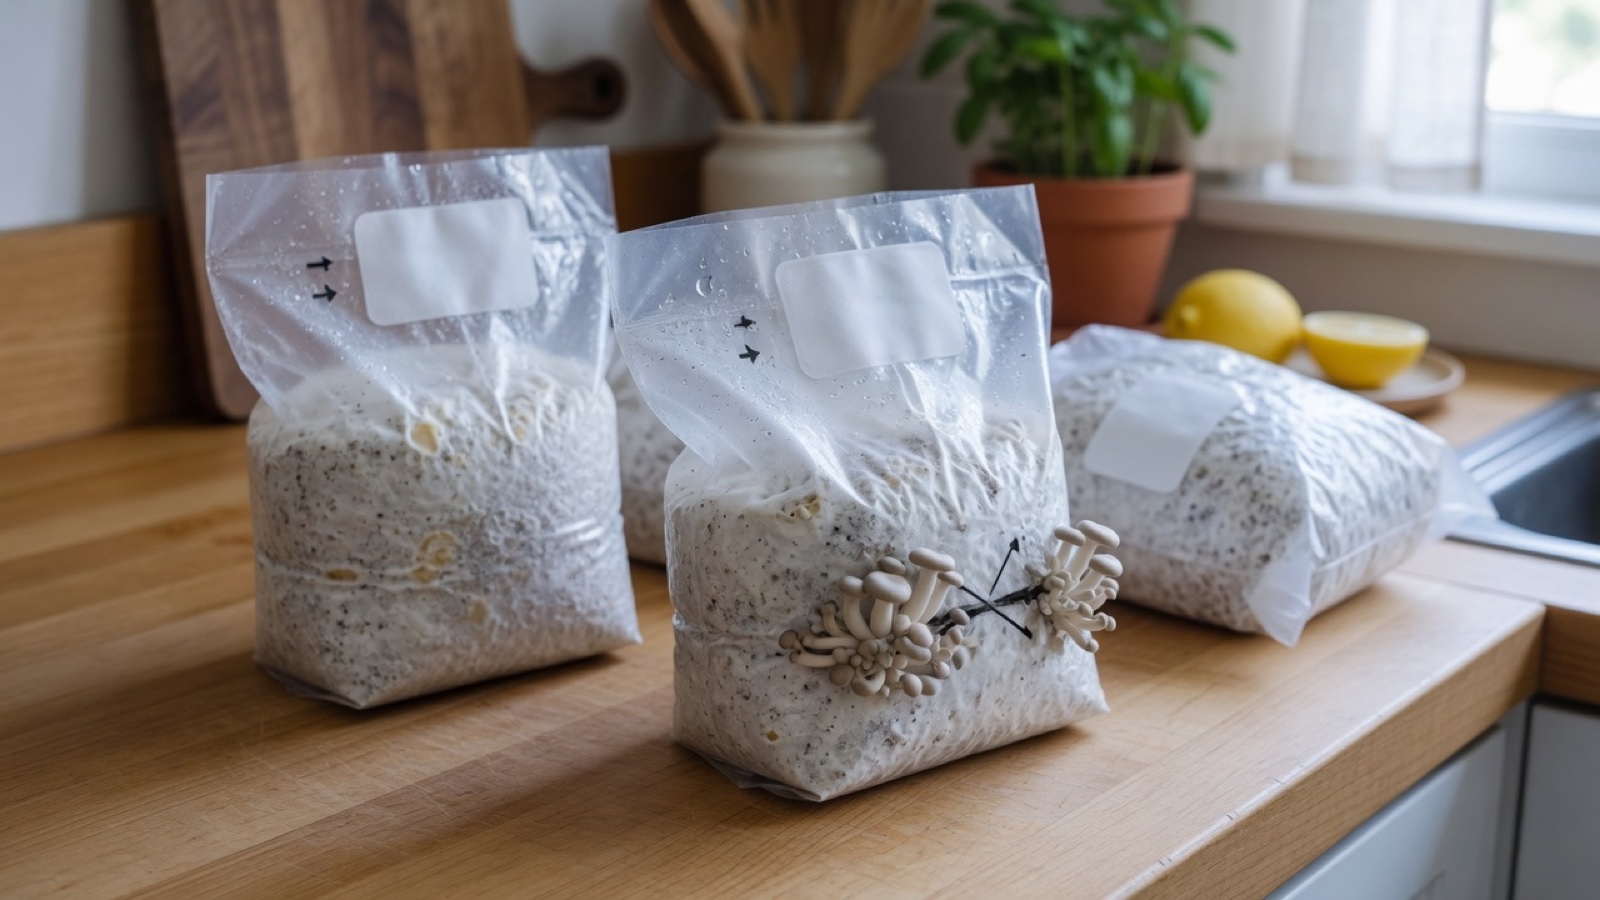 After first harvest
 Grow bags after your first kit
Honest upgrade path: more yield potential, more contamination risk. Start only after one kit success.
Open manual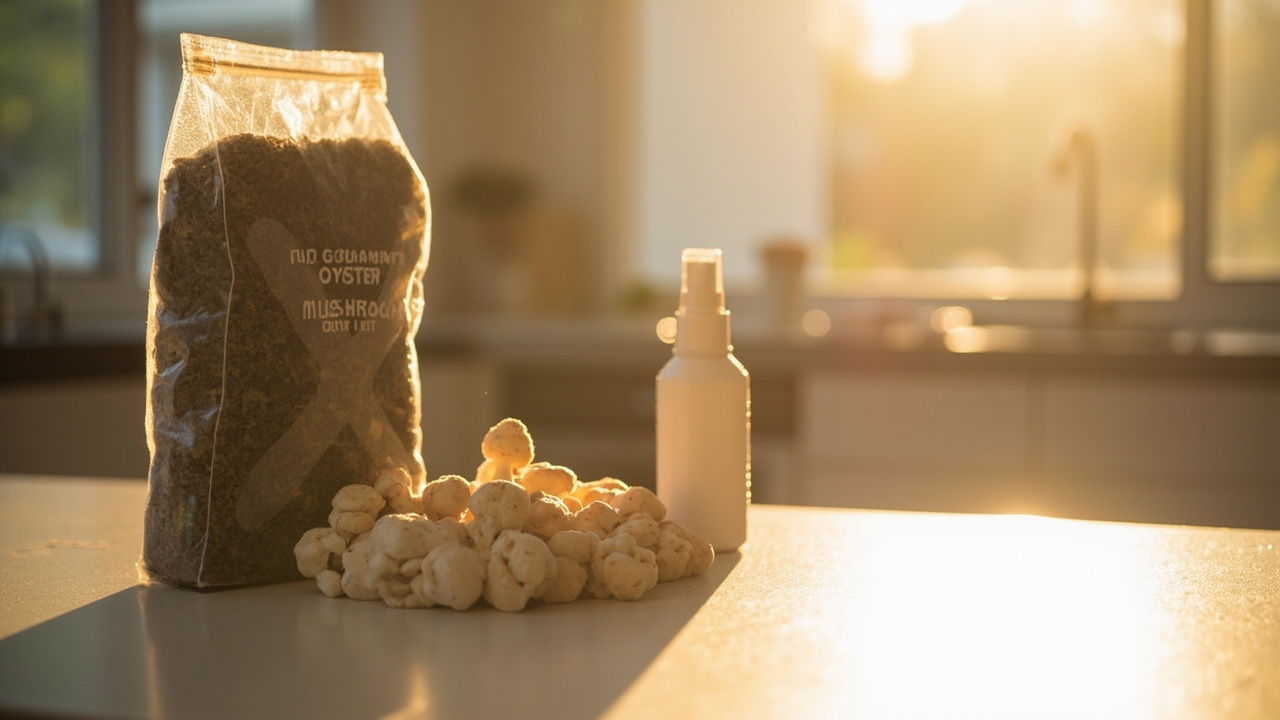 Conditions
 Fruiting conditions
Light, humidity, and air for kitchen gourmet kits — the three things that actually matter.
Open manualThe kit lifecycle
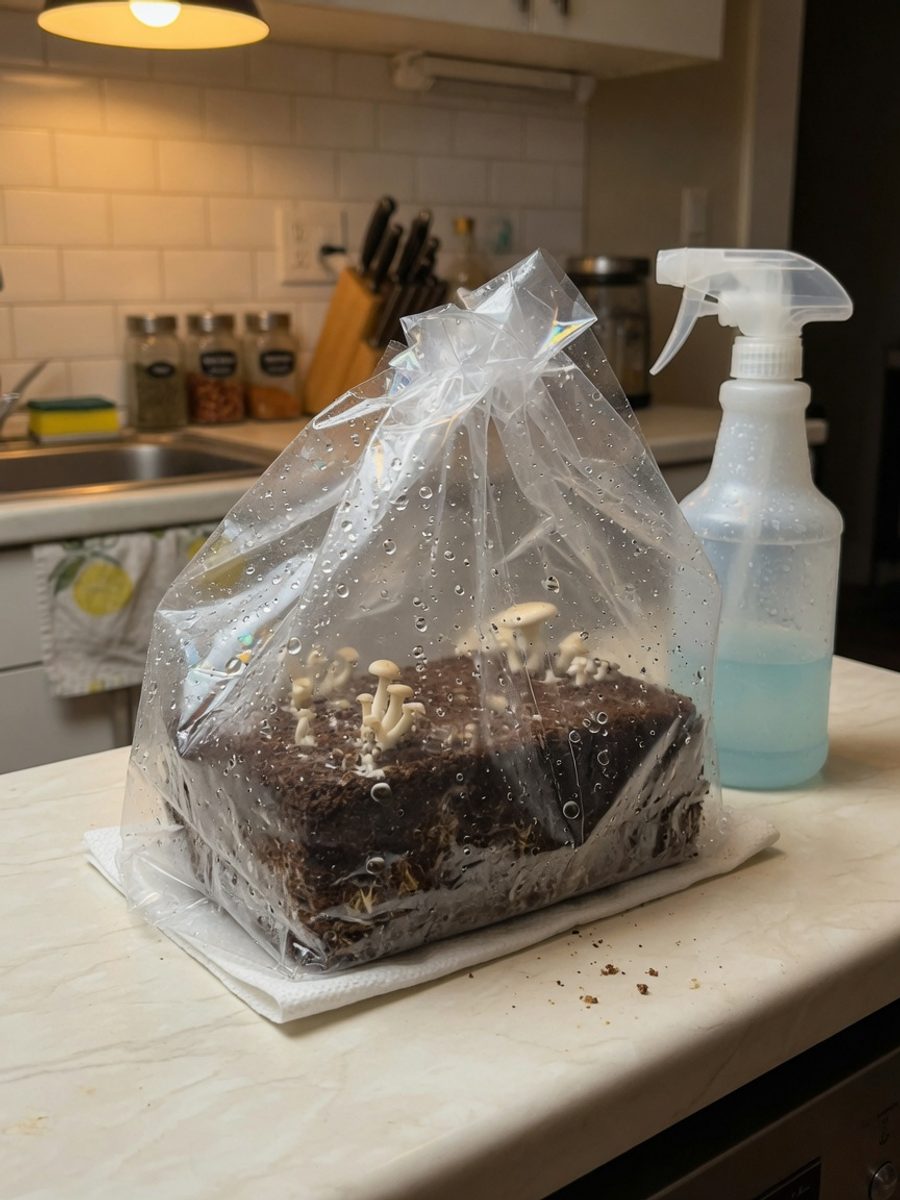
From unbox to optional second flush — five kitchen-scale steps. Full detail in the kit manual (placeholder until full copy lands).
Open
Cut an X on the bag — keep the block inside.
Mist
Fine dew on the cut, often 1–2× daily.
Wait
Watch for pins — often about 1–2 weeks.
Harvest
Twist clusters before caps fully flatten.
Second flush
Optional soak & rest for another round.
The kitchen ecosystem
Kit success is less about a fruiting chamber and more about light cues, surface moisture, and a little fresh air at home.
Indirect light
Mushrooms don’t need full sun — they need a day–night cue. A bright kitchen corner out of harsh direct sun works.
Humidity (not a lab)
Surface moisture matters more than fancy gear. Fine mist and, if your room is dry, a simple humidity tent.
Fresh air
Stale air can make stems long and weak. A little room airflow helps — no flow hood required for kits.
Quick troubleshooting
Not bought yet
Still choosing a kit?
Methods are for running a kit — selection lives in Essentials. Constraints first, not a fake top-10.
How to choose a kitComing later
Launch focuses on kit manuals and bag upgrades. Deeper topics stay out of the main path so we don’t ship empty pages.
- Deeper indoor fruiting notes Coming — for now use kit conditions + humidity
- Logs / outdoor Coming later
- Sterilization / pressure cooker Coming — bags overview only for Launch
Pick your manual
Kit steps for most growers — bags only after you’ve harvested once.
All method guides
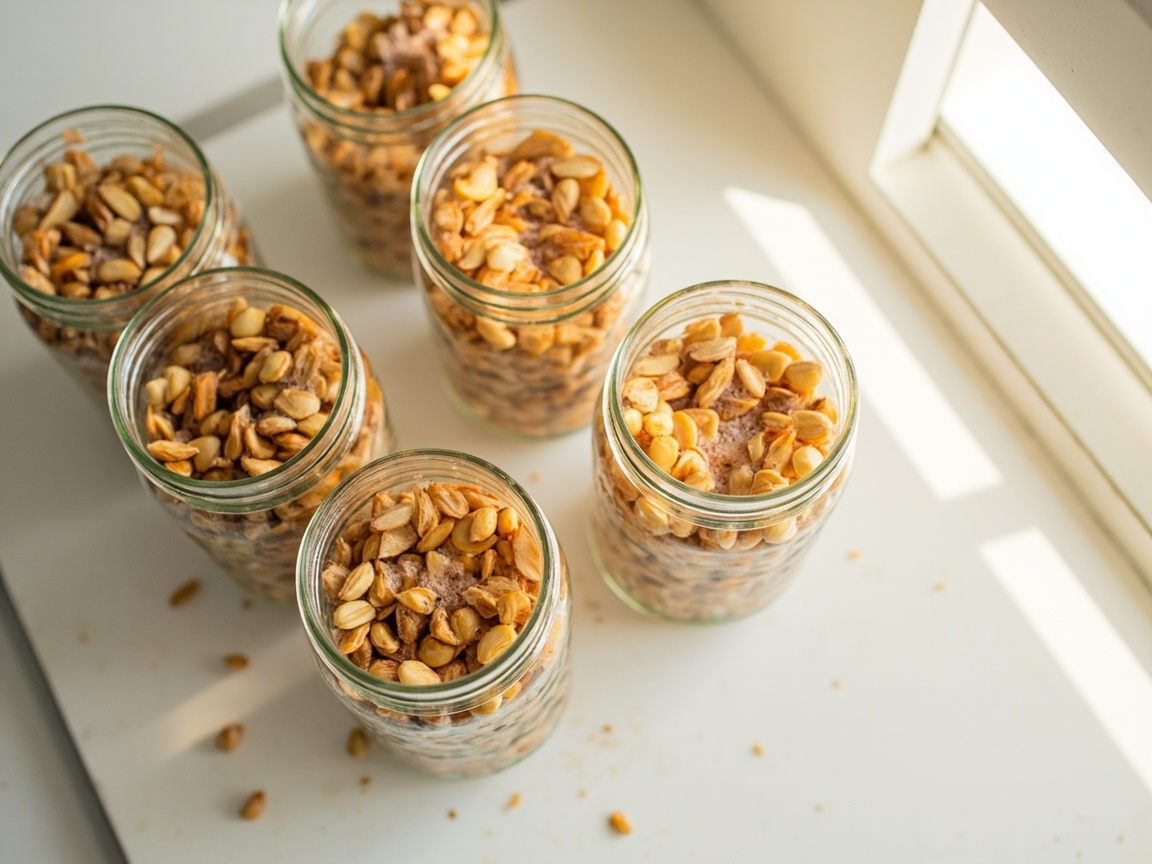
How to Prepare Grain Spawn for Gourmet Mushroom Cultivation
Prepare rye berry grain spawn at home for oyster, lion's mane, and shiitake — soak, simmer, jar, sterilize, inoculate, and incubate without a laminar flow hood.
Read guide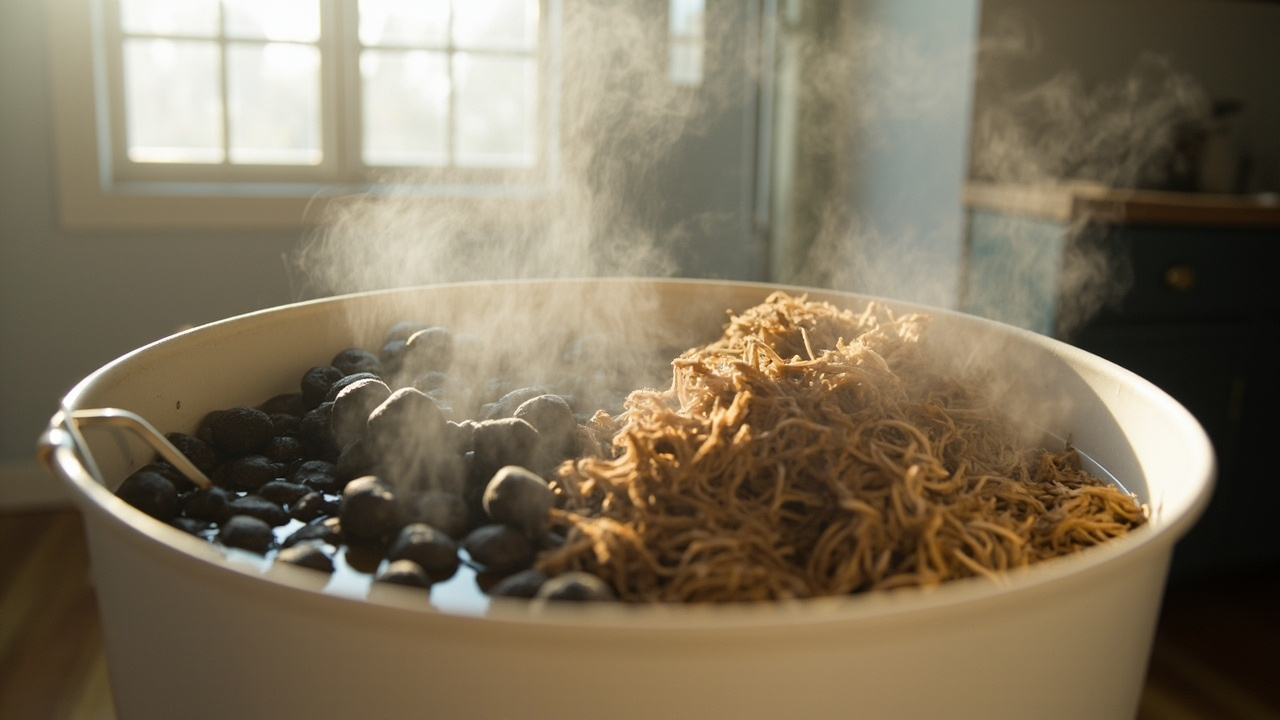
Hardwood Pellets Substrate for Gourmet Mushrooms (Kitchen-Scale Guide)
Hydrate hardwood pellets in a 5-gallon bucket, layer with shiitake or oyster spawn in filter bags — cleanest DIY bulk substrate for gourmet mushrooms.
Read guide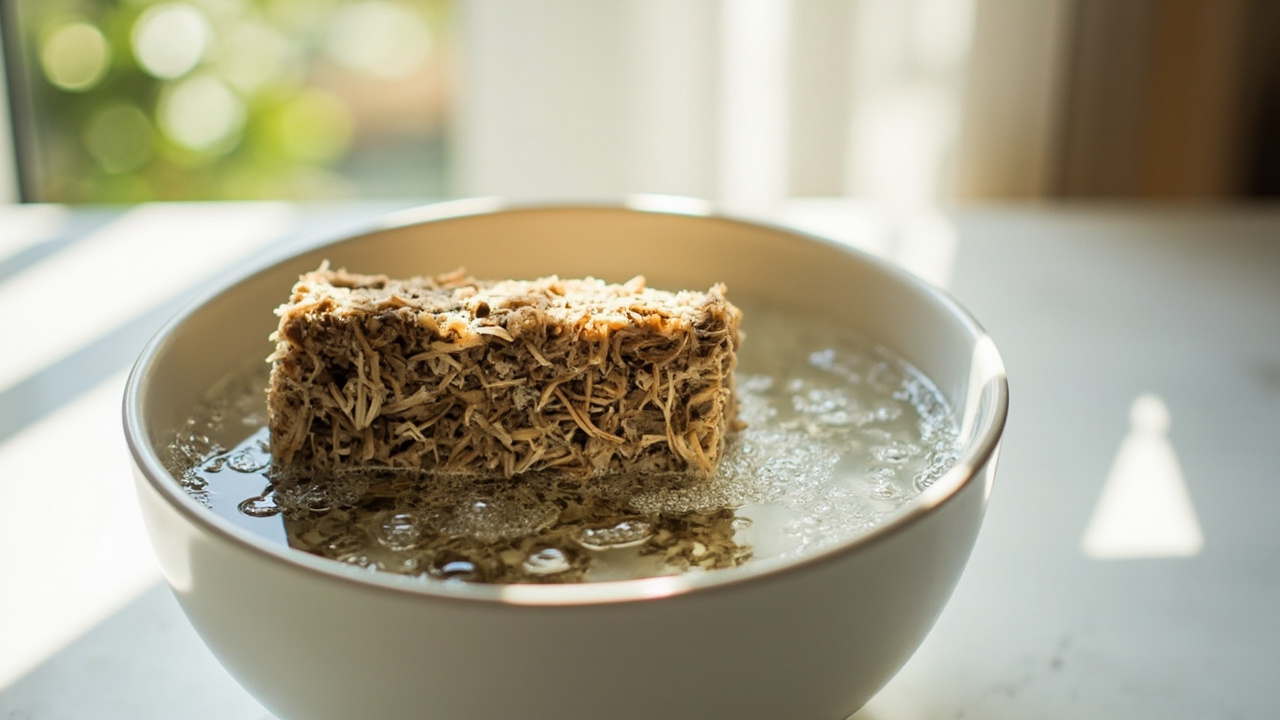
Mushroom Second Flush: How to Get a Second Harvest from Your Gourmet Kit
Get a reliable second harvest from your kitchen gourmet kit (oyster, lion's mane, shiitake) using the soak-and-restart method. Kitchen-kit-only guide.
Read guide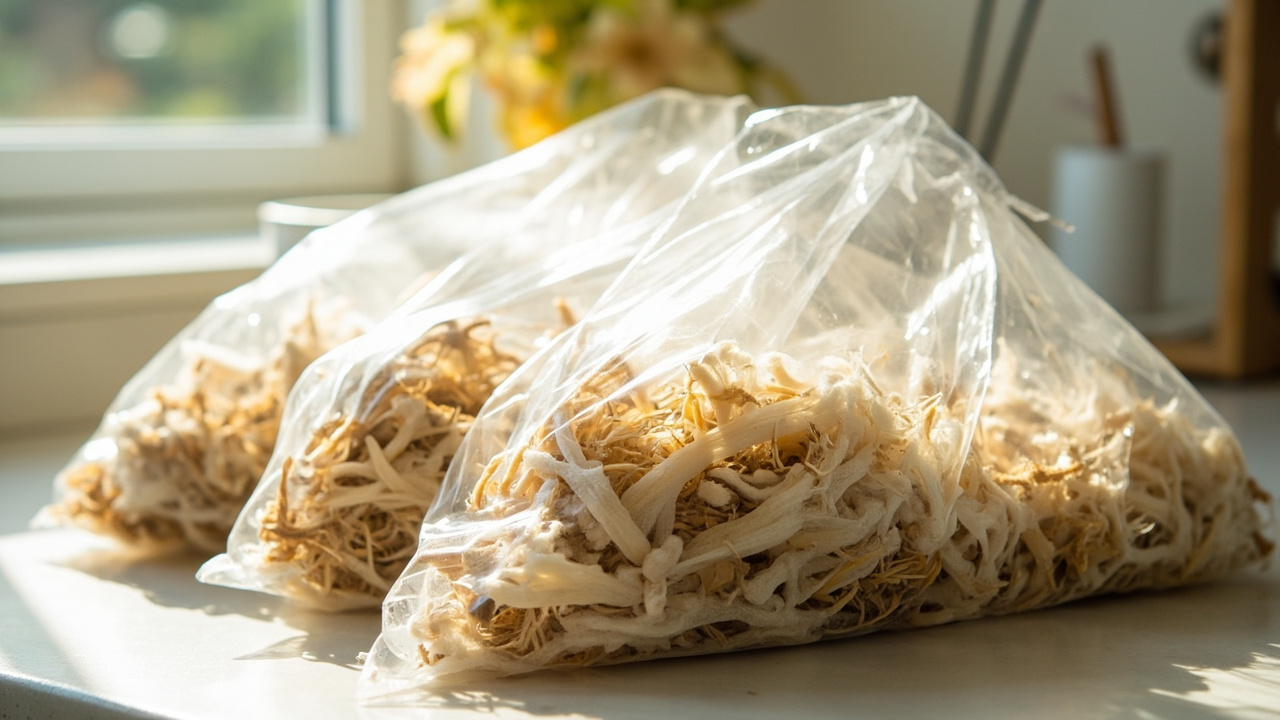
Straw Substrate for Gourmet Mushrooms (Kitchen-Scale Prep Guide)
Pasteurize 1-3 bags of straw substrate for oyster mushrooms in a kitchen stock pot — the natural next step after your first gourmet kit.
Read guide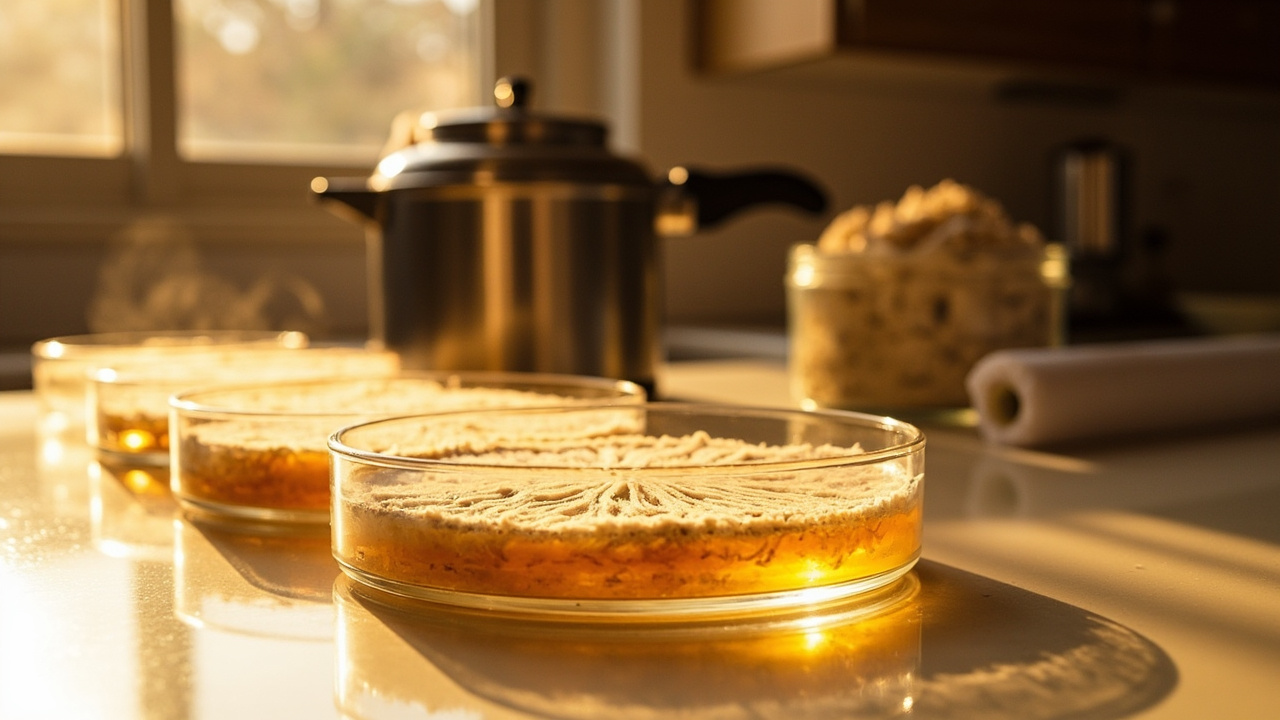
How to Prepare Agar Plates for Gourmet Mushroom Cultivation
Prepare MEA and PDA agar plates for gourmet mushrooms at home — recipes, pressure cooker sterilization, pour technique, and contamination prevention.
Read guide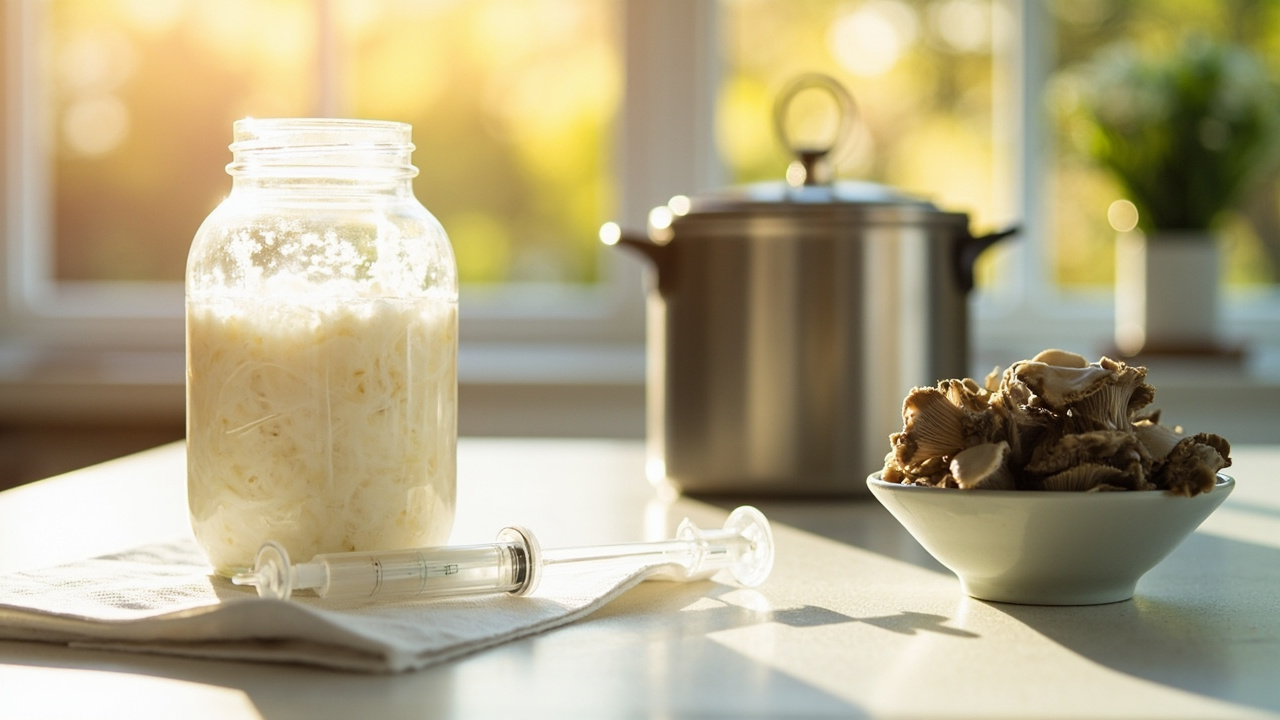
Liquid Culture for Gourmet Mushrooms (Kitchen-Scale)
Liquid culture lets gourmet growers scale one clean agar wedge into dozens of grain bag inoculations. Recipes, sterilization, and storage steps.
Read guide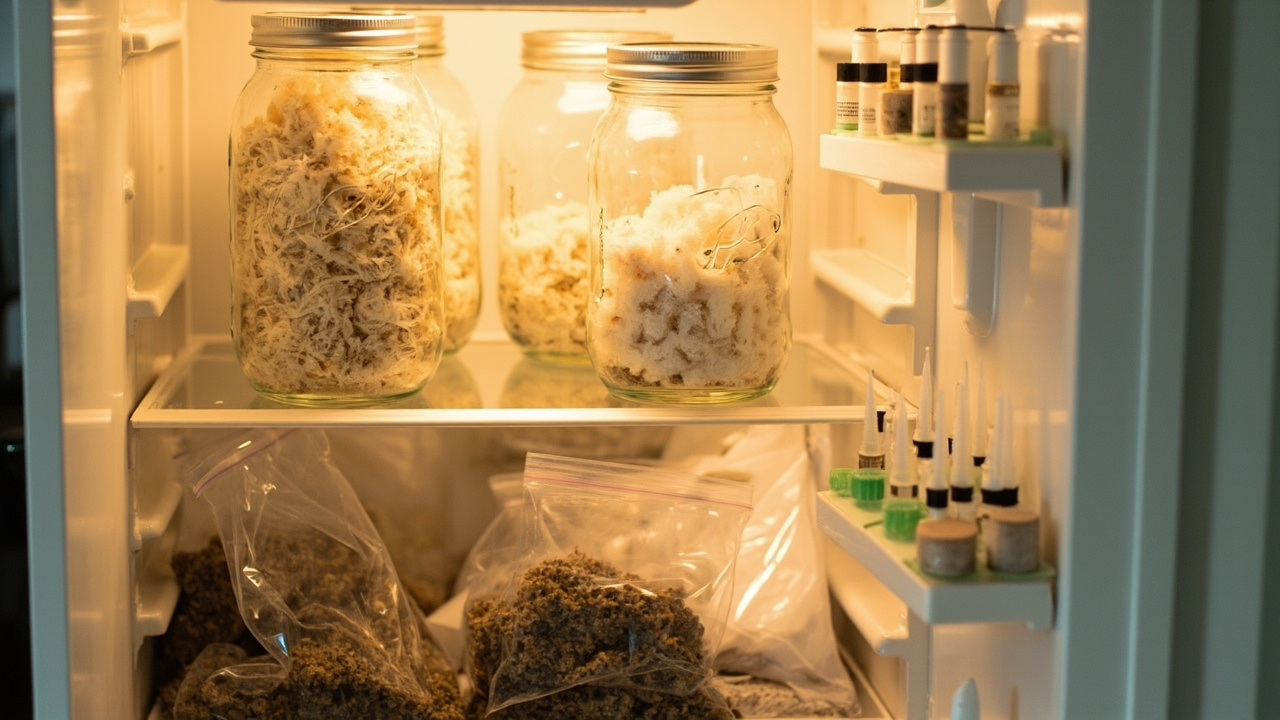
How to Store Mushroom Spawn (Kitchen-Scale Gourmet Storage Guide)
Store gourmet spawn in a kitchen fridge — grain, plug, sawdust, and LC formats with temperatures, shelf life, contamination signs, and revival steps.
Read guide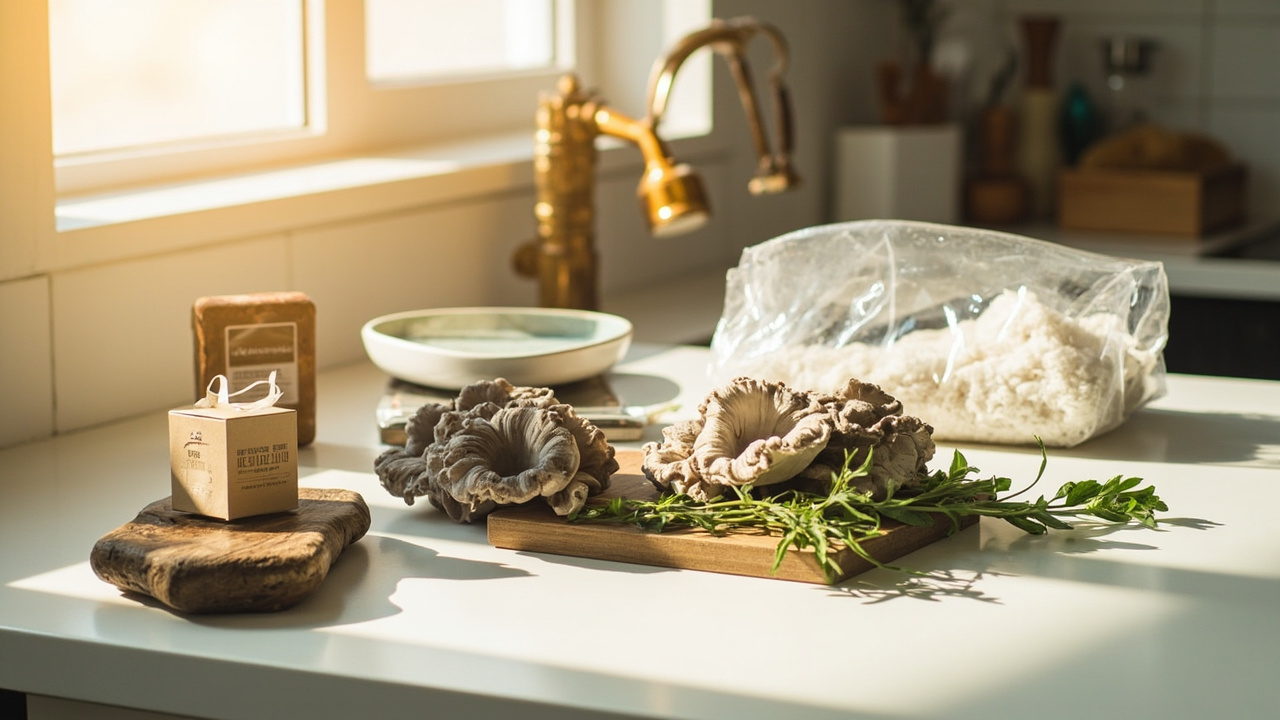
Edible Mushroom Grow Bags: When to Upgrade from a Kit
When to step up from a gourmet grow kit to a bag, how to choose a bag type, and how to sterilize and inoculate an edible oyster or lion's mane block.
Read guide Mushroom Fruiting Conditions: Light, Humidity, and Air
The three things gourmet mushroom kits need to fruit: ordinary room light, steady humidity, and gentle air exchange. No lab setup required.
Read guide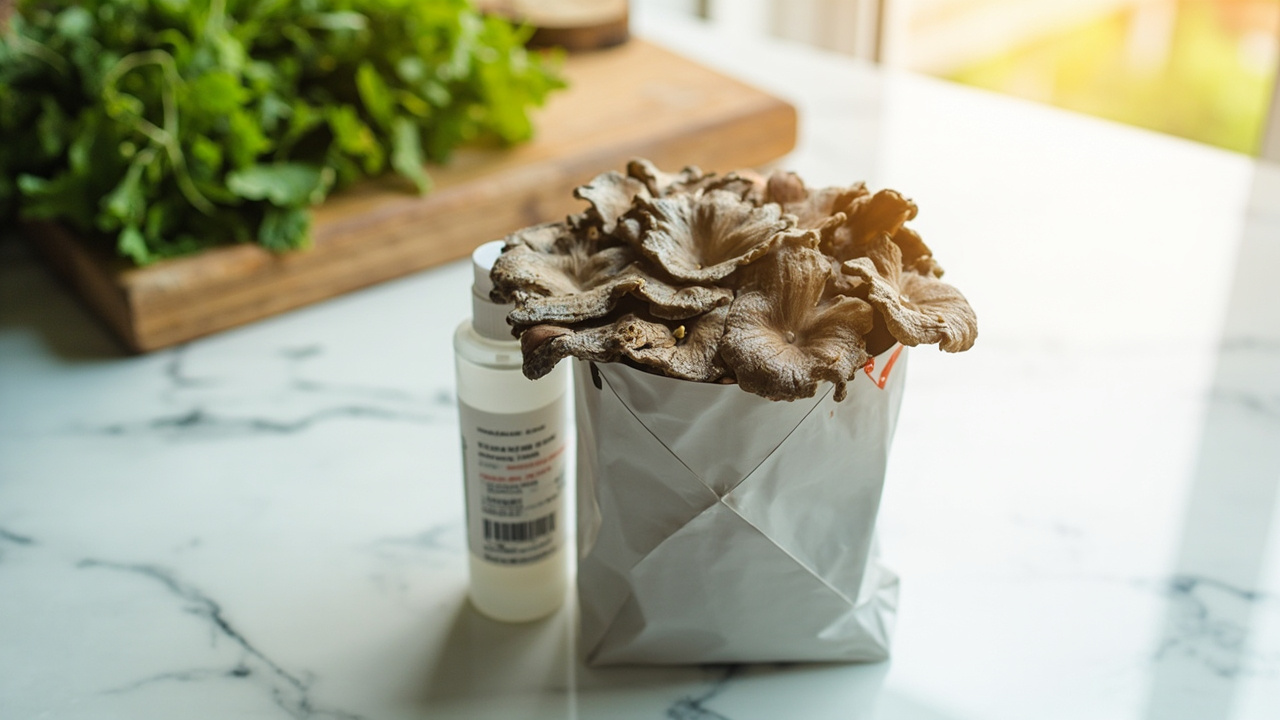
How Grow Kits Work (Kitchen Gourmet)
Open, mist, harvest, and re-flush gourmet mushroom grow kits on your kitchen counter. Oyster, lion's mane, and shiitake steps — no fruiting chamber needed.
Read guide