Problems · Lookalikes · Stop-loss
How to Tell If Your Gourmet Mushroom Kit Is Contaminated
“Is this mold or mycelium?”
Most beginners panic at white fluff or a weird color. This page is the map: calm down, match what you see, then decide wait, isolate, or discard — without spraying mystery chemicals.
How to spot contamination on a gourmet mushroom kit — decide keep, isolate, or discard without scraping. Kitchen edible growers only.
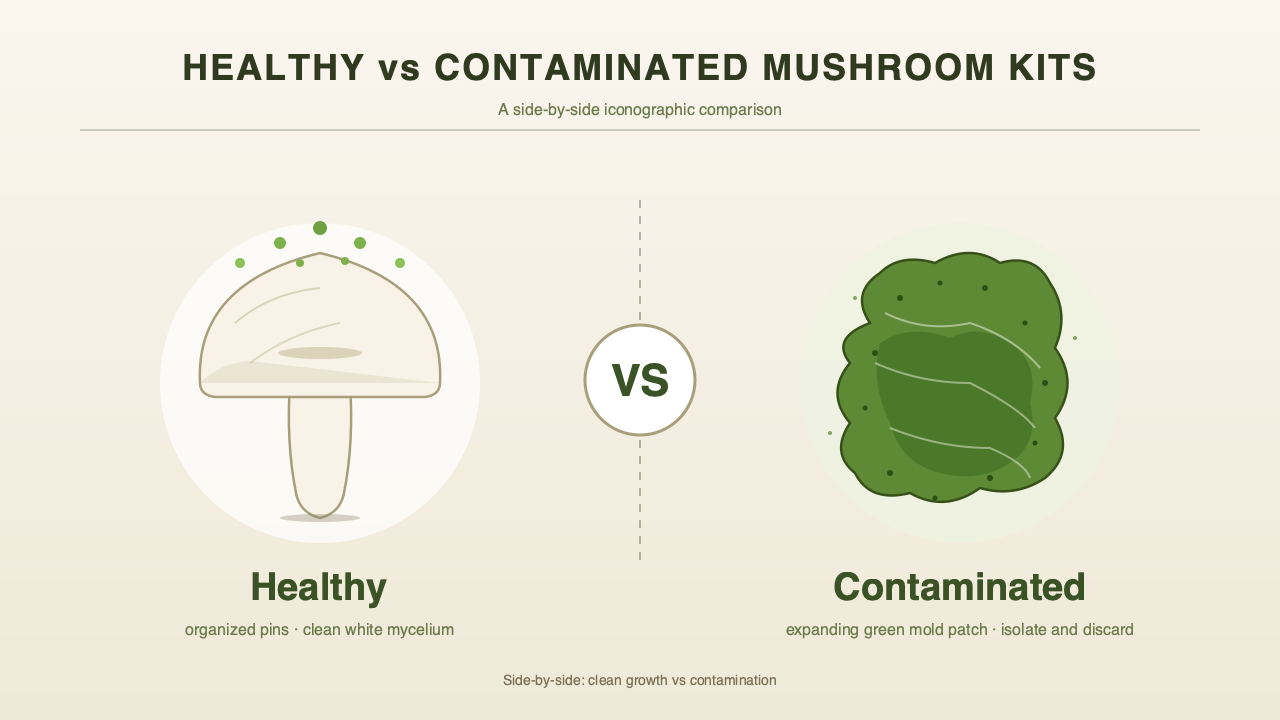
Most beginners panic at white fluff or a weird color. This page is the map: calm down, match what you see, then decide wait, isolate, or discard — without spraying mystery chemicals.
“Is this mold or mycelium?”
Do this first
Stop spraying bleach or random cleaners on the block. Move a suspect kit away from other kits and open food. Photograph in natural light. Then match a symptom card below.
Quick answer
Healthy mycelium is often white and can look fluffy. Green, blue-green, black, pink slime, or a sour rotten smell are higher concern. When you’re unsure, isolate first — then open the matching deep guide.
The kitchen rule: don’t scrape, don’t cut, don’t pour chemicals onto the block. Move it, photograph it, and read before acting. Most contamination calls are easy to make the second day if you let the kit sit isolated and watch how the suspect sign changes.
Green → Green mold on kits
No pins / dry pins → Pinning problems
Still learning the kit path → How grow kits work
Want a quick symptom walk? → Contamination checker
What it looks like vs lookalikes
White fluff on a block is often mycelium, especially early or right after misting. It can look “moldy” to new eyes. The whole point of this page is to slow you down enough to tell the difference before you throw away a kit that was about to fruit.
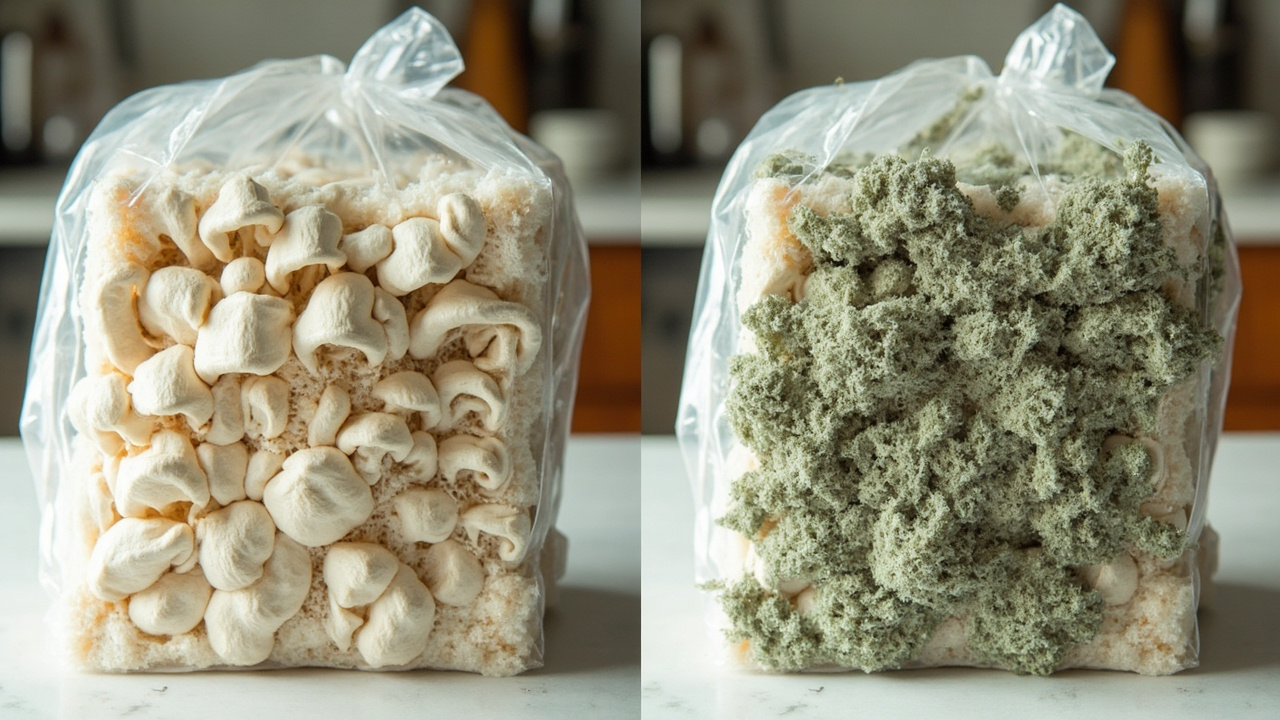
Use daylight and a single fixed camera angle. Side lighting helps reveal raised textures that flat room lighting hides. Photograph at the same time of day for two days in a row and compare — rate of change is the single most useful signal you have.
Green and blue-green patches
Green or blue-green is the highest-concern color on a colonized block. Powdery, raised patches with a white leading edge are usually mold (Trichoderma is the most common). Flat, contained blue-green inside the mycelium where the block was pressed or scraped is usually bruising — different problem, no discard needed.
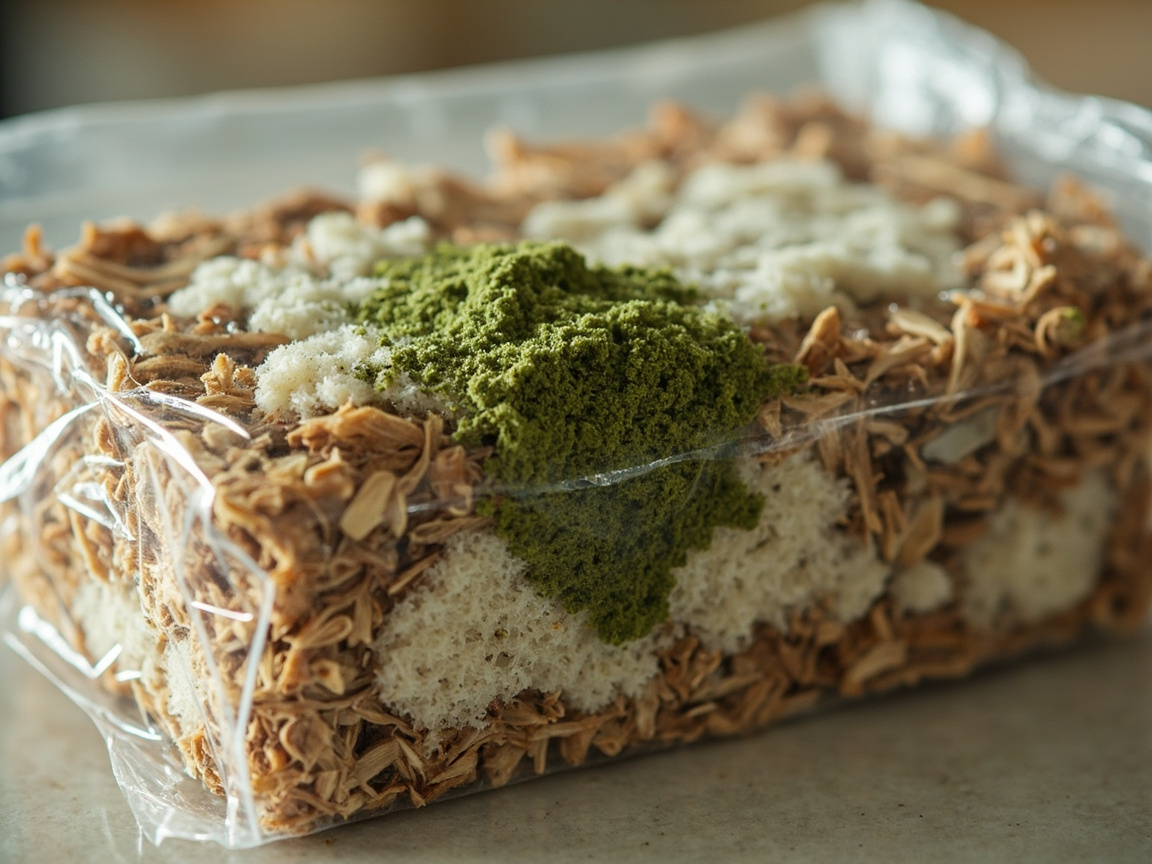
Green that spreads visibly from one photo to the next is a discard signal for kitchen kits. Penn State Extension and most home cultivation references agree: established green mold on a colonized block is not a salvage situation. Cutting it out spreads spores into your kitchen air and rarely removes the whole colony.
Cobweb-like growth vs healthy pins
A loose, wispy gray-white web crossing open space above the substrate is cobweb mold (Dactylium). It grows fast — visibly faster than healthy mycelium — and looks like cotton stretched across the air gap.
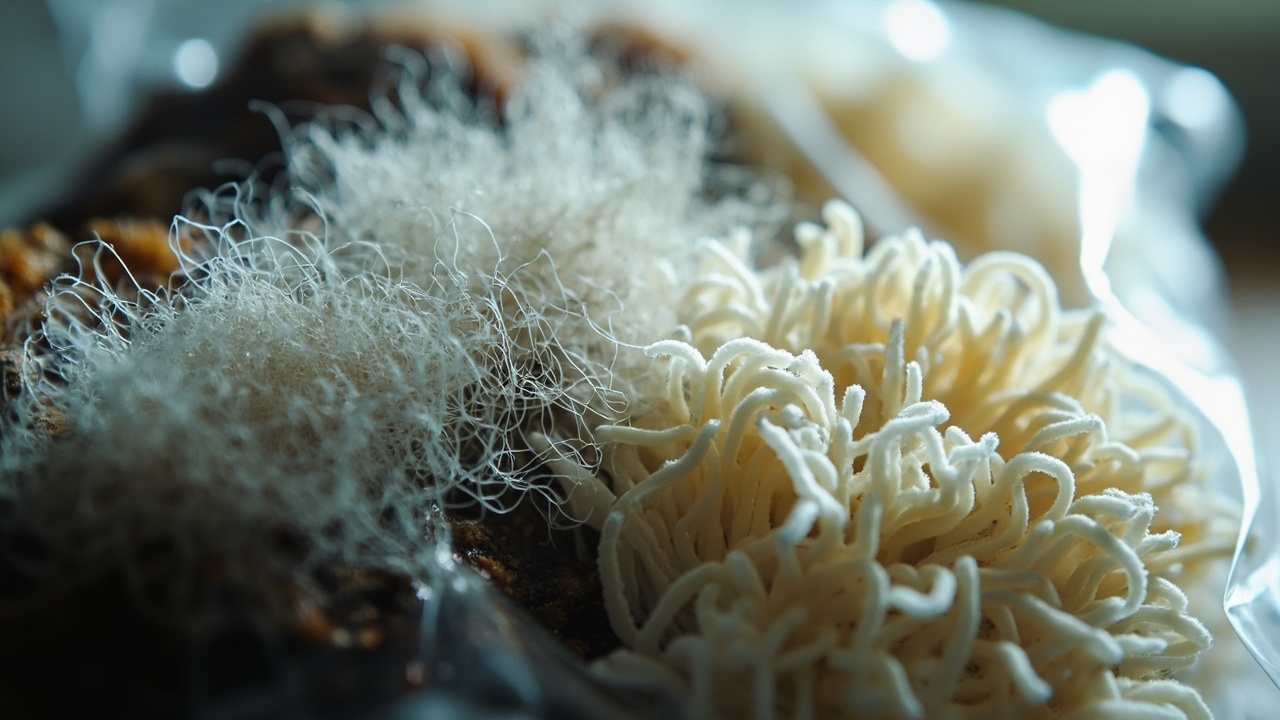
Healthy pins, on the other hand, form organized tiny fruit-body shapes — little knots or bumps — anchored to the block. White color alone is not enough; compare structure and change. Stalled or absent pins route to the pinning problems guide, not the contamination overview.
Wet rot, slime, and rainbow sheens
Wet slimy patches, rainbow sheens on standing liquid, or a sour rotten smell are bacterial wet rot. The block may look darker than usual and feel soft when you press the bag gently. This is a contamination signal — isolate and don’t open over the kitchen counter.
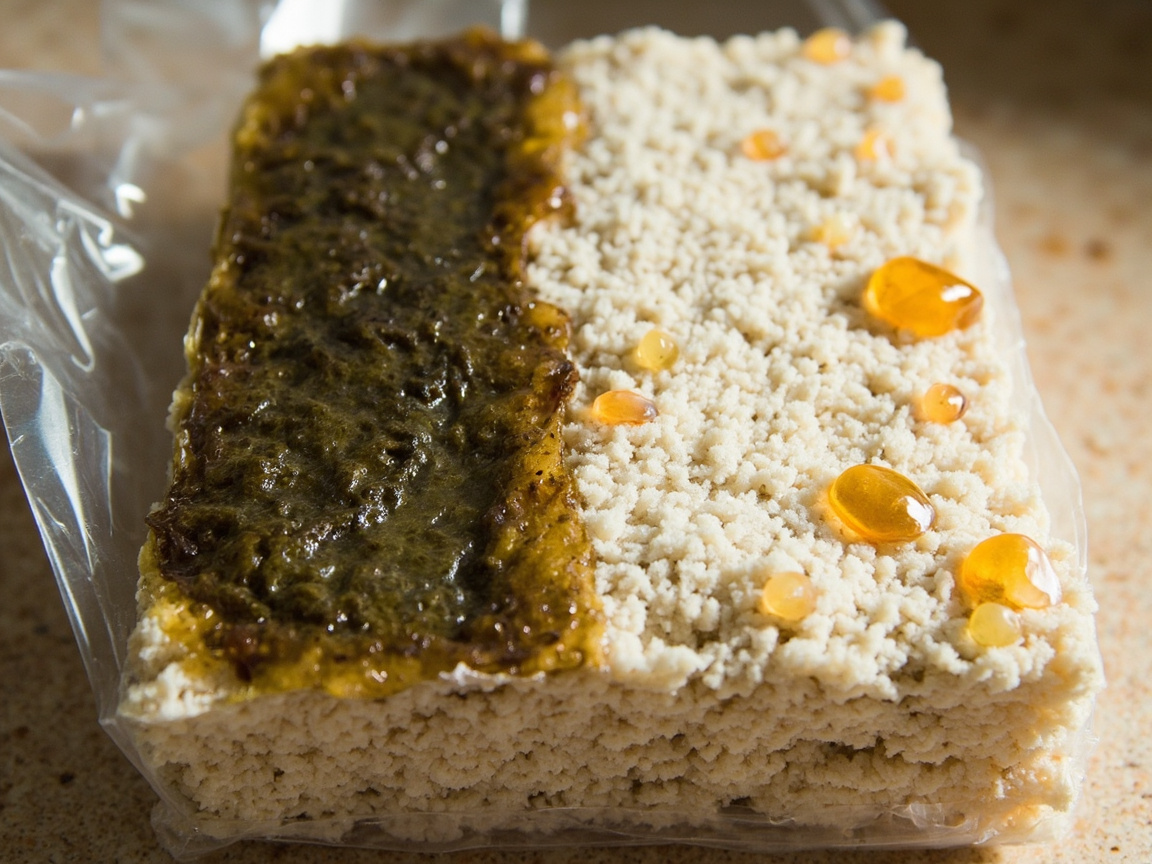
Bruising is different from wet rot. Bruising is a flat discoloration where the block was pressed, scraped, or hit during shipping; it stays put and does not spread. Wet rot keeps changing and may be paired with an off odor.
Why contamination happens (kit language)
Ready-to-fruit kits aren’t sterile forever once opened. The kit maker did the hard work in a clean lab, and your job is to not undo it during the kitchen phase. A few common reasons things go sideways:
- Wet pooling on the block. Over-misting or letting water sit on the cut surface creates standing moisture that mold spores love.
- Dirty tools or hands. Unwashed knives, scissors, or fingers carry spores from your last grocery trip into the kit.
- High ambient mold load. A kitchen next to a compost bin, a fruit bowl, or a damp basement corner pushes more spores toward the kit.
- Damaged bags or filters. A cracked bag or a smothered filter patch is an open door.
- Temperature drift. A room that swings hot then cold stresses the mycelium and lets competitors take hold.
You don’t need a lab to grow a clean kit. You need a stable corner, modest misting, basic hand cleanliness, and a mini hygrometer so you know what your room is actually doing.
For more on kit handling from open to harvest, see how grow kits work.
Keep, isolate, or discard
This is the decision tree. Read the kit, not the internet.
- Isolate if the suspect sign is colored (green, blue-green, black, pink) or paired with a sour or rotten smell. Move the kit to a separate shelf, away from other kits and food prep, and don’t open it. Wipe the shelf where it sat with a 70% alcohol cloth before placing the next kit there.
- Keep if the kit looks like healthy white mycelium, smells neutral, and just needs time, humidity, or fresh air. Pinning problems route to the pinning guide, not here.
- Discard if the suspect sign is expanding across photos taken 24 hours apart, if the smell is strong and off, or if multiple high-concern signals agree (color + smell, or color + texture). Bag the whole sealed unit and take it out with the trash; don’t cut the block.
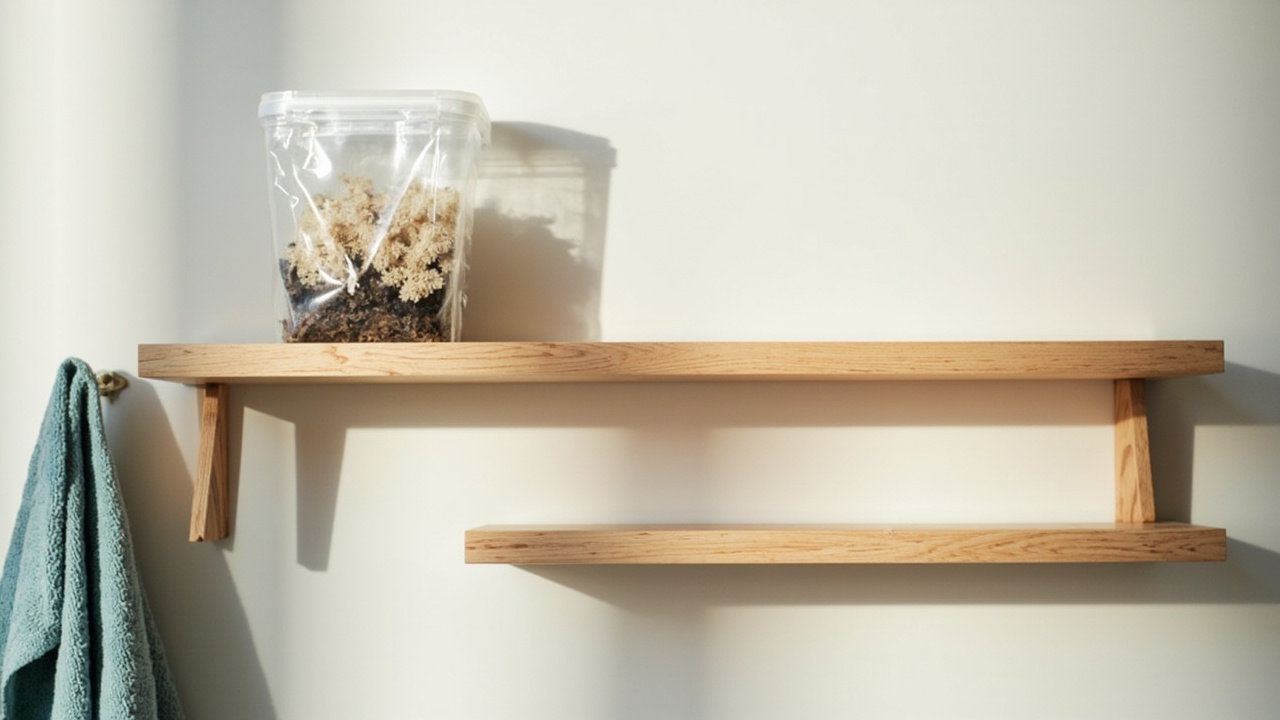
If two high-concern signals agree — green patch and off odor, or cobweb and rapid spread — skip straight to discard. Kitchen rule: when in doubt, isolate first and check again the next day. The check costs you 24 hours and almost always resolves the question.
Kit growers vs bags
Kits: smaller surface, simpler decisions — often discard one block and buy again. A lost kit is a $30 lesson, not a $200 one.
Bags and bulk: more material at risk, and hygiene plus timing matter more. If you’re already running bags, you’ll want a sharper routine and a stronger disinfection habit. A bottle of 70% isopropyl alcohol spray on a clean cloth — never sprayed on the block — covers most of your wipe-down work between cycles.
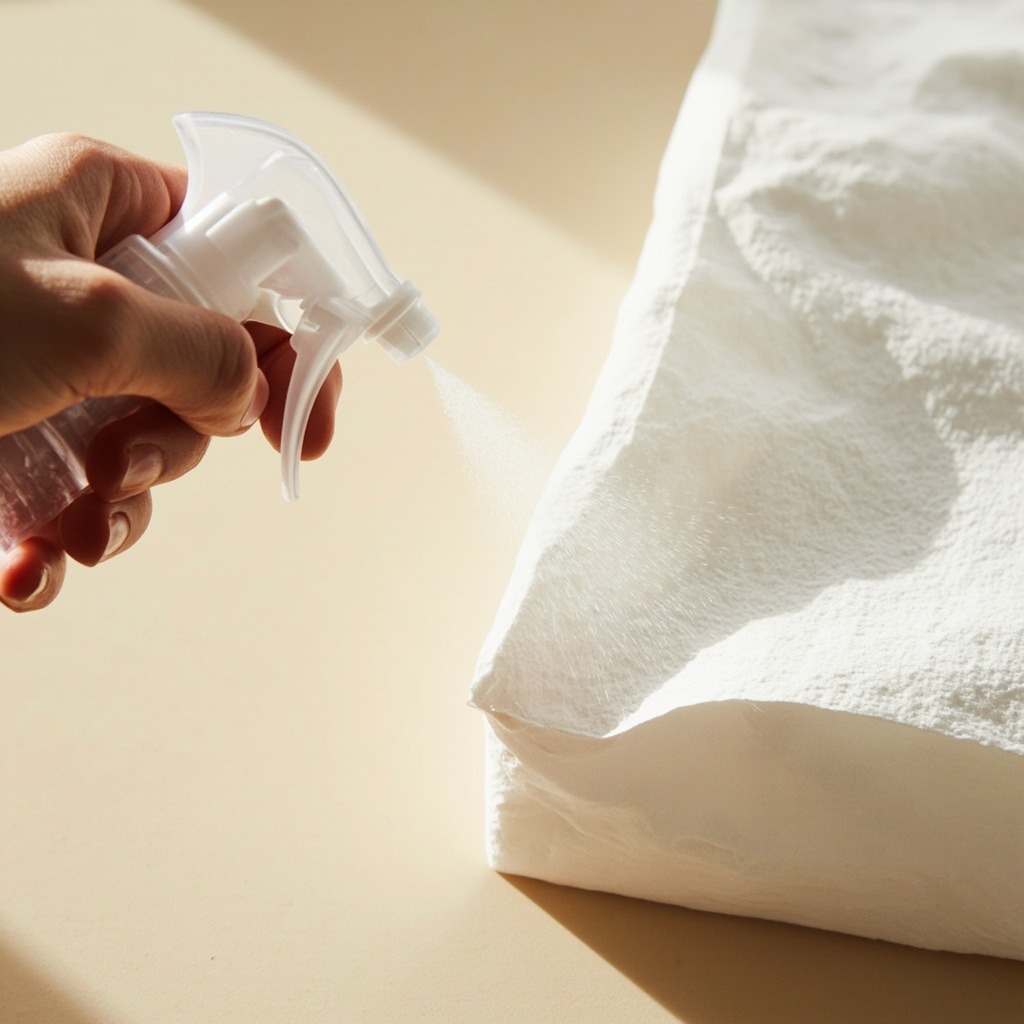
If contamination has pushed you off kits for a while, that’s a normal place to pause. Read when to upgrade to bags only after you’ve finished one clean kit harvest and want more volume per cycle.
Common mistakes
These are the calls we see most often. Read them once before you start, not after you’ve already sprayed something on the block.
- Spraying hydrogen peroxide or bleach onto the block as a “rescue.” It rarely kills the colony without also damaging healthy mycelium, and it makes the next-day photo harder to read. Isolate and decide first.
- Cutting a green patch out of the bag. Spores go into kitchen air. Bag the whole unit and discard.
- Confusing bruising with mold. Bruising is flat, contained, and stays put. Mold is raised, expanding, or powdery. Same color, very different signal.
- Sniffing the bag with your face right against it. Move air with your hand toward your nose from a distance. Bacterial wet rot smells bad for a reason — don’t inhale it directly.
- Reusing the same still-air corner after a loss. If the last kit failed for reasons you can’t explain, the next kit probably will too. Move the shelf or open a window before starting the next one. A small clip-on fan helps if the room has no air movement at all.
Prevent the next round
Mist for dew, not puddles. A fine mist that evaporates within a minute is right; a stream that pools on the cut surface is asking for trouble. Keep openings modest — most kits need a single X-cut, not a wide-open top.
Give fresh air without dust blasts. A small USB clip-on fan on low, pointed away from the kit and toward a wall, gives gentle air exchange without drying the block or kicking up dust from the counter.
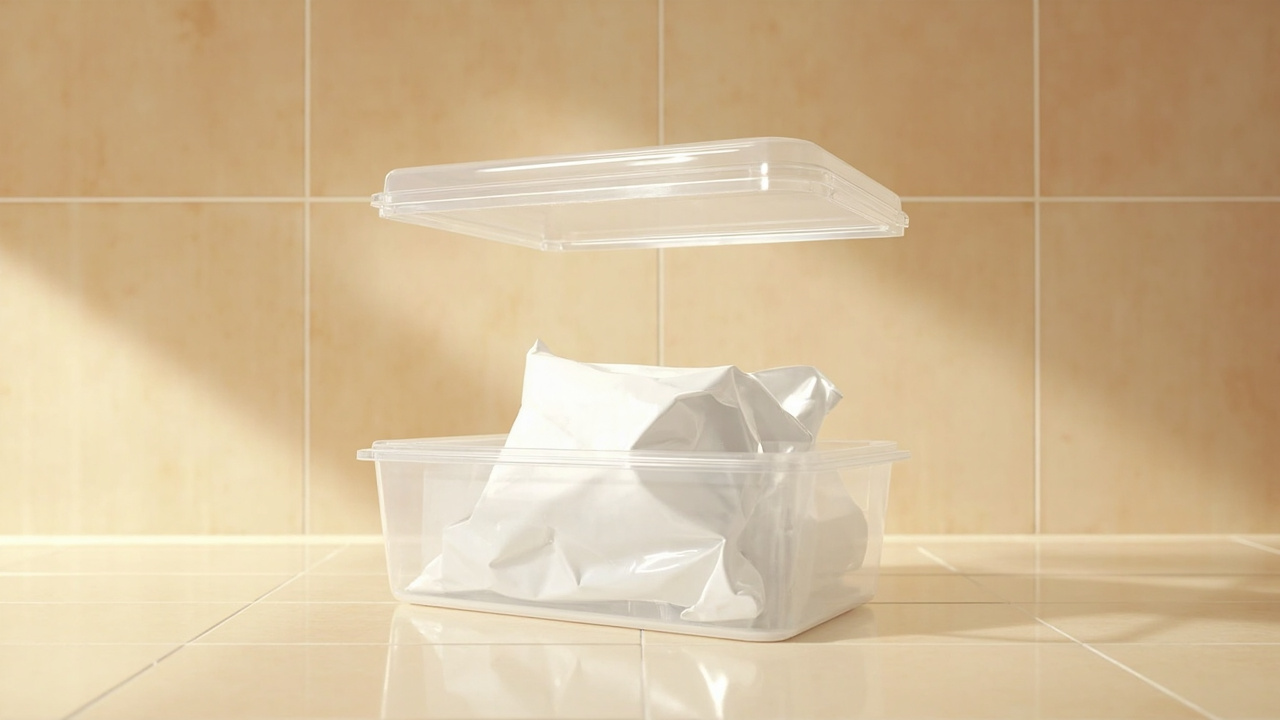
Don’t store kits next to compost, a fruit bowl, or moldy produce. After a loss, wipe the shelf with a 70% alcohol cloth (spray the cloth, not the kit) and let the surface dry before opening the next bag. Log the room humidity for a few days with a mini hygrometer; big swings often show up here first. If you’re starting a fresh oyster kit after a contamination loss, oyster is the most forgiving restart species for a new round.
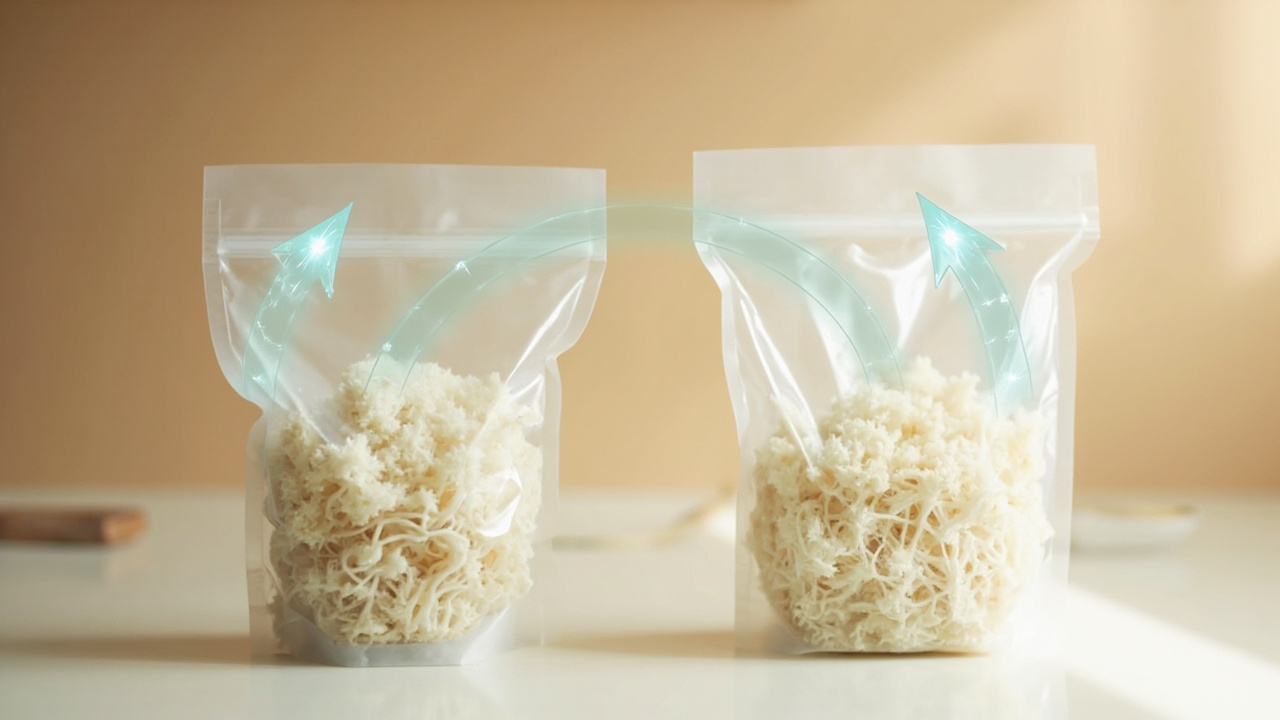
When you start a new kit, give it the same shelf and the same room conditions you used when the last one fruited cleanly. If conditions have changed — season, AC use, new appliance next to the counter — adjust before opening. A gentle clip-on USB fan pointed at a wall, plus the mini hygrometer reading, is usually enough to keep a stable fruiting corner across seasons.
What you might need
These are the kitchen-scale items that earn their keep across many cycles, not single-use fixes. Use them between kits, on the shelf, and on your hands — never as a spray-on rescue.
- 70% isopropyl alcohol spray (17 oz) — USP grade, fine-mist spray bottle. Spray it on a clean cloth and wipe the shelf, the clip-fan grill, and your hands. Don’t spray the block or the fruit. A single bottle covers months of wipe-downs between kits.
- 2-pack mini digital hygrometer with probe — small enough to sit on a shelf next to the kit. The probe lets you read humidity inside a humidity tent without opening it. Useful for diagnosing whether a slow kit is too dry or fine.
- USB clip-on fan — quiet, cord-powered, easy to clip to a shelf. Pointed at a wall a few feet from the kit, it gives the gentle air exchange gourmet blocks need without drying the cut surface.
If you only buy one thing after a loss, buy the alcohol spray and use it on the cloth between kits. If your room humidity swings more than 10% across a day, add the hygrometer. If your kits stall because of stale air, add the fan.
Related
- Green mold on kits (Trichoderma deep page) — when the suspect sign is green or blue-green.
- Pinning problems — when the kit looks clean but won’t pin.
- How grow kits work — the open-to-harvest routine.
- When to upgrade to grow bags — only after a clean kit harvest.
- Contamination checker — a short symptom walk that routes to the right deep page.
- First grow kit — if you’ve never opened a ready-to-fruit kit, start here before troubleshooting contamination.
Key takeaways
- Color alone doesn’t decide it. Use daylight photos taken 24 hours apart and rate of change.
- Don’t spray, scrape, or cut. Isolate, bag, and discard the whole unit if the discard branch is right.
- Bruising is flat and stays put. Mold is raised, expanding, or powdery.
- After a loss, clean the shelf and recheck the room before opening the next kit.
- Three items earn their keep across many cycles: alcohol spray, mini hygrometer, clip-on fan.
Affiliate disclosure: FungiAtHome is a participant in the Amazon Services LLC Associates Program. We earn from qualifying purchases. Recommendations are based on the role each tool plays in the workflow — not paid placements.
Culinary / edible kitchen growing only. FungiAtHome does not cover psychedelic or actives cultivation.
Related guides
Back to problems . Affiliate disclosure . Culinary / edible kitchen growing only. admin@fungiathome.com