Methods · Level up · Not day one
Edible Mushroom Grow Bags: When to Upgrade from a Kit
Grow bags scale effort and contamination risk. They are a great second chapter — a poor substitute for learning kit humidity and harvest once.
When to step up from a gourmet grow kit to a bag, how to choose a bag type, and how to sterilize and inoculate an edible oyster or lion's mane block.
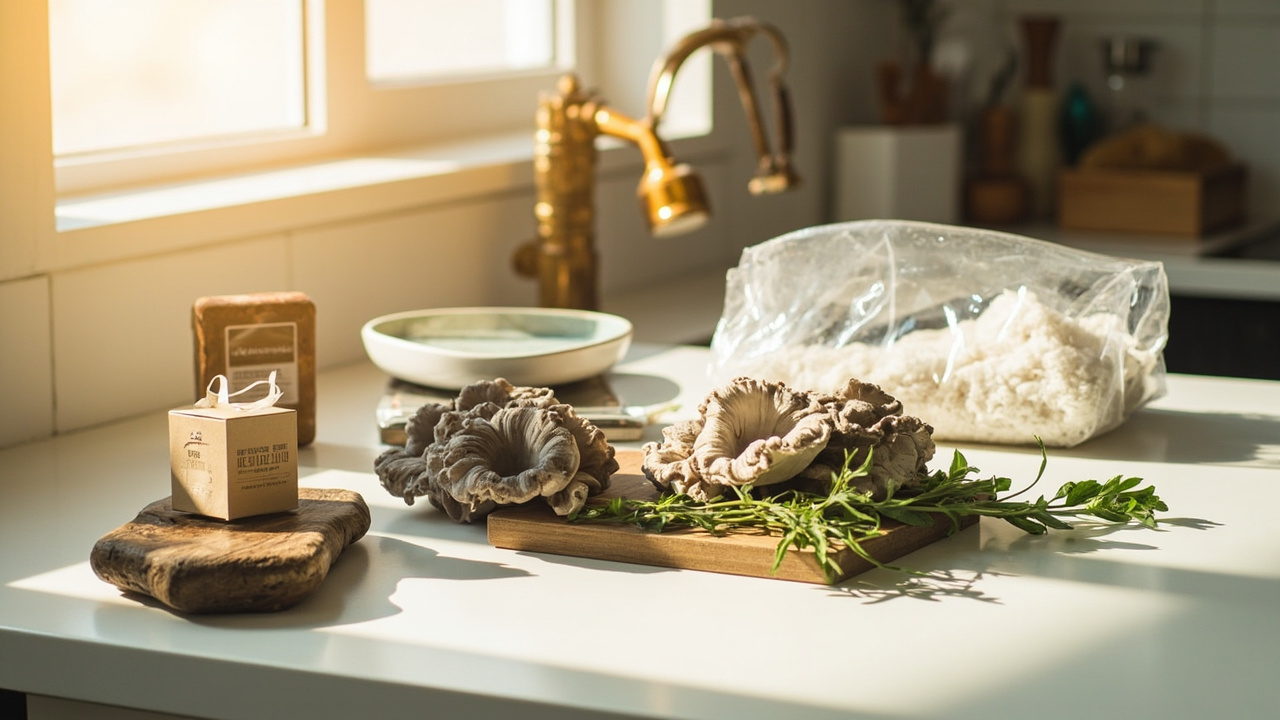
Grow bags scale effort and contamination risk. They are a great second chapter — a poor substitute for learning kit humidity and harvest once.
Quick answer
Finish at least one clean kit harvest first. Then decide if you want more volume via bags. Bags are not “kits but bigger” without extra process risk.
The honest read: bags reward consistency and punish shortcuts. A pre-sterilized bag with a clean inoculation point and a still room is genuinely easier than the internet makes it sound. A bag you sterilized yourself in a borrowed pressure canner is genuinely harder than the product page suggests.
Still on chapter one? First grow kit and How grow kits work.
When to leave kits (if-then)
If you have harvested once, understand misting, and still want more mushrooms per cycle → consider bags.
If you have never fruited a kit, or you just lost a kit to green mold → stay on kits, fix habits, maybe switch species to oyster.
If you only want dinner-scale harvests → kits may be enough forever.
The clearest signal to move on is that you’re running out of kit harvests faster than your appetite for mushrooms can keep up. The clearest signal to wait is that the last kit went green for reasons you still can’t explain.
What a grow bag is (roles)
A grow bag is a container for substrate and mycelium that you fruit from openings or slits. Brands and fills vary. Think in roles (filter bag, substrate type, spawn source) — not a fake best-of-2026 ranking. Product ASIN pages live under Products when listed; this page is the decision education.
Three roles matter:
- Container: holds substrate, lets gas through, blocks contamination. That’s it.
- Substrate: the food the mycelium eats. Grain, sawdust, straw, or a mix.
- Spawn source: liquid culture, agar wedge, or grain spawn that you introduce the mycelium with.
If any of those three are wrong for your species or your room, the bag fails. If all three match the species and the room, the bag works.
Types of grow bags
Gourmet home growers use three bag types. They look similar on a shelf but behave very differently in use.
Polypropylene unicorn bags
These are tall, gusseted bags made of food-grade polypropylene plastic. The classic “unicorn” bag is the workhorse of the home gourmet scene because it stands up on its own, holds a lot of substrate, and survives sterilization temperatures.
You seal the top with heat — usually an impulse sealer — leaving the filter patch at the front for gas exchange. Sizes run from small 3 lb bags up to large bulk blocks; for most kitchen growers a single 8×5×20-inch filter-patch substrate bag is the right size to start with.
Filter patch bags
A filter patch is a small square of microporous material welded onto the bag wall. It blocks mold spores and bacteria while letting oxygen and CO₂ through. The patch is the part of the bag that breathes.
Filter patch ratings are measured in microns. Most home gourmet bags use a 0.5-micron patch, which is fine enough to keep contamination out and coarse enough to keep gas exchange happening. You can buy pre-sterilized bags with patches already welded in, or buy rolls of patch material and seal your own bags.
If the patch gets wet, blocked, or covered in tape, it stops breathing. A bag with a smothered patch looks fine from the outside and suffocates from the inside.
Autoclave bags
Autoclave bags are a thicker, higher-temperature bag designed for repeated sterilization cycles. Home growers rarely need them — a polypropylene unicorn bag handles the standard 15 PSI at 250°F cycle that a pressure canner runs. Autoclave bags are useful if you’re running repeated cycles and want the bag to last, or if you’re working with denser substrates that need longer sterilization times.
For most kitchen workflows, a quality filter-patch unicorn bag is the simpler answer. The thicker bag earns its keep only when you’re running real volume or have a validated recipe that needs the extra durability.
Substrate compatibility
The substrate has to match the species and the bag.
- Oyster mushrooms eat almost anything — straw, sawdust, coffee grounds, cardboard. They colonize fast and forgive loose substrate. Most oyster liquid cultures are designed to run on a supplemented sawdust or straw block inside a filter-patch bag.
- Lion’s mane wants a supplemented hardwood substrate — usually oak sawdust plus bran or soy hulls. It’s slower to colonize than oyster and more sensitive to dry patches inside the bag. A slightly denser substrate in a thicker-walled bag works better than a loose straw fill.
- Shiitake traditionally runs on hardwood logs, but supplemented sawdust blocks in filter-patch bags fruit reliably and skip the log-prep year. Shiitake blocks benefit from a “rest” period after colonization before fruiting.
Match the substrate to the species, not the other way around. If you want oyster, buy oyster substrate or straw and skip the hardwood. If you want lion’s mane, pay for the supplemented hardwood sawdust and don’t improvise.
Sealing methods
The seal on a grow bag has to hold through sterilization and colonization without leaking.
Impulse sealer. This is the cleanest option. You fold the top of the bag, run it across the heated bar, and the plastic welds to itself. The seal is air-tight and survives a 15 PSI cycle if you leave enough headspace. Most growers who run more than a handful of bags per month invest in one.
Fold and clip. If you don’t have an impulse sealer, fold the bag over several times and clamp it with a strong binder clip or a specialty mushroom bag clip. This works for pre-sterilized bags you aren’t putting through a pressure cycle. It doesn’t work as well for self-sterilized substrate because the seal isn’t air-tight.
Stapler and breathable tape. Some growers staple the fold and then cover the staples with a strip of filter patch tape. This is a hybrid approach that works for small batches if you’re careful. Not as reliable as a heat seal.
Pick one method and stick with it. The most common contamination source on homegrown bags isn’t the substrate — it’s a sloppy seal that opened up in the pressure canner. If you’re self-sterilizing bags at home, a dedicated pressure canner is the safest small-batch option.
Filter patch importance
The filter patch is the difference between a bag that breathes and a sealed plastic sleeve that suffocates mycelium.
A 0.5-micron patch, like the one welded onto a standard 8×5×20-inch filter-patch substrate bag, does three jobs at once:
- Lets oxygen in and CO₂ out — both gases need to move across the bag wall for mycelium to colonize cleanly.
- Blocks mold spores and most bacteria — those particles are larger than 0.5 microns.
- Survives sterilization temperatures without degrading.
Two failure modes show up at home. First, the patch gets wet from a sloppy seal or a drip and the pores clog. Second, the patch is covered with tape or a sticker and gas exchange stops. Either way the mycelium slows, the bag stalls, and contamination finds an opening.
If a bag isn’t colonizing on schedule, check the patch before you check anything else. A bag with a clear patch and a stalled interior is a different problem than a bag with a fogged patch.
Kit vs bags
Kits: shortest path, lower process surface area, great teachers.
Bags: more yield potential, more steps, more places contamination can win. Budget and time go up. Sterilization gear may appear later (Wave 2 topics) — don’t jump to pressure-cooker rabbit holes before kit success.
The honest trade-off:
| Aspect | Kit | Bag |
|---|---|---|
| Time to first mushroom | 7–14 days | 14–35 days |
| Yield per cycle | One flush, often modest | Multiple flushes, larger total |
| Skill surface area | Mist, harvest | Sterilize, inoculate, monitor, fruit |
| Gear cost | $20–40 starter | $80–250+ once pressure canner is in |
| Failure mode | Dries out, aborts pins | Contaminates before fruiting |
If your goal is more mushrooms per month on a kitchen counter, the bag path is the right next move. If your goal is to learn how mushrooms actually grow, one kit plus one bag teaches more than three kits.
High-level bag path (no monotub main path)
- Source quality spawn/substrate appropriate to edible gourmet species. A labeled oyster liquid culture and a matching filter-patch substrate bag is the simplest starter combo.
- Keep openings and handling clean. Alcohol the bag exterior, flame-sterilize or alcohol-wipe the syringe, work near a still-air box or a clean counter with no fans running.
- Fruit with humidity and air — same physical needs as kits, larger surface. A small martha-style fruiting tent helps if ambient humidity swings.
- Watch contamination aggressively — contamination overview. Green, black, or pink anything on a bag is a signal to isolate it.
We don’t make monotub or actives-tek the Launch story.
Contamination risks
More material means more loss when mold wins. Isolate failures. Don’t vent green bags indoors. Return to kit discipline if bags keep failing.
The most common contamination entries on home bags:
- A seal that opened in the pressure canner. Looks fine when you take it out, leaks air an hour later.
- A wet patch that suffocated gas exchange. Bags stall, then green shows up at the patch.
- A dirty inoculation point. The syringe touches something it shouldn’t.
- Reusing a bag. The filter and the interior can’t be reliably reset.
If you have to discard a contaminated bag, cut the corner with a clean folding knife, seal it inside a second bag, and put it in the trash outside. Don’t pour spores or liquid out indoors — that’s how mold spreads.
When in doubt, isolate the bag in a separate room and watch it for 48 hours. Don’t open it indoors. Most contamination gets worse when you ventilate it into your kitchen.
Common mistakes
Skipping kits. Over-opening bags. Dry air on large faces. Buying gear before understanding humidity. Bags aren’t Amazon magic — they’re containers.
A longer list, in order of how often home growers hit them:
- Buying the biggest bag first. A 3 lb bag teaches the workflow without flooding the kitchen if it fails.
- Sterilizing in a kitchen pressure cooker you use for food. Either dedicate it to the project or buy a separate pressure canner. Cross-contamination and lost family dinners aren’t worth the savings.
- Skipping the headspace. A bag filled to the top will pop its seal or pop its patch in the canner. Leave at least a third of the bag empty.
- Inoculating in a still-air room with the fan on. Mold spores ride air currents. Turn off fans and HVAC vents before you inoculate.
- Opening the bag to “check” before colonization completes. Every opening is a contamination chance. Look through the bag wall.
- Reusing a bag. The filter is single-cycle. The seal is single-cycle. The interior is single-cycle. Use the bag as a single-use consumable and don’t try to sterilize it for a second cycle.
- Trying four cultures at once. One species, one recipe, repeatable — that’s the workflow. Once that works, a multi-culture oyster sampler makes sense as a second experiment.
First-time setup walkthrough
A repeatable first run, in order:
- Pick one species. Oyster is the most forgiving. Pick a labeled liquid culture for that species only.
- Buy one pre-sterilized filter-patch bag in the size your culture and fruiting space can handle. A standard 8×5×20-inch filter-patch substrate bag is the home-gourmet default.
- Clean the work surface with 70% alcohol. Turn off fans and HVAC vents. Wash hands and forearms.
- Inoculate at one clean point on the bag — typically through the filter patch or just beside it, depending on the bag’s instructions. Flame-sterilize or alcohol-wipe the syringe needle between points.
- Seal the inoculation point with breathable tape if the bag instructions call for it. Fold and clip the top.
- Place the bag in a clean, dim spot at the species’ colonization temperature (65–75°F for most gourmet). Out of direct sun.
- Wait. Don’t open the bag. Look through the wall. Watch for white, even growth — not green, black, or pink.
- Once the bag is fully white and firm, move it to fruiting conditions. Cut slits per the bag’s instructions, mist, give light, give air.
- Harvest with a clean folding knife when caps flatten but before spores drop. Twist and pull, or cut at the base.
- Rest, rehydrate if the recipe calls for it, watch for a second flush.
If anything smells sour, looks off-color, or stalls for more than a week past the expected colonization window, isolate the bag and consult the contamination overview before opening it indoors.
Affiliate links: FungiAtHome is a participant in the Amazon Services LLC Associates Program. We earn a small commission when you buy through our links, at no extra cost to you. We only link to products we’ve actually evaluated against the workflow described above.
Culinary / edible kitchen growing only. FungiAtHome does not cover psychedelic or actives cultivation.
Related guides
Back to methods . Affiliate disclosure . Culinary / edible kitchen growing only. admin@fungiathome.com