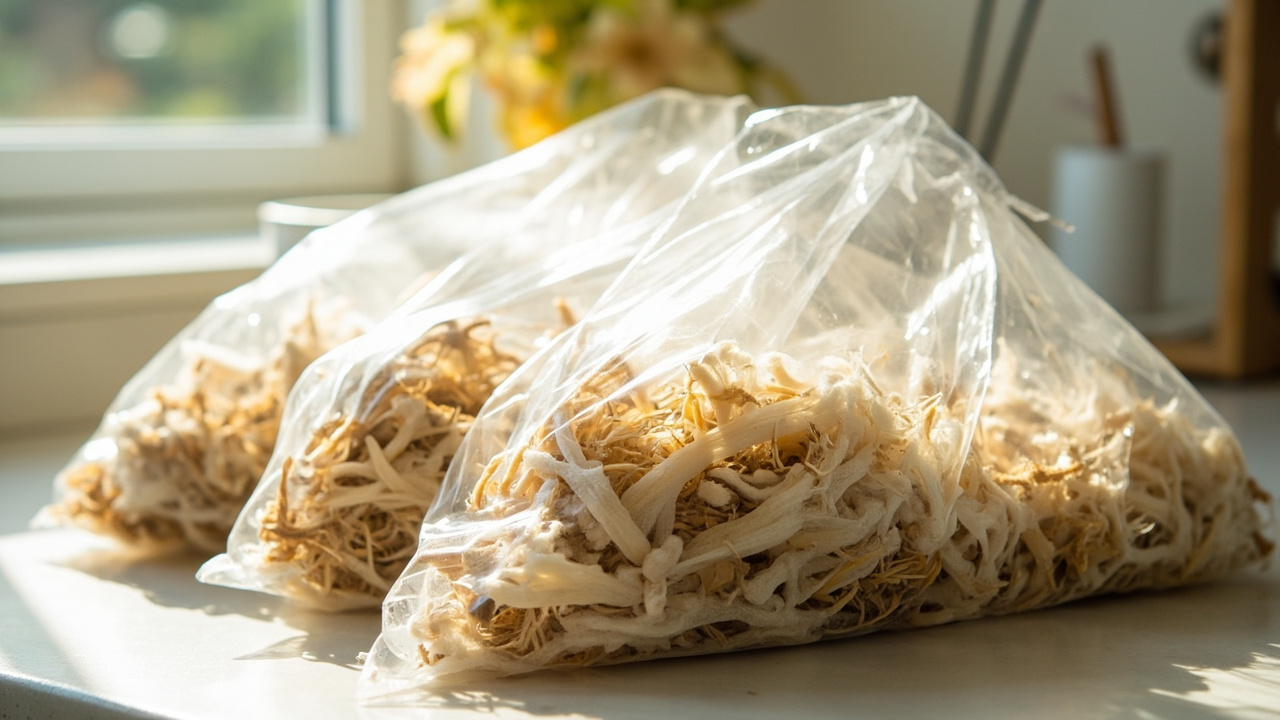
Straw is the substrate for the kitchen grower who has finished one clean oyster kit and wants to scale up to 1-3 bag batches without a pressure cooker or a lab setup. It’s the cheapest bulk substrate that still works reliably for oyster — and only oyster.
Quick answer
Chop wheat straw into 1-3 inch pieces, pasteurize in a stock pot at 160-180°F for 60-90 minutes, drain, cool to room temperature, layer with blue oyster grain spawn at 5-10% by wet weight in filter-patch bags, and incubate 10-21 days. No pressure cooker needed.
Who this is for
One clean oyster kit under your belt, a kitchen stock pot, a kitchen scale, and 4-6 hours of weekend time. This guide is for the kit graduate who wants to scale up to 1-3 bags per cycle, not a commercial farm running 50 lb batches in 55-gallon drums. If you want the smallest possible first trial, see Mushroom grow bags first.
This guide is also explicitly kitchen-scale. If you want to scale beyond 5 bags per cycle, you’ll need a larger setup — a 30-gallon stock pot, a meat thermometer for accurate readings, and a covered incubation space. Most kitchen growers top out at 3-5 bags per cycle and stay there for years.
What this is / is not
This is a kitchen-scale straw substrate prep guide for gourmet edible mushrooms. We focus on 1-3 bag batches with a kitchen stock pot, hot tap water, and a kitchen scale. This is not a commercial farm workflow — 50 lb batches, 55-gallon drums, and steam-injected pasteurization are different operations with different equipment. This is also not for psilocybin cultivation — we focus on culinary oyster, lion’s mane, and similar species.
What this is
- 1-3 bag kitchen-scale straw pasteurization
- Hot tap water + stock pot + thermometer
- Filter-patch grow bags + blue oyster grain spawn
- A weekend workflow total time 4-6 hours
What this is not
- 50 lb batches in 55-gallon drums
- Pressure-cooker sterilization of straw
- Bulk substrate for indoor monotubs or grow tents
- A path to cultivation of any non-culinary species
What you need
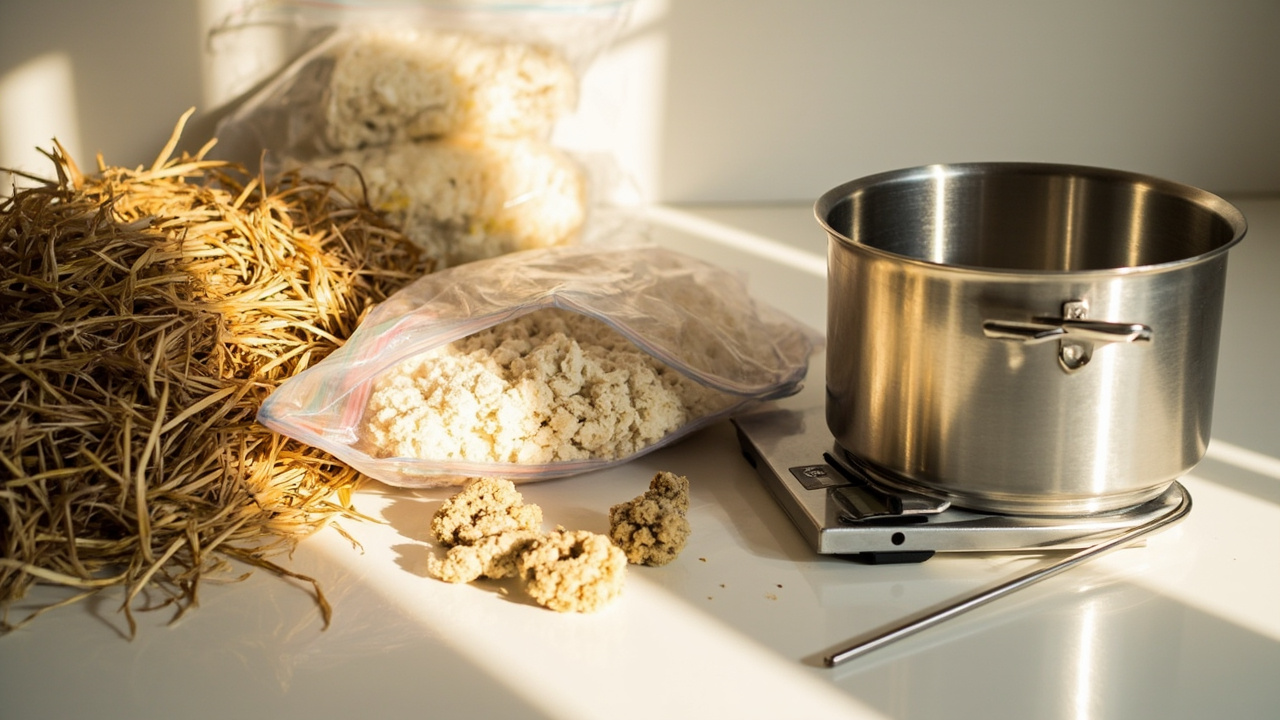
- 4 lb wheat straw (chopped or bale-stem — pre-chopped Premium Wheat Straw skips the chop step)
- 1 lb blue oyster grain spawn for the standard 5-10% rate
- 4-6 8x5x20 inch filter-patch grow bags
- Stock pot (8-quart minimum) + kitchen scale + thermometer
- Optional bulk: 1 cubic foot wheat straw bale for 5-10 bag batches
Step-by-step
1. Chop the straw
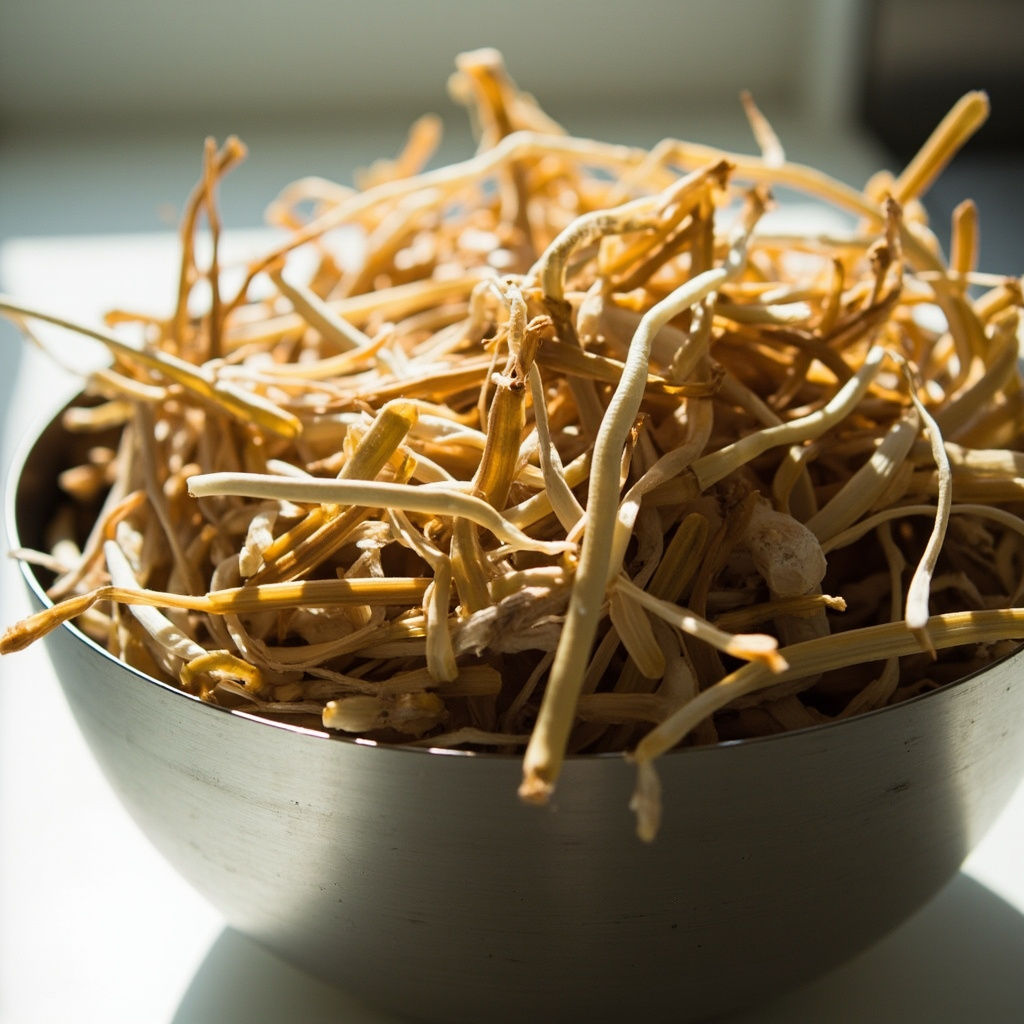
If you’re using bale straw, chop it into 1-3 inch pieces with a clean pair of garden shears or run it through a shredder. Pre-chopped straw like the Premium Wheat Straw skips this step entirely. The uniformity of the chop matters less than people think — a mix of lengths is fine, as long as nothing is longer than 4 inches.
2. Hydrate and pasteurize
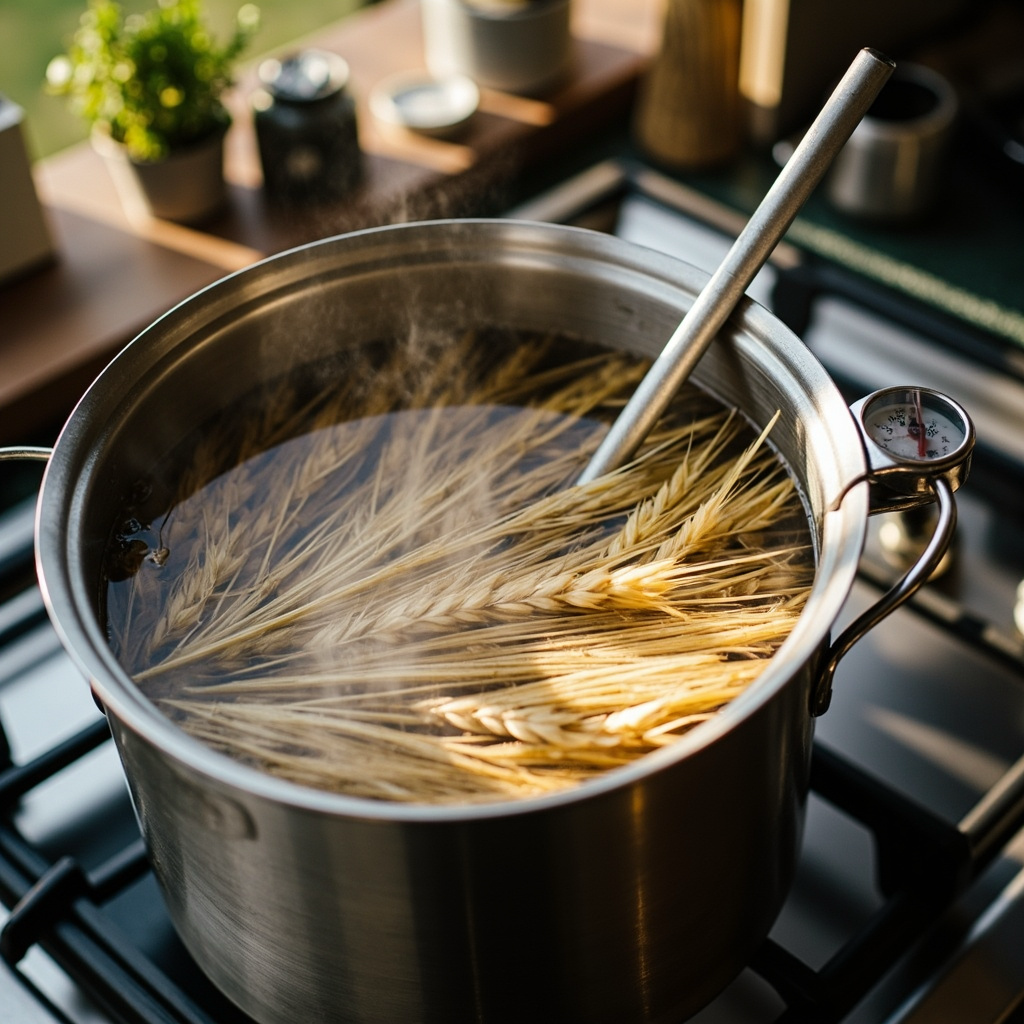
Dump the straw into a stock pot, cover with cold water, and weigh it down with a plate. Bring the pot to 160-180°F on the stove and hold it there for 60-90 minutes. Don’t boil. Boiling drives off volatile compounds and turns the straw into a soup that contaminates easily. A meat thermometer stuck in the pot is the simplest way to verify the temperature.
The pasteurization is done when the straw has absorbed water and softened. Pull a handful out, squeeze it, and check that you get a few drops of water, not a stream. If water streams, drain more. Top up the hot water in the pot if the level drops below the straw — exposing the top of the straw mid-pasteurization leaves dry zones that won’t pasteurize properly.
3. Drain and cool
Lift the straw out of the pot and spread it on a clean surface — a sanitized baking sheet, a clean towel, or a wire rack over a tray. Let it cool to room temperature (below 80°F) before spawning. Pouring hot spawn into hot straw is the fastest way to kill the mycelium. Test the temperature with a clean hand; if it’s still warm enough to be uncomfortable, wait.
4. Layer into bags
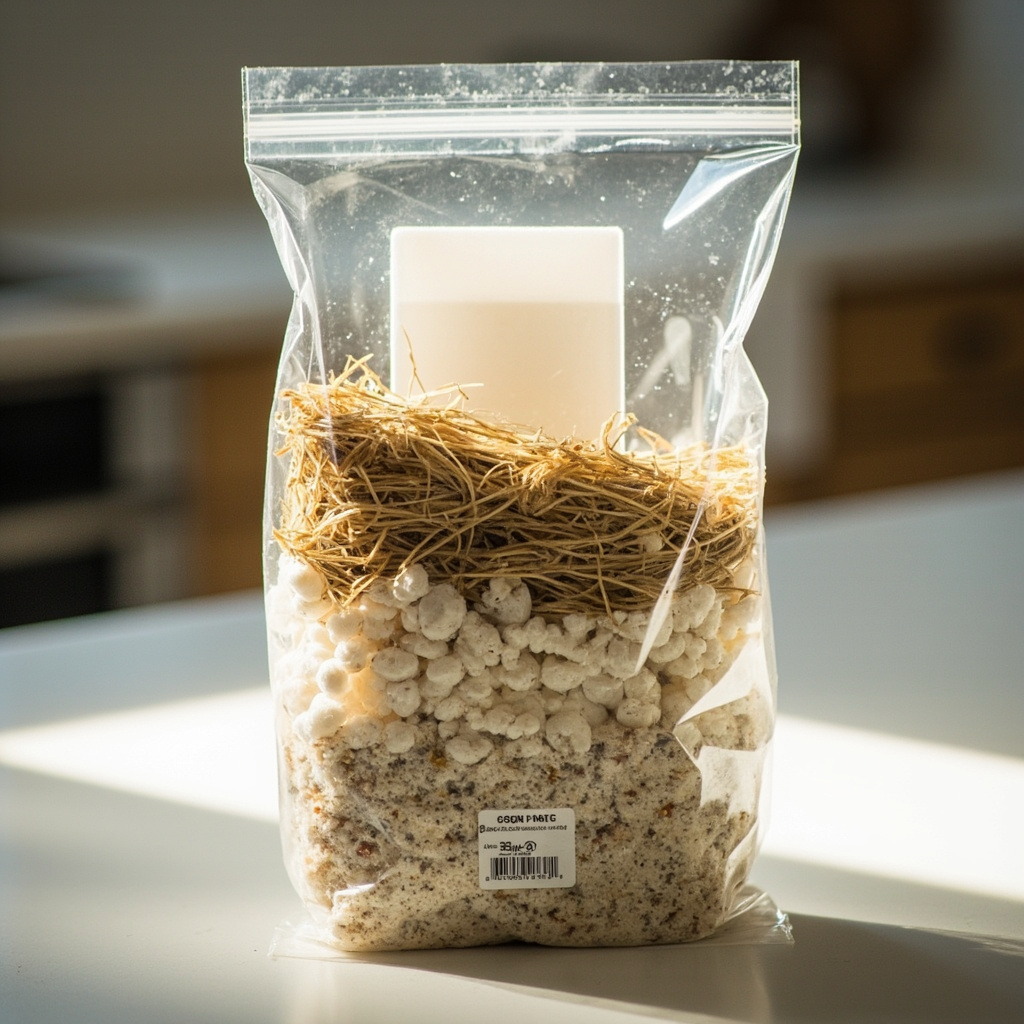
Open a filter-patch bag and stand it upright. Add a fistful of straw, then a small handful of grain spawn, alternating until the bag is 3-5 lb full. Tie or fold the top closed. The 5-10% spawn rate means 0.1-0.2 lb of spawn per lb of wet straw — so a 4 lb straw bag needs 0.4-0.8 lb of spawn. A kitchen scale is the only reliable way to hit this rate.
A good rule of thumb: 1 lb of blue oyster grain spawn fills 4-6 lb of pasteurized straw. If you’re scaling up to 5-10 bags per cycle, a 1 cubic foot bale of wheat straw handles the bulk without reordering.
5. Incubate
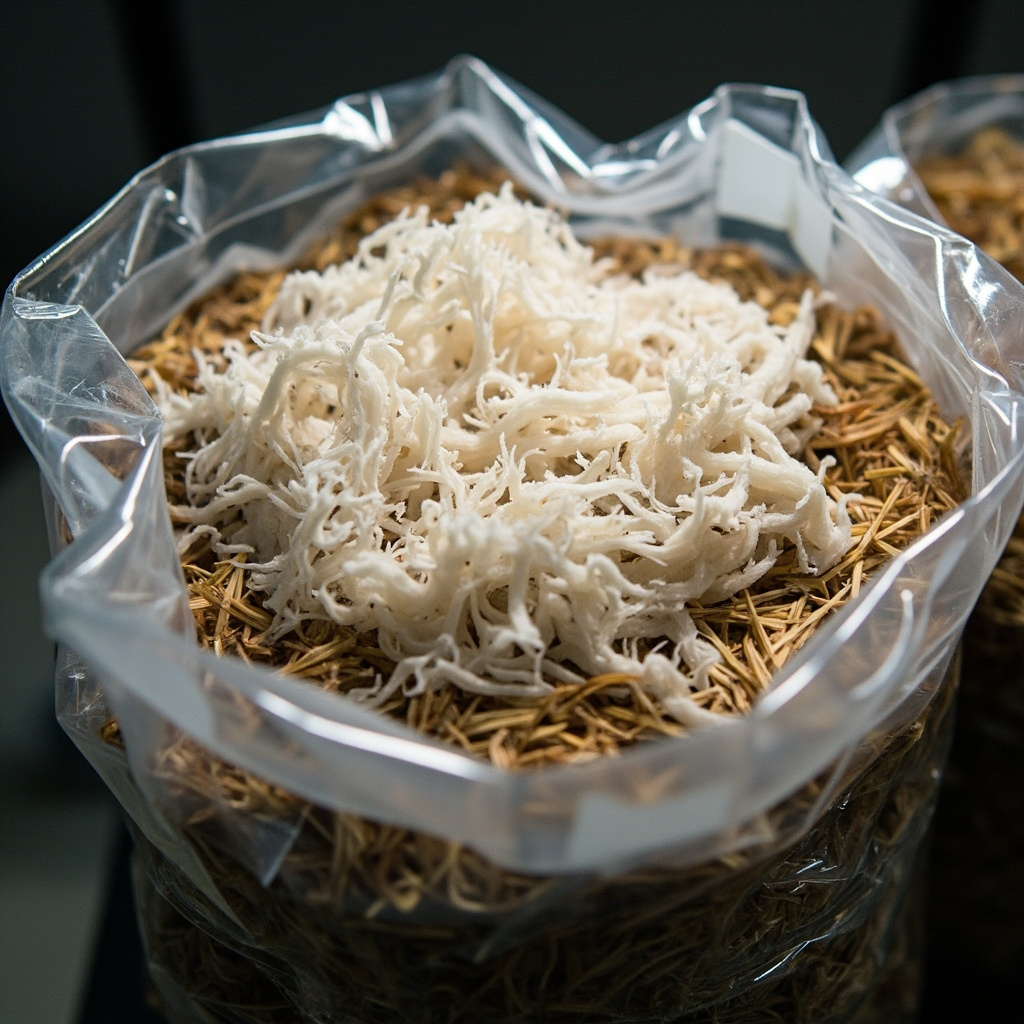
Place the bag in a still, dark spot at room temperature — a closet, a basement corner, an under-bed storage area. Don’t open the bag for 10-21 days. White mycelium will creep through the straw from the spawn chunks. If you see green or black spots, isolate the bag immediately and check the contamination guide.
The first 3-4 days are the most contamination-prone window — the spawn is still establishing itself and any bacteria or mold that survived pasteurization has a head start. Keep the bag at room temperature (65-75°F) and don’t move it around during this window. After day 5, the mycelium should be visible as small white halos around each spawn chunk.
6. Fruit
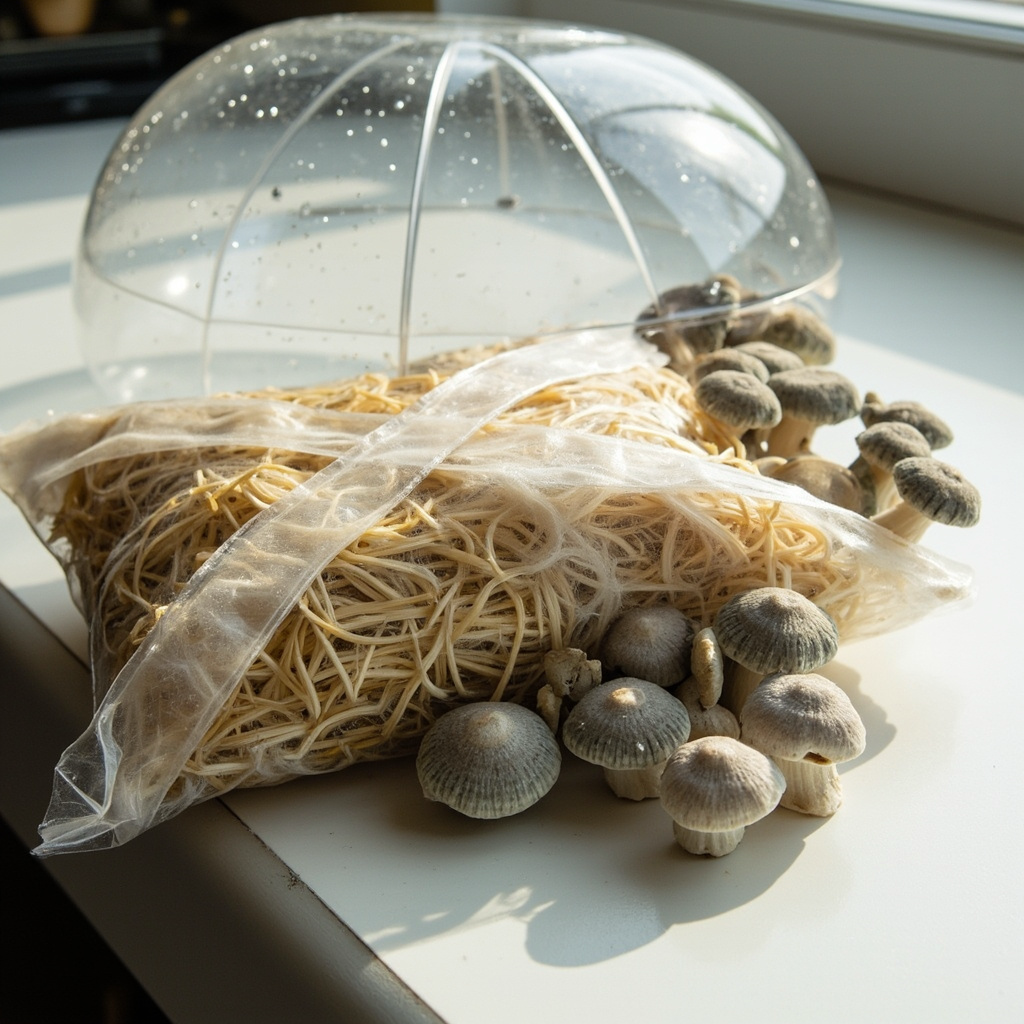
When the bag is fully white and firm, move it to fruiting conditions — indirect light, 70-85% humidity, gentle fresh air. Cut a small X on the face and mist twice daily. Expect pins in 1-2 weeks. Harvest clusters before the cap edges flatten.
Minimum kitchen conditions
Straw bags need the same fruiting conditions as a kit: indirect daylight, 70-85% humidity at the cut face, and gentle fresh-air exchange. Most kitchens need either a humidity tent or a twice-daily misting routine to keep the cut face dewy. A fruiting tent with a small USB fan pointed at the cut face works well — it keeps air moving without drying the surface.
If your kitchen is very dry in winter, plan to mist 3-4 times a day for the first 2-3 weeks. The 5-10% spawn rate you used when filling the bag will only beat contamination if you keep the surface conditions right. A filter-patch bag helps with humidity by trapping moisture inside while the patch breathes — unlike a sealed plastic bag, your cut face won’t suffocate.
Contamination watch
A clean pasteurized straw bag smells like sweet hay. A contaminated bag smells sour, fruity, or rotten. If the bag turns bright green, develops black spots, or develops any odor that isn’t clean hay, isolate it from other bags and check the contamination overview before you open it.
Green mold (Trichoderma) is the most common straw contaminant. It usually appears 5-10 days after spawning if the spawn rate was too low, the straw was too wet, or the bag was opened mid-colonization. Don’t open the bag to “check” — once Trichoderma is established, opening the bag only spreads it. Isolate and discard.
Sour smell alone (without visible mold) usually means the straw cooled too slowly in the pot and anaerobic bacteria took hold. Drain and cool faster next time, or shorten the pasteurization window.
Common mistakes
Mistake 1 — Boiling volatiles off
Straw is pasteurized at 160-180°F, not boiled. Boiling drives off volatile compounds that help suppress competitors, leaving the straw a perfect food source for fast-moving bacteria. Keep a thermometer in the pot and pull it off the heat the moment it hits 180°F. The pot’s residual heat will keep the temperature in range for another 10-15 minutes without active burner input.
Mistake 2 — Under-spawning
5-10% spawn rate by wet weight is the standard. A 4 lb straw bag needs 0.4-0.8 lb of spawn. If you under-spawn (say, 1-2% rate), the mycelium can’t colonize fast enough to beat competitors and the bag goes green within a week. A kitchen scale is the only reliable way to hit this rate. When in doubt, err on the high end — 10% is safer than 5% for a first-timer.
Mistake 3 — Mid-colonization openings
It’s tempting to open the bag to “check” how the colonization is going. Don’t. Every opening is a contamination opportunity. Wait the full 10-21 days before checking. The bag should look fully white and firm when colonization is done. If you absolutely must check, do it in a still-air space (a bathroom with the shower running to settle spores is an old mushroom-grower trick) and re-seal immediately.
Mistake 4 — Wrong species
Oyster is the only species that reliably colonizes plain pasteurized straw. Lion’s mane works on straw but yields less. Shiitake, chestnut, and king oyster want hardwood, not straw — for those species, see hardwood pellets instead. Match the substrate to the species, not the other way around.
Mistake 5 — Reusing spent substrate
Spent straw is exhausted — most of its available carbon is gone, and the remaining mycelium can’t fruit well a second time. Compost it instead. Spent straw makes excellent garden mulch or compost for a wine cap bed. Bury it under a shrub or in a vegetable bed and the rest of the mycelium helps the soil microbiome.
Related species and essentials
- Oyster — the species straw was made for
- Grow bags — the smaller-scale first step
- Grow kits — the foundation, do this first
- How to choose a grow kit — kit decision context
- Hardwood pellets — the sister substrate for shiitake and chestnut
- Fruiting conditions — when the bag is ready to fruit
Key takeaways
- Oyster is the only sensible first try on straw
- Pasteurize at 160-180°F for 60-90 minutes, not boiling
- 5-10% spawn rate by wet weight — use a kitchen scale
- Don’t open the bag during colonization
- Spent straw makes excellent garden mulch or wine cap bed material
When to compost
A straw bag is done fruiting when the second flush is small (under 30% of the first flush weight), the bag feels light, or the mycelium has stopped responding to rehydration. Most kitchen-scale straw bags give one strong flush and one or two smaller follow-ups, then they’re spent. Don’t try to push a third flush from a finished bag — the contamination risk rises sharply as the mycelium weakens.
Compost the spent straw in a garden bed or under shrubs. The remaining mycelium helps the soil microbiome and the decomposed straw adds carbon back to the soil. If you have a wine cap bed in the backyard, spent straw is excellent top-dressing for it. A handful of blue oyster grain spawn mixed into the spent straw before you bury it can even seed a small outdoor oyster patch in the right conditions.
Culinary / edible kitchen growing only. FungiAtHome does not cover psychedelic or actives cultivation.