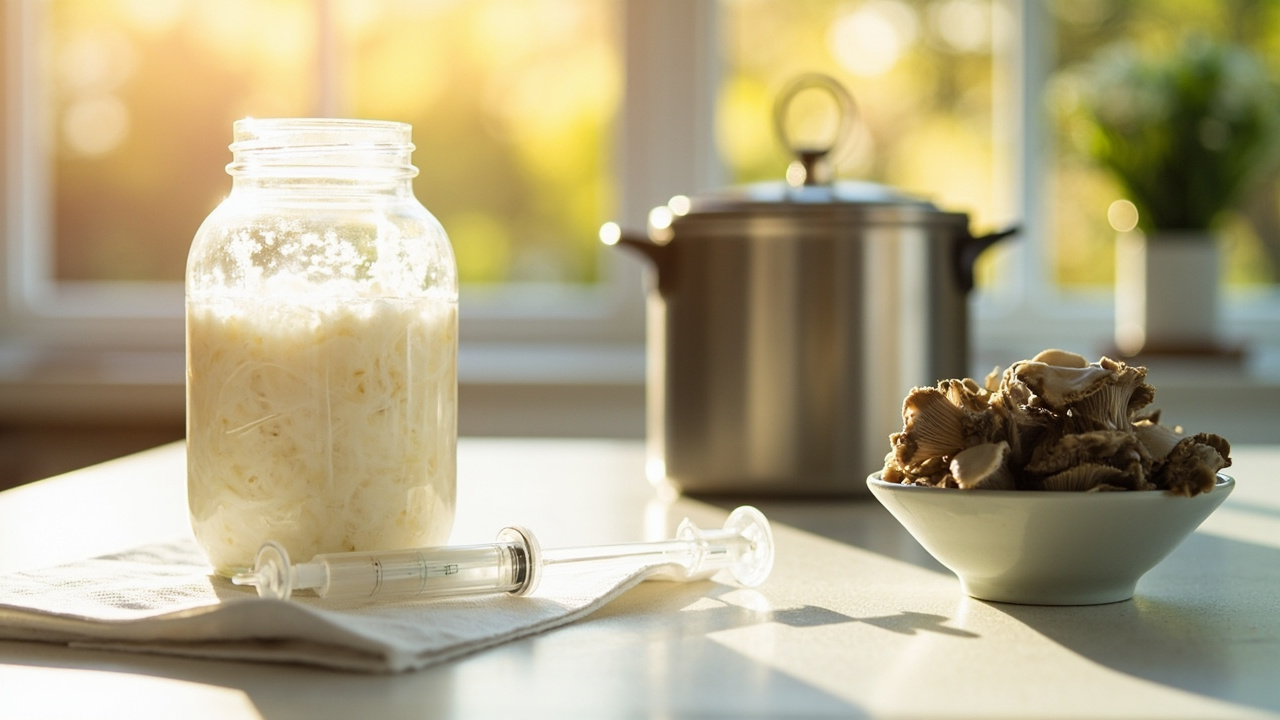
Liquid culture (LC) is the fastest way to turn a single clean agar wedge into enough inoculant for dozens of grain bags. One jar produces 20-plus syringes. But if you skip agar skills and jump straight to LC, you’ll lose every jar to contamination. This guide covers the recipes, sterilization, inoculation, and storage steps for gourmet species — oyster, lion’s mane, and shiitake.
Quick answer
Liquid culture is a nutrient broth of honey or malt extract in water, sterilized in a pressure cooker, then inoculated with clean mycelium from an agar plate. One 500ml jar yields 20-plus inoculation syringes, each ready to colonize a grain bag in days instead of weeks. This kitchen-scale guide covers three recipes, pressure cooker sterilization, agar wedge inoculation, contamination testing, and refrigerator storage that keeps gourmet cultures viable for six months.
What this is (and is not)
What liquid culture is
LC is a liquid nutrient solution — typically 4% light malt extract or 4% honey in water — that supports suspended mycelial growth. You sterilize the solution in a sealed jar, inoculate it from a verified-clean agar wedge, and within 1-2 weeks the jar fills with a cloudy mass of mycelium. You then draw sterile syringes from the jar and use them to inoculate grain bags, bypassing the slow agar-to-grain transfer entirely. One jar yields enough inoculant for 20-40 grain bags depending on draw volume.
What this guide is not
This guide covers gourmet and edible species only — oyster, lion’s mane, shiitake, king oyster, pioppino, reishi. We do not cover actives, psilocybin, or cubensis strains. We do not cover monotub inoculation. If you found this page looking for actives cultivation, this is not your resource.
Who this is for (and when to skip LC)
If you’re still on your first kit
Stop. Liquid culture is an advanced technique that assumes you already understand sterile workflow. Start with a ready-to-fruit grow kit and succeed with that first. LC without agar skills leads to near-total contamination.
If you’ve succeeded with agar plates
This is your next step. If you can pour and transfer agar with a contamination rate under 20%, you have the sterile technique needed for LC. LC lets you skip the agar-to-grain bottleneck. Instead of waiting weeks for a wedge to colonize grain, you inject LC and see colonization in 5-7 days.
If you want to scale to grain bags
LC is the standard inoculation method for grow bags. One LC jar syringe-inoculates dozens of bags at a fraction of the time and cost of agar wedges. If your goal is producing grain spawn for bulk substrate, LC is the intermediate step.
What you’ll need
Recipe ingredients (makes about 500ml)
- Light malt extract (LME): 20g (4% solution) — the default recipe. Briess Golden Light is a 1 lb bag that makes about 45 jars.
- OR honey: 20g (4% solution) — budget alternative
- OR LC premix powder: per package instructions
- Distilled or filtered water: 500ml
- Mason jars with self-healing injection port lids — at least 2. The Shroomability 12-pack fits standard wide-mouth jars and includes .2 micron filters.
Equipment
- Pressure cooker (15 PSI) — non-negotiable. The Presto 23-quart holds 4-6 LC jars per batch.
- Still air box (SAB) — for inoculation work. The Bella Bora SAB is a budget option shared with our agar guide.
- Clean agar plate with confirmed gourmet mycelium
- Sterile 60ml syringes — for drawing LC and inoculating grain. BH Supplies 50-pack covers multiple batches.
- Magnetic stir bar — for breaking up mycelial clumps. The Weewooday 8-pack fits multiple jar sizes.
- Alcohol (70% IPA) — for sanitizing all surfaces and tools
- Flame source (alcohol lamp or lighter) — for sterilizing needle or scalpel
Do this first: verify your culture is clean
Before mixing a single jar of LC, ask yourself: have you verified that your agar culture is clean? LC amplifies whatever is on the agar wedge. If your plate has hidden bacterial contamination — invisible to the naked eye on solid agar — your LC jar will be a bacterial soup in 48 hours. Total loss.
Do this first. Take a small sample from your culture plate and transfer it to a fresh agar plate. Wait 3 days. If the new plate shows only clean white mycelium with no wet spots, yellow exudate, or colored zones, your culture is clean enough for LC. If anything looks off, do sector transfers on agar until you have a confirmed clean plate.
If you’re unsure whether your plate is contaminated, check the contamination overview before proceeding.
Step-by-step: recipe, sterilize, inoculate, store
Step 1: Mix your LC recipe
Weigh 20g of light malt extract (or honey). Dissolve in 500ml warm distilled water. Pour into mason jars, filling each about 70% full (leave headspace for stirring and syringe access). Add a magnetic stir bar to each jar. Seal with self-healing injection port lids.
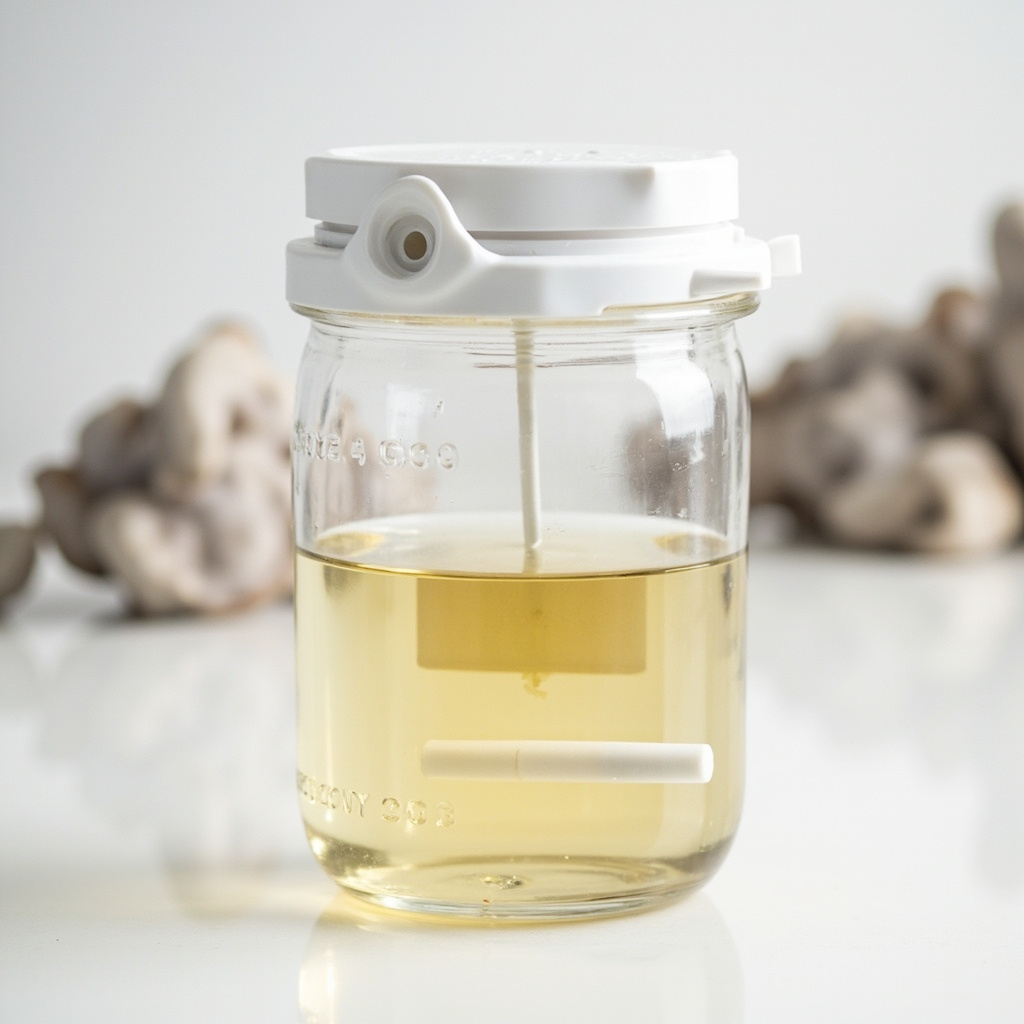
Three recipe variants:
| Recipe | Nutrient | Amount per 500ml | Pros | Cons |
|---|---|---|---|---|
| Honey LC | Honey | 20g (4%) | Cheapest, widely available | Cloudier, harder to spot early contamination |
| LME LC | Light malt extract | 20g (4%) | Clear solution, easy to see contamination | Slightly more expensive |
| LCM premix | Commercial LC mix | Per package | Pre-measured, consistent | Most expensive per jar |
Step 2: Sterilize in the pressure cooker
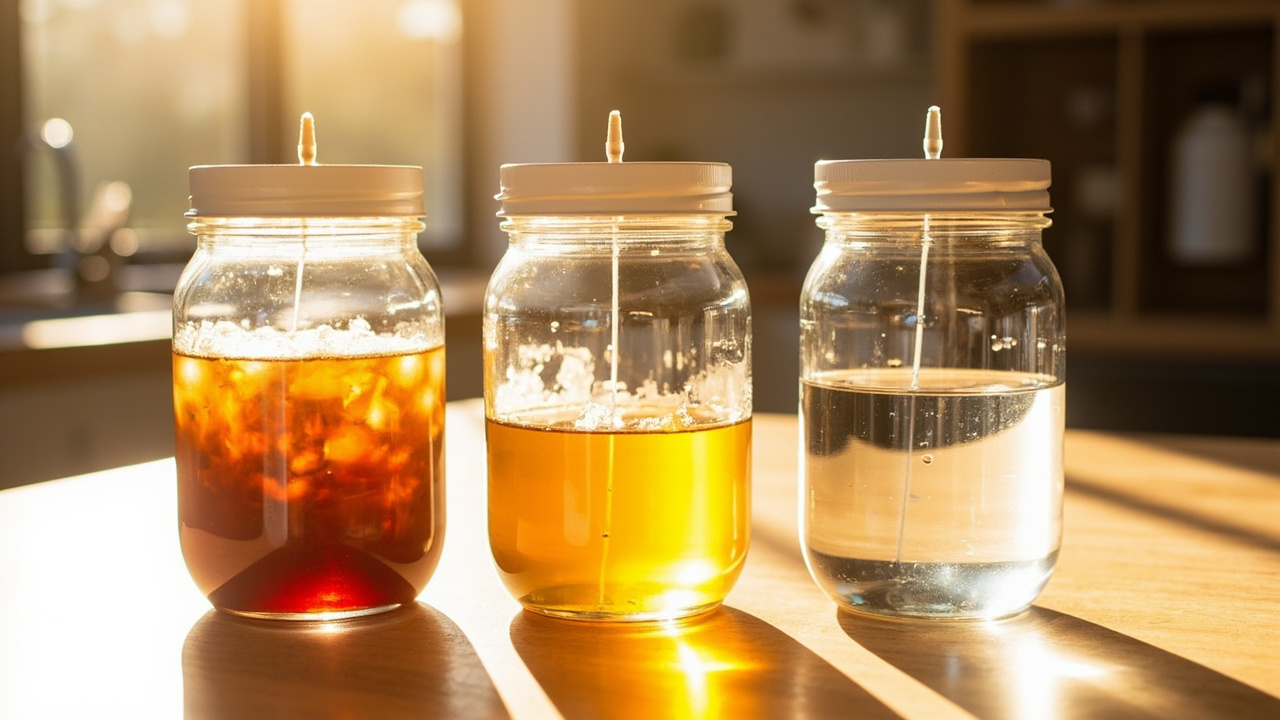
Wrap jar lids loosely in foil. Place jars in the pressure cooker on a trivet with 2-3cm water. Bring to 15 PSI and process for 30 minutes. Let cool naturally — do not release pressure manually (rapid depressurization can crack jars or pull contaminants in through the filter).
After cooling to room temperature (2-3 hours), jars are ready for inoculation. The solution should be clear (LME) or slightly amber (honey). If you don’t own a pressure cooker yet, the Presto 23-quart is the kitchen-standard workhorse.
Step 3: Inoculate from a clean agar wedge
Work inside your still air box. Sanitize all surfaces with 70% alcohol. Flame-sterilize your scalpel or inoculation loop until red-hot, then let cool 10 seconds.
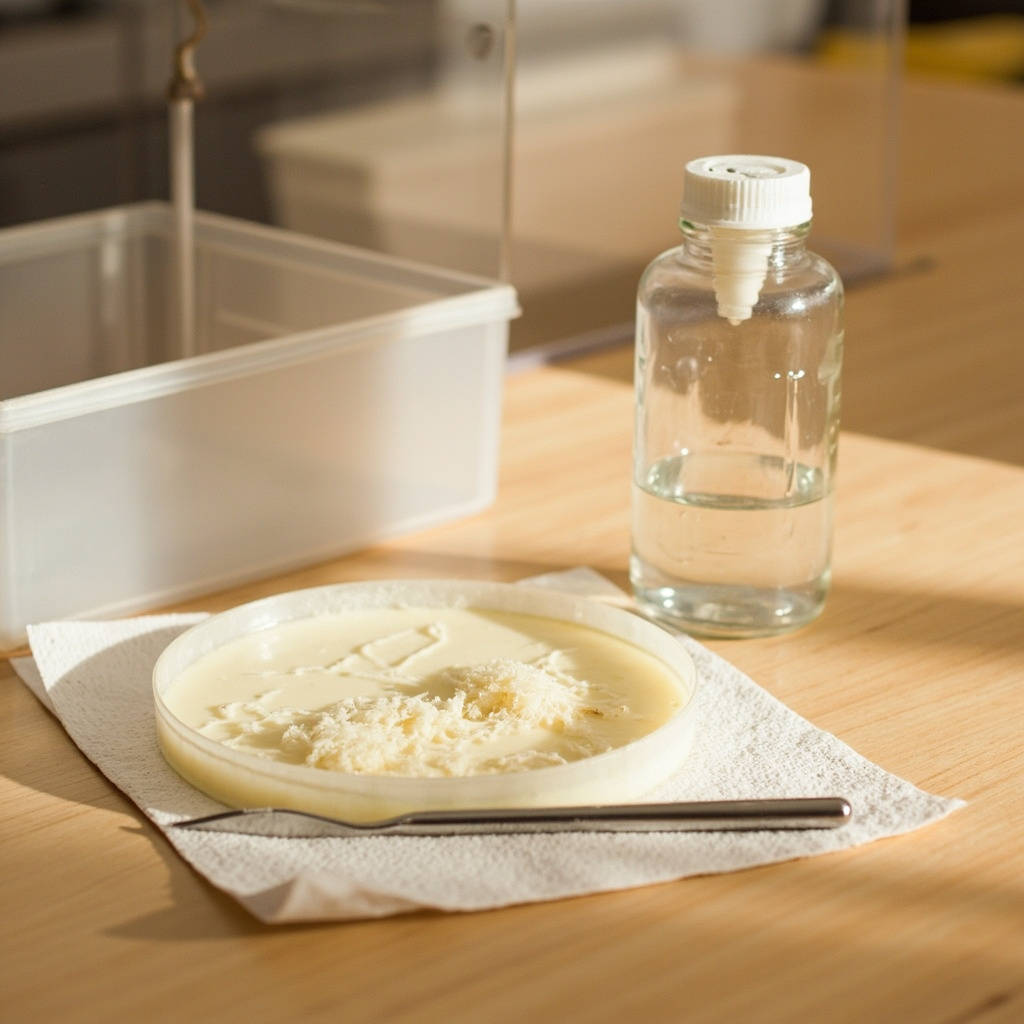
Cut a small wedge (about 5mm x 5mm) from the leading edge of your verified-clean agar plate. Quickly open the injection port lid just enough to drop the wedge in, then seal immediately. Minimize open-air time — 3 seconds maximum.
If you have a liquid culture syringe from a previous batch (or purchased from a gourmet supplier), flame-sterilize the needle, inject 2-5ml through the self-healing injection port.
Step 4: Incubate and observe
Place inoculated jars in a dark area at room temperature (20-24°C / 68-75°F). Within 3-5 days you should see wispy white growth emanating from the agar wedge. By day 7-10, the solution should be noticeably cloudy with a uniform white mycelial suspension.
Gently swirl or use the magnetic stir bar on low speed every 2-3 days to distribute mycelium and prevent clumping. Do not shake vigorously — this can introduce contaminants through the filter port.
Timeline by species:
- Oyster: 5-7 days to full colonization — the fastest LC species. See the oyster species guide.
- Lion’s mane: 10-14 days, slower initial growth. See the lion’s mane guide.
- Shiitake: 10-14 days, denser mycelial mass. See the shiitake guide.
Step 5: Draw syringes and test
Once the jar shows uniform cloudy growth (typically day 10-14), you can draw inoculation syringes.
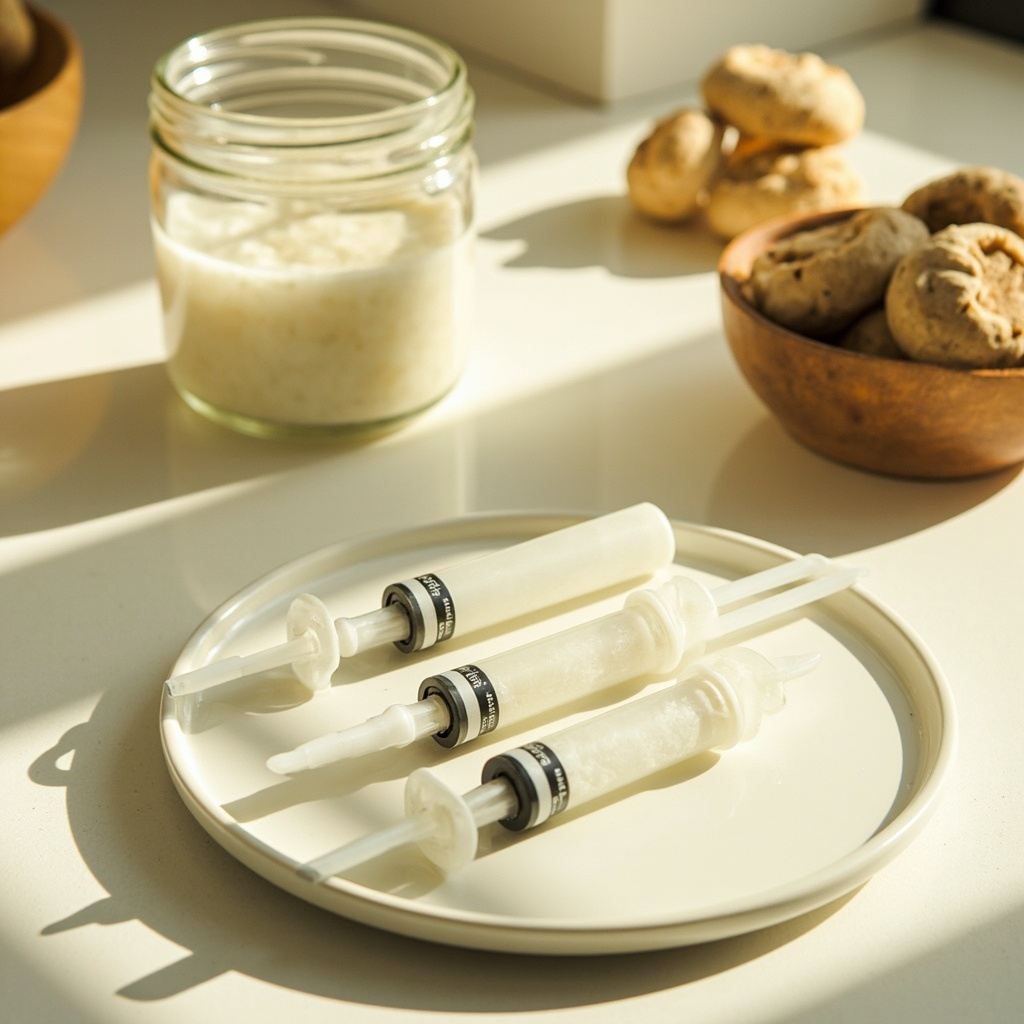
Before committing to full-scale inoculation, test your LC on a single grain bag. Flame-sterilize a 60ml syringe, swab the injection port with alcohol, draw 10-20ml of LC, and inject into one test grain bag. Wait 5-7 days. If the grain shows clean white colonization with no wet spots, off-colors, or sour smell, your LC is clean.
Only after a successful test should you draw syringes for all your bags. One jar of LC can produce 20-plus syringes (10ml each), enough for 20-40 grain bags.
LC versus agar: which to use when
Agar plates are diagnostic tools. You use agar to verify that a culture is clean, to isolate a strain from a contaminated sample, or to clone a specific mushroom. Agar is slow (7-14 days per transfer) but you can see what’s growing.
LC is an expansion tool. You take a verified-clean agar culture and scale it up 100-fold in liquid. LC is fast (10-14 days for a full jar) and one jar replaces dozens of agar transfers.
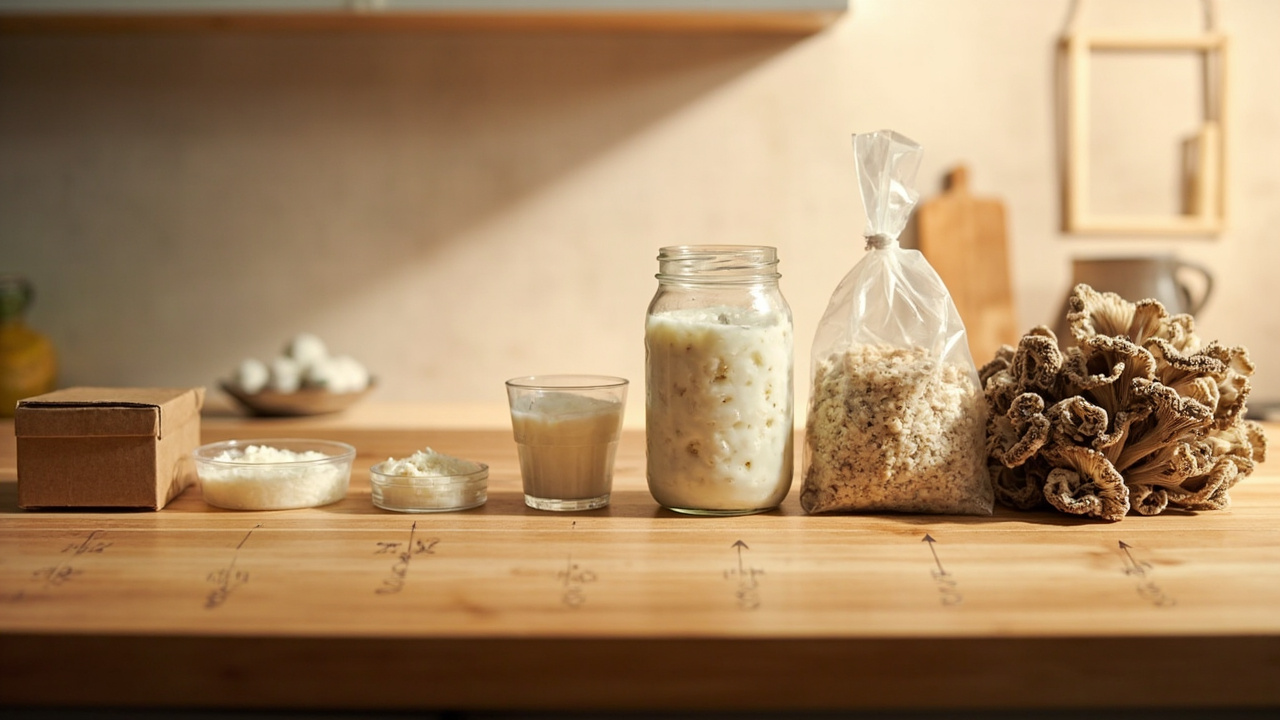
The standard progression for home gourmet cultivators:
- First kit — learn the basics (open, mist, harvest)
- Agar — learn sterile technique, verify cultures
- LC (this guide) — scale up clean cultures into bulk inoculant
- Grain bags — use LC syringes to produce spawn
- Fruiting conditions — fruit your substrate
Skip any step and you’ll likely fail. LC without agar skills means guaranteed contamination.
Storage and shelf life
Clean LC stored in the refrigerator (2-4°C / 35-39°F) remains viable for 6-12 months. To store, tighten the jar lid fully, label with species, date, and batch number, and place in the back of the fridge (most stable temperature). Check monthly. If the solution turns cloudy with non-white particles, or develops a sour smell, discard immediately.
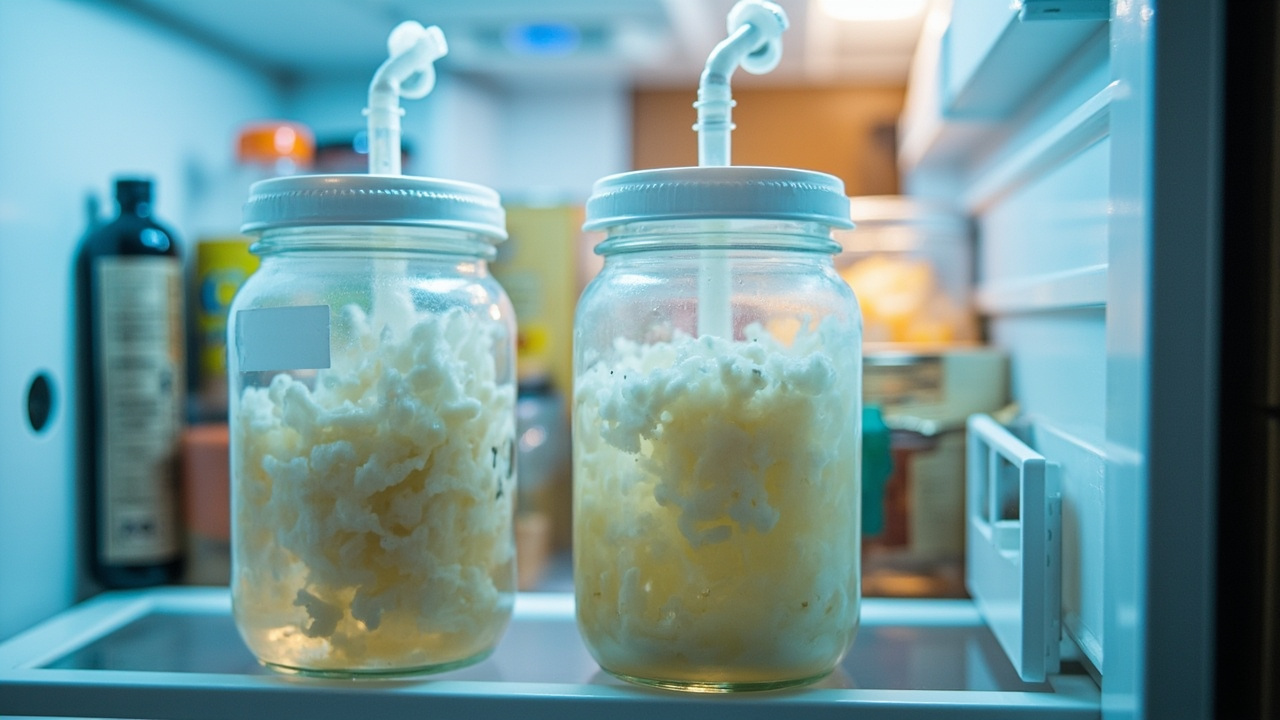
To revive stored LC, let the jar warm to room temperature for 2 hours, swirl gently, and draw a test syringe. If the test grain bag colonizes cleanly within 7 days, the culture is still good.
Contamination watch
What clean LC looks like
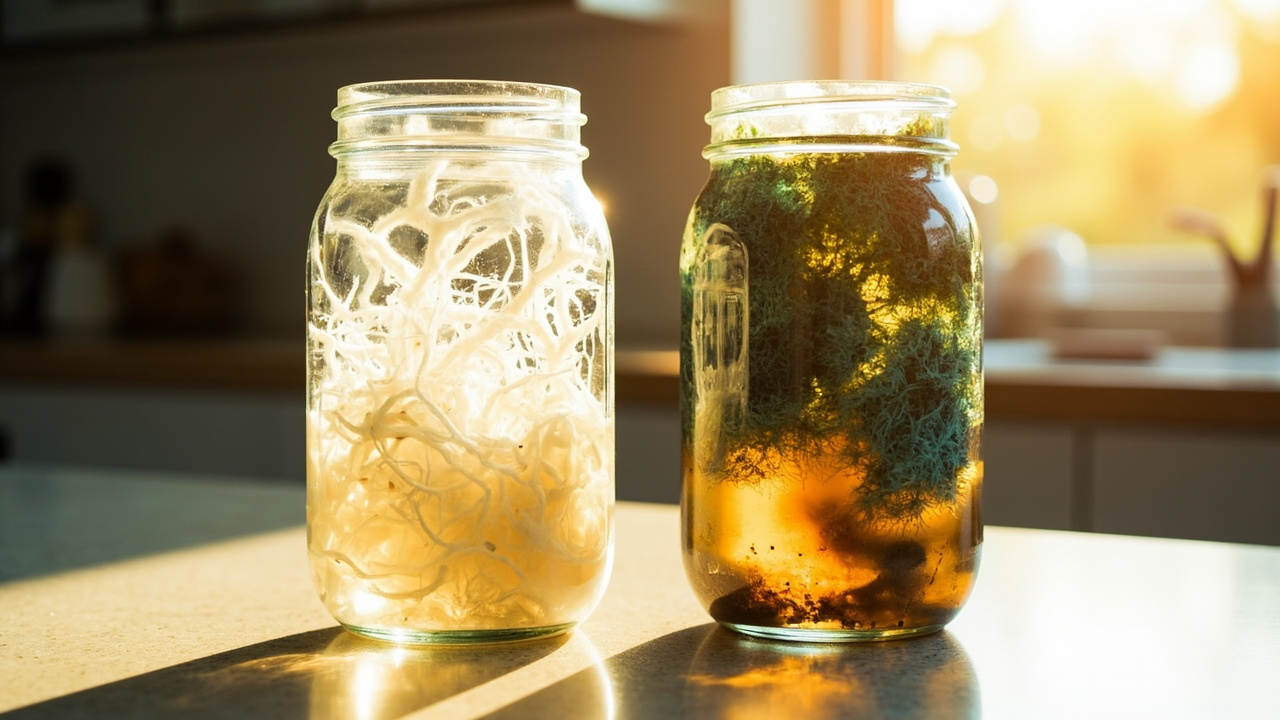
Clean LC is uniformly cloudy with white-to-cream-colored mycelium suspended throughout. It should smell slightly sweet (like the original malt or honey solution) or neutral. When settled, you may see a white blob of mycelium at the bottom that redistributes when swirled.
What to do when a jar goes bad
Discard the entire jar. Do not try to rescue contaminated LC. Unlike agar, where you can sometimes transfer a clean sector, liquid contamination spreads instantly through the entire solution.
Common contamination signs:
- Green or blue-green patches — green mold (Trichoderma). Discard immediately, sanitize the area.
- Cloudy with gray or brown tint — bacterial contamination. Discard.
- Pink or red — yeast. Discard.
- Sour or rotten smell — bacterial bloom. Discard outdoors.
See the contamination overview for a full identification guide.
Common mistakes
1. Trying to sterilize without a pressure cooker
Boiling water (100°C) does not kill bacterial endospores. Only 15 PSI steam (121°C) for 30 minutes achieves true sterilization. Boiling your LC jar and inoculating it is a guaranteed way to culture bacteria, not mycelium. A pressure cooker is the single most important tool for this work.
2. Inoculating from an unverified spore syringe
Spore syringes are not sterile — they carry invisible bacterial contaminants that flourish in liquid culture. Always inoculate LC from a verified-clean agar wedge, never directly from spores. If you only have spores, germinate them on agar first, verify the plate is clean, then transfer to LC.
3. Skipping the test bag
Drawing 20 syringes and inoculating 20 bags without testing first is gambling. One contaminated jar means 20 lost bags. Always inoculate one test bag, wait 5 days, confirm clean growth, then proceed.
4. Opening the jar lid to inoculate
The self-healing injection port exists for a reason. If you remove the lid to drop in an agar wedge, you expose the entire surface to airborne contamination. Use the injection port for syringes, or open the lid for the absolute minimum time (3 seconds or fewer) when dropping an agar wedge inside a still air box.
Related methods and species
- Agar preparation — the skill you need before LC
- Grow bags — where your LC syringes go next
- Grow kits — the starting point; skip LC if you haven’t mastered kits
- Fruiting conditions — the terminal stage after LC to grain bags
- Contamination overview — LC failure mode reference
- Green mold (Trichoderma) — most common LC contaminant
Key takeaways
- LC is an expansion tool, not a starting point. Master agar first, then LC, then grain bags.
- 4% LME or honey in water, sterilized at 15 PSI for 30 minutes. No shortcuts on sterilization.
- Always inoculate from verified-clean agar, never from spores. Spores carry invisible bacteria that bloom in liquid.
- Test on one bag before committing to 20. A 5-day delay saves 20 contaminated bags.
- Refrigerated LC lasts 6-12 months. Label species and date. Discard any jar showing non-white growth.
- One jar equals 20-plus syringes. The expansion ratio is why LC is worth the learning curve.
- This guide covers gourmet species only. Oyster, lion’s mane, shiitake — not actives or psilocybin strains.
Culinary / edible kitchen growing only. FungiAtHome does not cover psychedelic or actives cultivation.