
Grow gourmet mushrooms
in your kitchen
From kit to harvest — clear steps for edible gourmet mushrooms, and honest help when something looks wrong.
Most ready-to-fruit kits show pins in about one to two weeks when humidity is right — not a guarantee, a typical range.
Where are you now?
Pick your situation — three clicks or less to a fix or a first harvest.
Something wrong with your kit?
Don’t toss it yet.
Green spots, no pins, fluffy white — most beginners misread healthy growth or give up on a kit that just needs humidity.
Healthy mycelium can look white and fluffy. Don’t panic-spray chemicals — check the guide first.
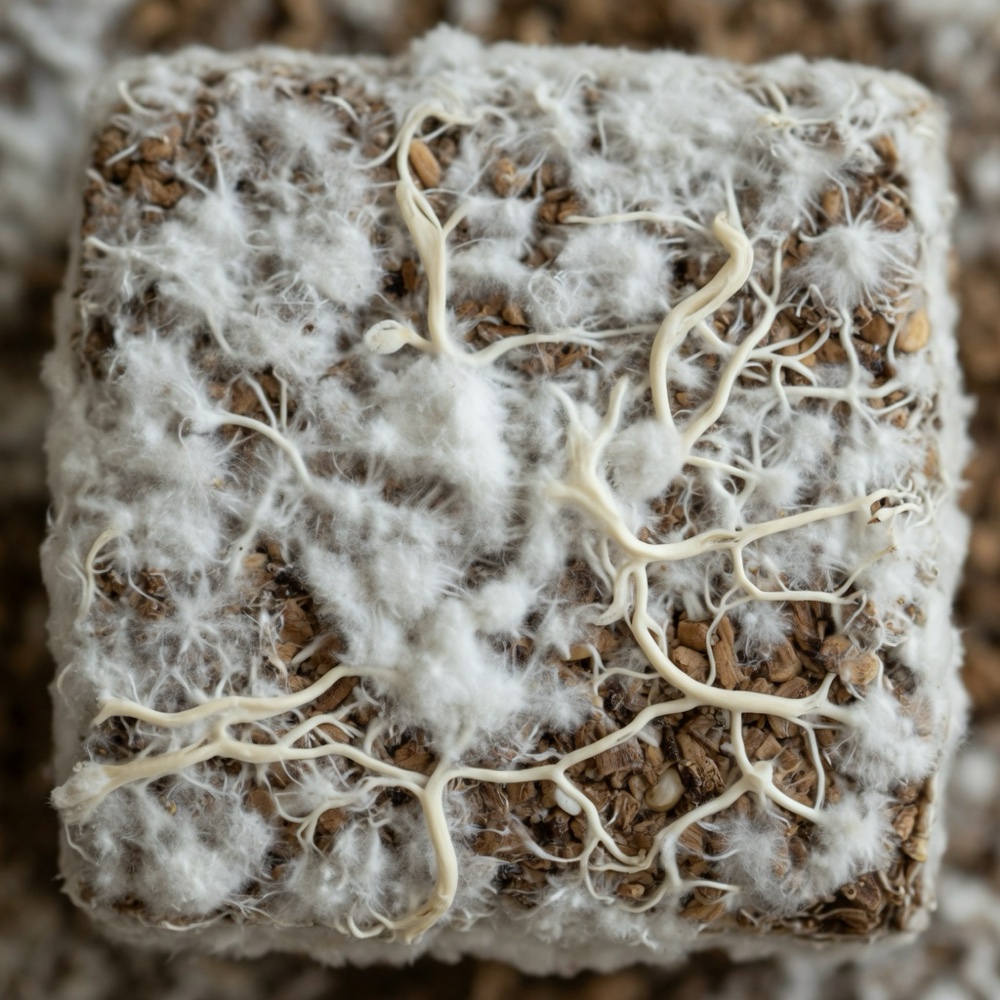
Wait before you toss
Many “failed” kits need hydration or time — not the bin.
The path to your first harvest
Five steps most kitchen kits follow — so “grow mushrooms” becomes a checklist.
Open
Cut the right way — usually an X on the face, not the whole bag.
Mist
Fine mist, not a soak. Keep the surface damp, not dripping.
Wait for pins
Often one to two weeks. White fuzz can still be healthy mycelium.
Harvest
Twist at the base before caps flatten or drop heavy spores.
Second flush
Optional soak and rest — many kits fruit more than once.
Easiest species for beginners
Three gourmet picks — not a wall of SKUs.
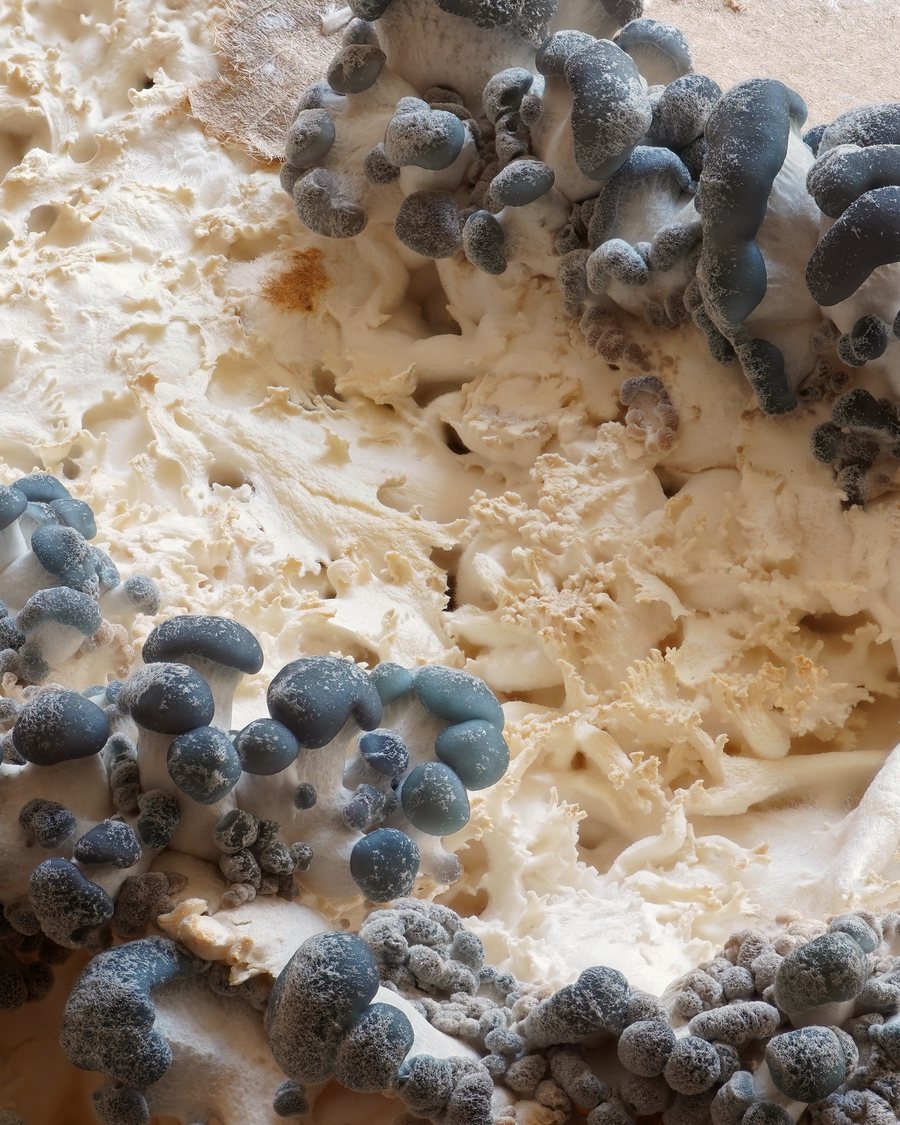

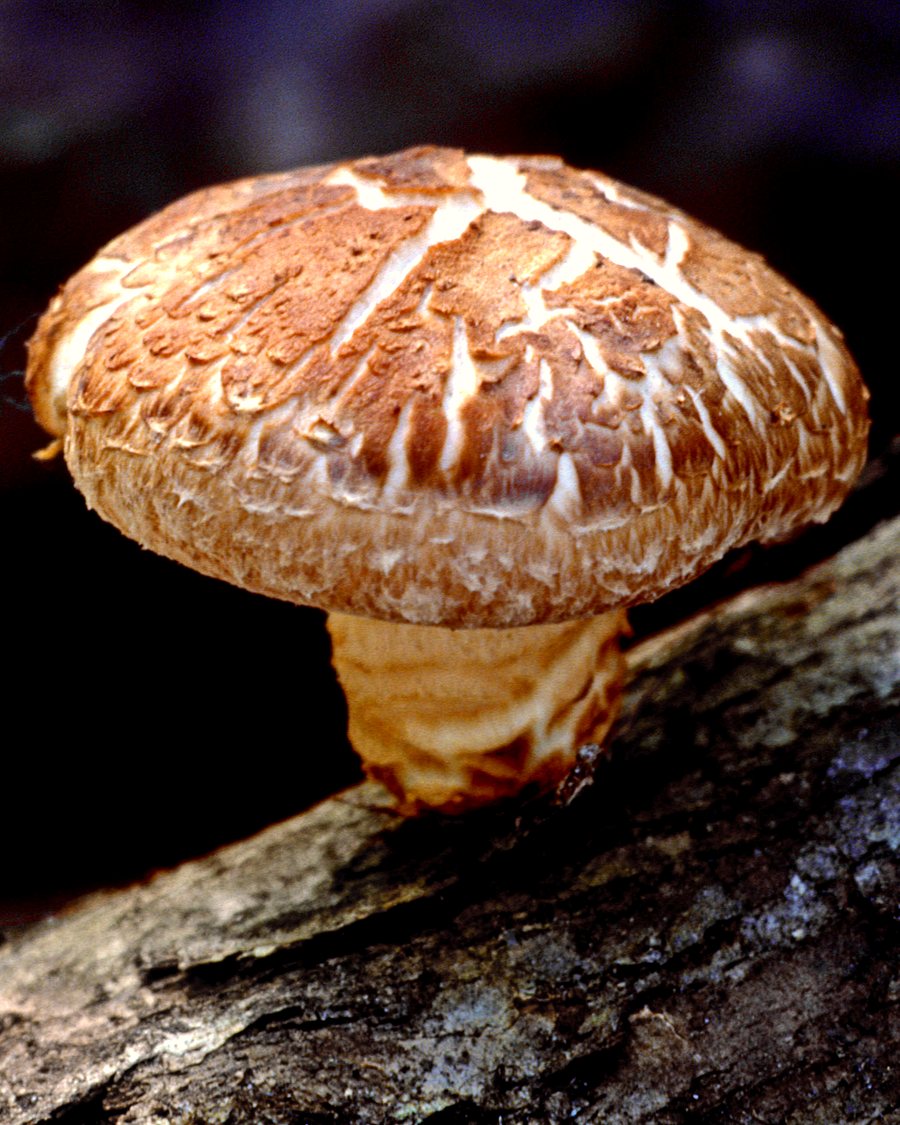
How to choose a grow kit
without the hype
Constraints first — not a fake top-10 list of Amazon boxes.
-
First time? Start ready-to-fruit
A pre-colonized kit beats bags and spawn for most kitchens. Oyster is the forgiving default.
-
Counter space only?
Smaller blocks still need humidity — a clear bag or humidity tent often matters more than size.
-
Can’t mist every day?
Be honest about daily care. Drying out is a common failure; plan misting or a humidity setup.
-
Kit vs grow bags
Kits get you to harvest faster. Bags and bulk methods wait until you’ve succeeded once.
When to try grow bags →
Why trust FungiAtHome?
Education first. We help you grow — and recover when it gets weird.
Kitchen-table gourmet
Edible species you can cook: oyster, lion’s mane, shiitake, and the gear that actually helps at home.
Failure-first help
We write the contamination and “should I toss it?” guides ecommerce sites skip.
Steps over hype
Decision trees and common mistakes — not fake top-tens or miracle sprays.
Ready when you are
Start with a kit walkthrough — or jump straight to problem guides if something already looks off.