Essentials · Environment · Roles not brands
Humidity and Misting Tools for Kitchen Gourmet Mushroom Kits
Most “dead” kits are thirsty. Tools are simple: fine mist, optional tent, honest daily care — not a fog machine shopping spree.
Choose a mister, hygrometer, tabletop dome, or mushroom tent for a kitchen gourmet block without buying humidity gear you don't need.
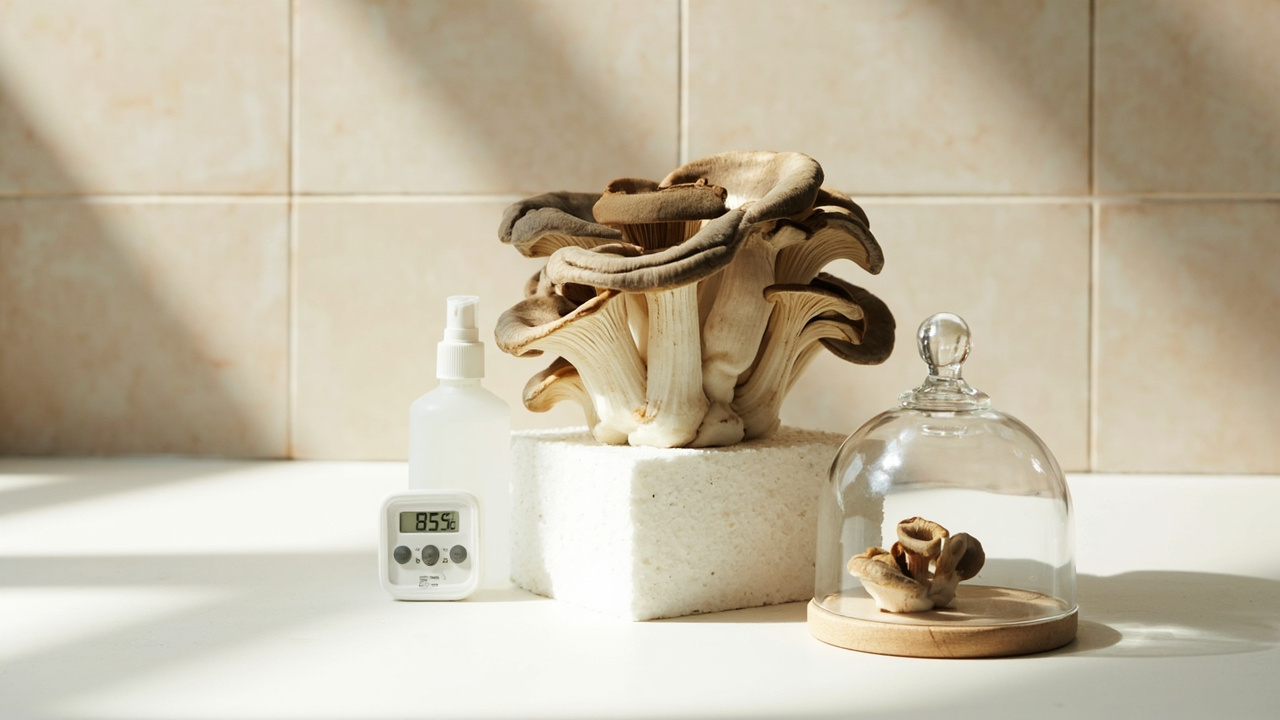
You bought a ready-to-fruit gourmet kit and the card says “mist twice a day,” but the kitchen feels dry and a humidity tent looks like the safe buy. Buy the wrong box and you waste money, or you seal the block and stall pins. That’s the usual first-flush trap. Read the cut face first, then pick a role: mister, hygrometer, dome, tent, or nothing.
Quick answer
For one kitchen gourmet grow kit you usually need a fine-mist spray bottle, a small digital hygrometer so you can read 60-80% RH instead of guessing, and a clear cover only if the cut face dries between mists. Skip the humidifier, fan, and tent until one oyster, lion’s mane, or shiitake block has run end to end. If the face stays matte within an hour, add a dome; if water pools, ease off.
What this is / is not
What this is (kitchen gourmet tool-role gate)
This is a buy-what-you-need decision for one or two kitchen gourmet ready-to-fruit blocks: oyster, lion’s mane, or shiitake. The kit bag is already the chamber. The roles are mister, hygrometer, tabletop dome, dedicated humidity tent, or nothing extra. The path is culinary and counter-scale, not a fruiting-room build.
What this is not (skip tent catalogs and farm gear)
This is not a grow-tent catalog, a fake best-of list, or a single-ASIN product page. If you came here for a Martha tent, SGFC, or monotub: for kitchen kits, skip that path. Those builds assume a fruiting room, not one culinary block. This page is also not a humidifier-automation or controller guide (that is Branch E only, after two-plus blocks). Contamination diagnosis and food-safety claims live elsewhere.
Do this first
Do not shop humidity gear until you have watched the cut face for a day.
- Read the cut face, not the kitchen thermostat 10 feet away.
- If it glistens, skip the next mist. Do not buy a tent.
- If it goes matte within an hour, mist once more. Only then consider a hygrometer.
- If water pools in the X-cut, stop misting for 24 hours. Do not add a humidifier.
- If you see green, slime, or a sour smell, isolate the kit, stop shopping humidity gear, and open the contamination overview.
Buy tools only after this 24-hour surface check.
Gourmet humidity ranges for kitchen oyster, lion’s mane, and shiitake blocks
These are kitchen-block windows at the cut face, not grow-room or tent setpoints. Below about 60% RH the surface dries and pins stall or yellow. Above about 90% with pooled water, bacterial wet rot shows up before pins. Fresh air sits next to RH: a sealed dome at a “perfect” humidity reading still stalls pins.
Oyster kitchen-block RH window
Target 60-80% RH at the cut face for a kitchen oyster kit. The bag already holds about 95-100% around the block; mist only to keep the X-cut glistening. Oyster pins often show in 7-10 days if the face stays glossy and you do not seal off fresh air. Default gear is a mister if ambient kitchen stays above about 60%. A tent is not the oyster default.
Lion’s mane kitchen-block RH window
For lion’s mane pinning humidity on a kitchen block, aim for 85-95% RH while pins form, then 70-80% RH after they show. Dense culinary heads dry faster on a counter than oyster clusters; this is the species that most often earns a small dome. Lion’s mane pins often take 14-21 days. Do not “fix” a quiet week by drowning the block. Put the hygrometer next to the bag, not across the room.
Shiitake kitchen-block RH window
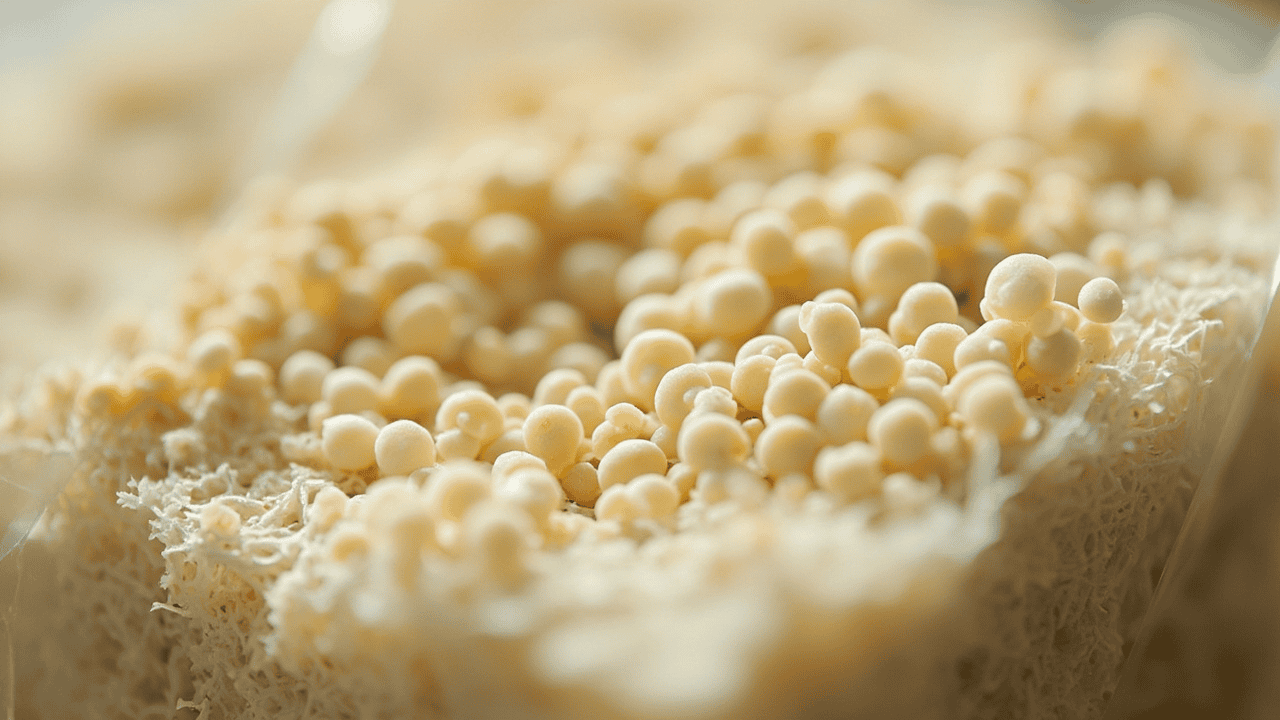
A kitchen shiitake block usually sits in the same 60-80% RH happy zone as oyster, and many kits feel comfortable at 70-80% once the block is opened or shocked per the card. Shiitake is slower: pins often take 3-6 weeks on a kit. Dry yellow pins mean a humidity and fresh-air check, not an automatic tent upgrade. Cold-shock is a species trigger, not a humidity-tool SKU. Do not buy a tent to “make shiitake faster.”
Buyer decision: mister vs hygrometer vs dome vs tent
If-then for one culinary kitchen block. This is a product-role gate, not a ranked tent list.
- If the cut face stays glossy between twice-daily mists, you need nothing extra. A mister is optional if the kit did not include one.
- If you can’t tell matte from glossy, buy a hygrometer before any enclosure.
- If ambient kitchen RH sits below about 60% for hours, or the face goes matte within an hour, use mister plus hygrometer, then a tabletop dome if that still fails.
- If a dome still dries across flushes, or two blocks fight one mist rhythm, step up to a dedicated humidity tent.
- If you want a humidifier and fan on day one of one oyster kit, skip. That’s Branch E after two-plus culinary blocks.
If you only need a mister
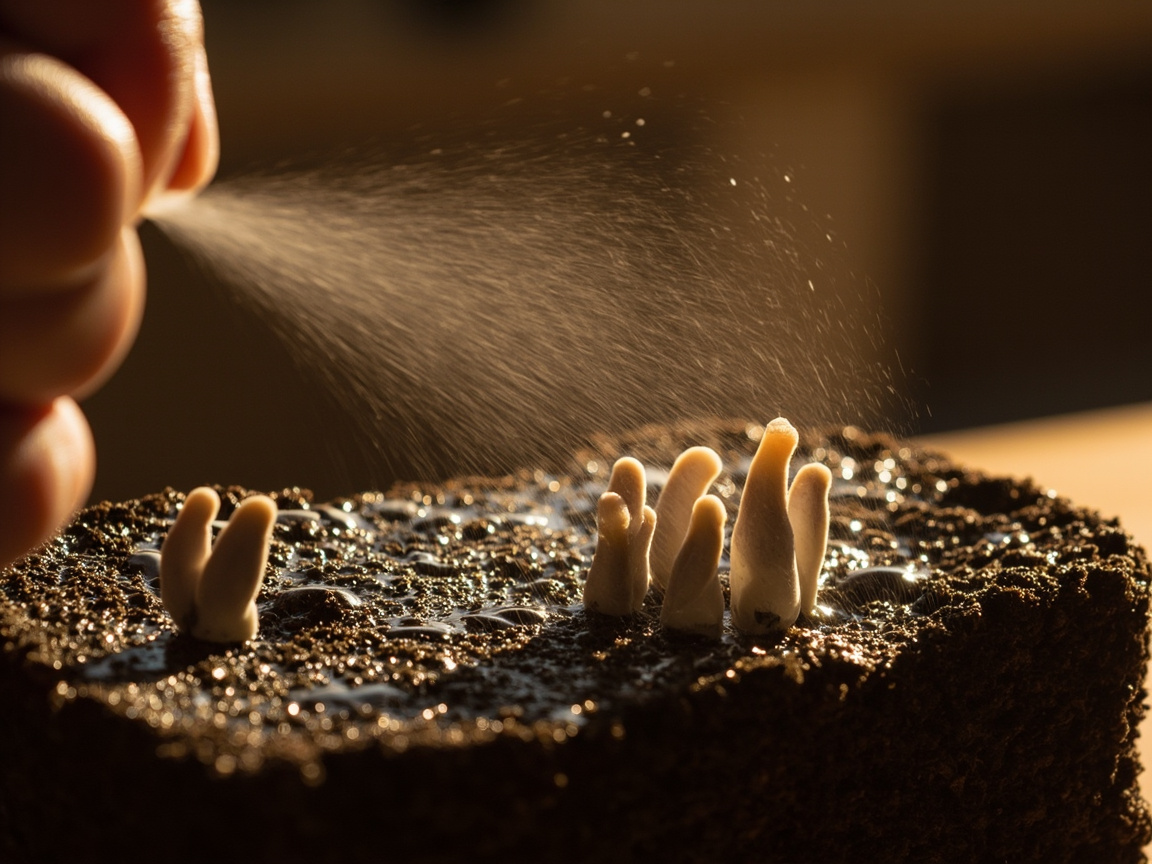
A continuous-mist pump beats a trigger jet. The BeautifyBeauties 10.1 oz continuous-mist bottle throws a fine cloud that wets the culinary cut face without blasting it into a puddle.
If you need a hygrometer next
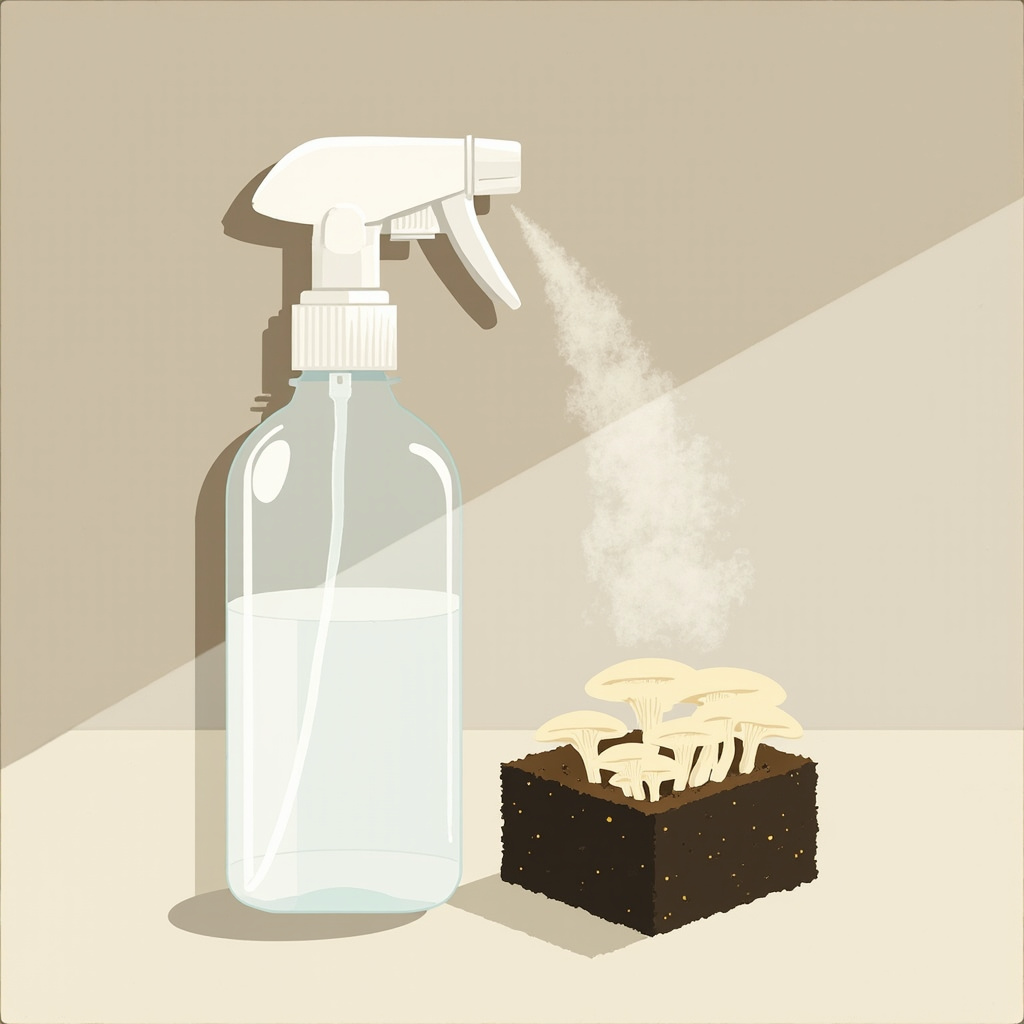
Read 60-80% (or lion’s mane 85-95% at pinning) beside the block. The TempPro TP50 digital hygrometer is the cheap unit that turns “guess and check” into “read, then mist.”
If you need a dome or tent
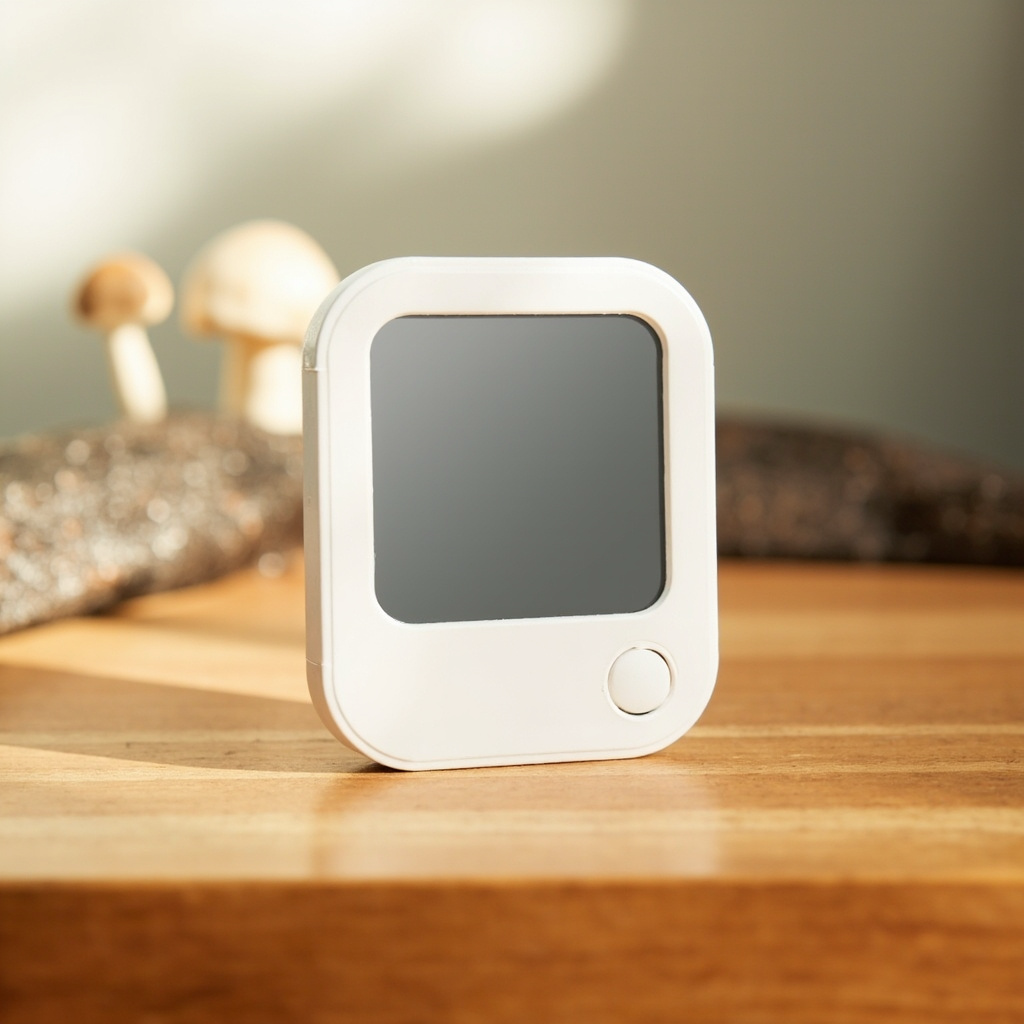
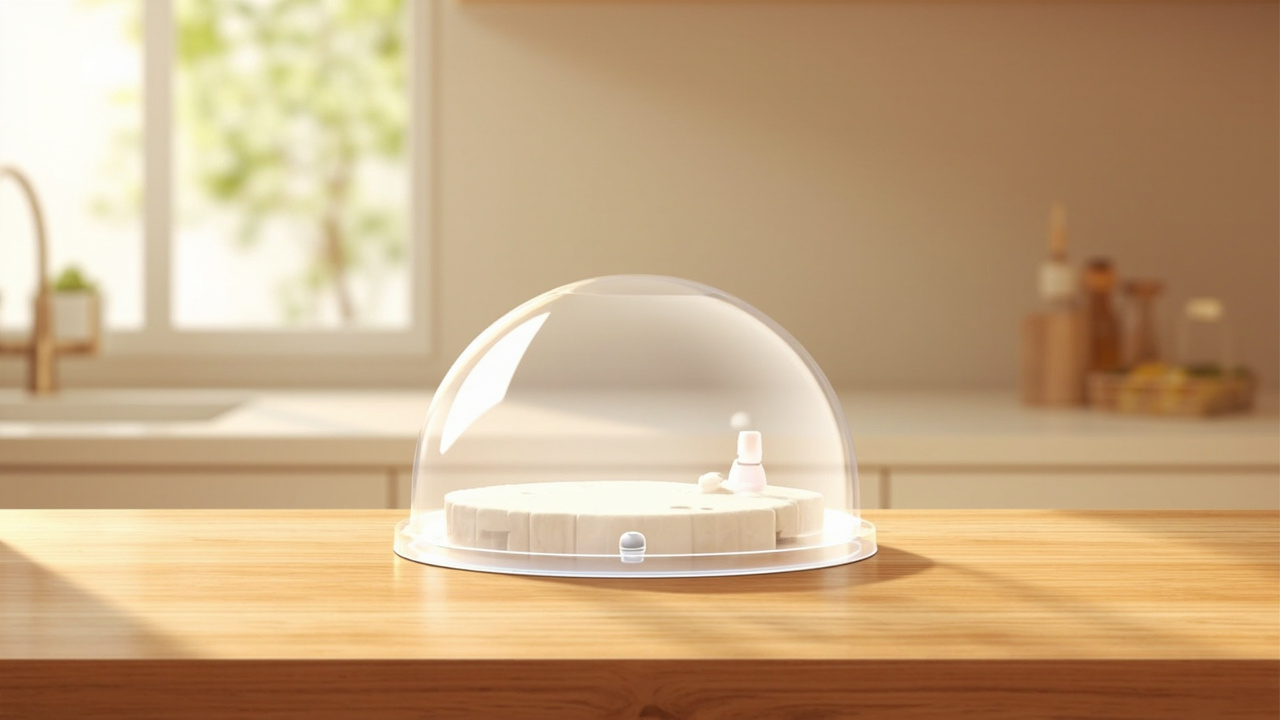
Start with a dome: the Ohuhu mini tabletop greenhouse or the SUMGROW tabletop mini greenhouse if the Ohuhu is too small. A tent comes only after repeated dry-outs. Open either cover 30 seconds twice a day so carbon dioxide does not replace the dryness problem.
Decision tree
ROOT: What humidity setup does this one-or-two-block kitchen gourmet rotation actually need?
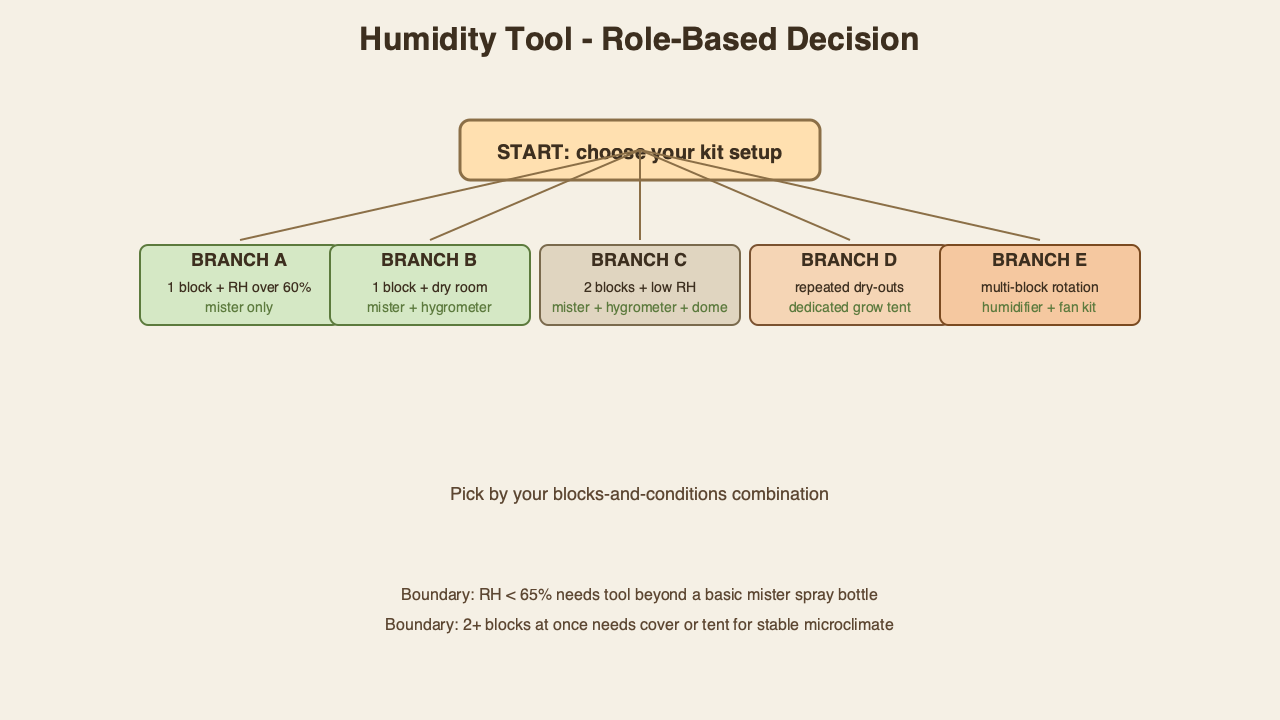
Branch A — One culinary block, ambient counter, RH above 60%
Mister only. Skip the hygrometer, dome, and tent. The kit bag is the chamber. The BeautifyBeauties fine-mist bottle is enough. If you have not opened the block yet, use the bare-minimum kit path before humidity gear.
Branch B — One block, dry or heated kitchen, RH below 60%
Mister plus a digital hygrometer. Read RH twice a day before misting. Do not jump to a tent on day one. Pair the mister with the TempPro TP50 next to the bag.
Branch C — Two kitchen blocks, low ambient RH
Mister, hygrometer, and a cover. The cover is a tabletop dome first: the Ohuhu mini greenhouse fits one block; the SUMGROW dome is the wider backup. Vent the cover or open it twice a day.
Branch D — Repeated dry-outs across flushes
Upgrade to a dedicated mushroom humidity tent. The Salcod 38-inch mushroom grow tent holds RH longer than a tabletop dome. Still not a Martha tent or a monotub.
Branch E — Multi-block rotation, premium route
Humidifier plus a small fan only for two or more culinary blocks after at least one flush. If pins still fail with RH in range, that is if pins still fail with humidity in range, not a bigger box. If the bag itself is the bottleneck, use the bag-to-tub enclosure after you already need a cover and the grow-kits walkthrough.
Branch F — DIY tote versus prebuilt dome (when cost matters)
For one kitchen gourmet block, a prebuilt tabletop dome is faster than drilling a tote. For two or more blocks, a DIY tote with 4-6 fresh-air holes stuffed with poly-fill is cheaper than a premium tent and equally effective if you already own the drill. Do not make DIY the default for a first oyster kit.
When ambient air isn’t enough
Extra gear earns its keep in a short list of kitchen patterns, not on day one of every kit:
- Dry-climate kitchens below about 50% RH for hours
- Heating vents or a stove draft stripping the X-cut
- Lion’s mane pinning at 85-95% when the room sits at 45-55% overnight
- Two-block rotation where one bag’s mist fights the other
- Multi-flush blocks that shrink and dry faster
If none of those match, extra gear is an over-buy. Most first-block growers only need the mister. Humidity, light, and fresh air as a set of kit variables are covered on the fruiting-conditions method page; this page doesn’t pick setpoints, only the tool.
How to mist without drowning
- Start twice a day.
- Mist until the cut face glistens, never until water pools.
- Skip the next pass if the face is still glossy from the last mist.
- Add one extra pass if it goes matte within an hour, then consider a dome, not a humidifier.
- Stop for 24 hours if a puddle sits in the X.
- Open any dome or tent 30 seconds twice a day. Humidity without fresh air stalls pins.
What you’ll need
Role-mapped tools after the decision, not a ranked shelf. All five stay kitchen-counter scale.
Mister — BeautifyBeauties 10.1 oz
Branch A default. Fine-mist pump for daily culinary-block surface mist. The BeautifyBeauties 10.1 oz continuous-mist bottle is the cheapest entry and the only tool a single humid-kitchen block needs.
Hygrometer — TempPro TP50
Branch B. Reads the 60-80% kitchen window (lion’s mane pinning 85-95%). The TempPro TP50 digital hygrometer is the lowest-cost unit that usually sits within about 2% RH at room temperature.
Tabletop dome — Ohuhu and alt SUMGROW
Branch C. Hold RH over one or two ready-to-fruit blocks. The Ohuhu mini tabletop greenhouse is the default dome; the SUMGROW tabletop mini greenhouse is the side-by-side if the first dome is too small.
Dedicated humidity tent — Salcod
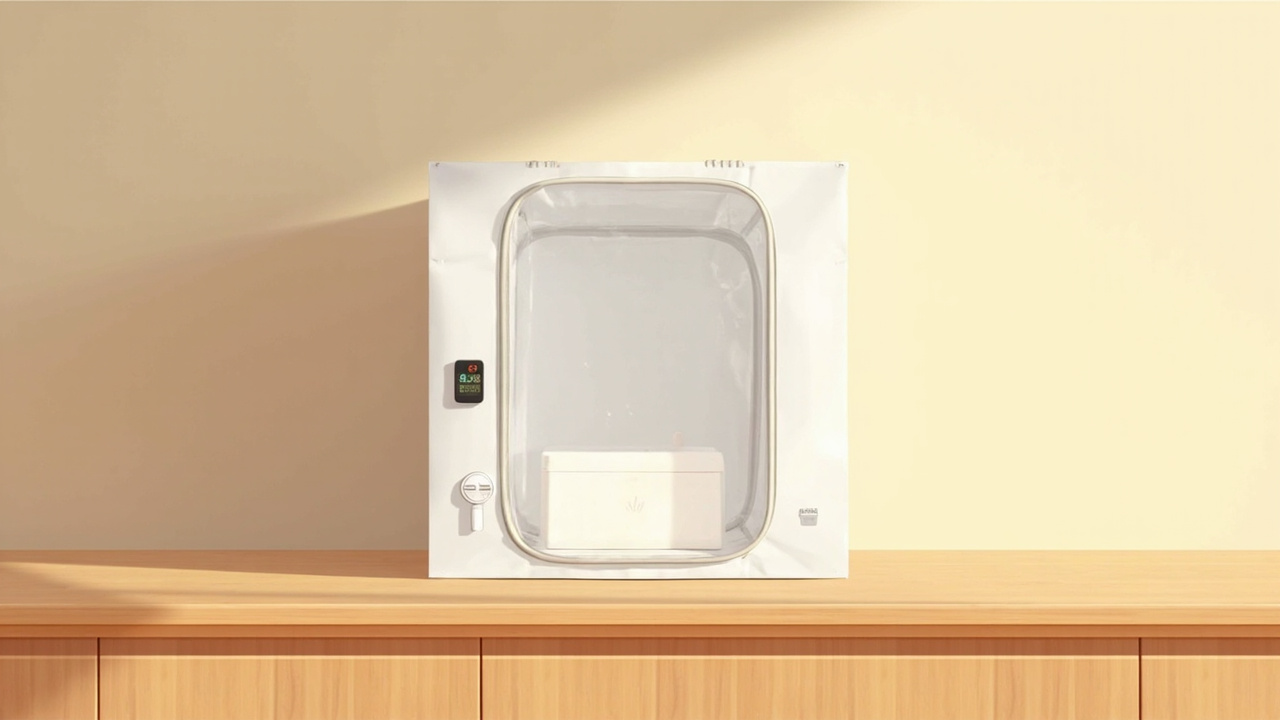
Branch D. Not day-one gear. The Salcod 38-inch mushroom grow tent fits a block plus the mister and hygrometer and packs flat when the flush is done.
If pins still fail
Humidity tools don’t clean contamination. Leave this page when the symptom isn’t dryness.
- No pins, stalled pins, or dry yellow pins: if pins still fail with humidity in range.
- Green or fuzzy growth that is not mycelium, or if the block turns green or slimy: isolate, do not buy a bigger tent.
- Slimy or wet bacterial look: stop pooling water. Same contamination page, not a humidifier.
- Kit workflow (open, mist, harvest) still unclear: open, mist, harvest on the kit card.
Product internal links
Only pages that already exist on this site. Use them when humidity gear is the wrong next click.
Start and essentials pages for the first kitchen kit
If you have not run a flush yet, start with the bare-minimum kit path before humidity gear. Still choosing the block itself? Pick the culinary kit before the mister. If this page already said you need a cover and you are shopping enclosure shape, use the bag-to-tub enclosure after you already need a cover - sibling, not a duplicate of these tool roles.
Species pages for oyster, lion’s mane, and shiitake RH context
Species timing and kitchen quirks live on the hubs: the oyster kitchen-block RH window, lion’s mane pinning humidity on a kitchen block, and shiitake kitchen-block fruiting humidity. Come back here only for the tool-role gate.
Methods and problem pages when humidity is not the only variable
Run the kit card on grow-kits. Hold light, humidity, and fresh air as kit variables on the method page. If pins fail after RH is in range, go to pinning-problems. If the block turns green or slimy, open contamination-overview.
Common mistakes
Mistake 1 — Misting until water pools
Pooled water invites bacterial wet rot before culinary pins form. Glisten, never puddle. A continuous-mist bottle makes the right cloud easier than a trigger spray.
Mistake 2 — Sealing the kit in a box or closed tote
Carbon dioxide starves pins. A cover needs a vent, or you open it twice a day. A “perfect” RH reading in a sealed dome is still a fail.
Mistake 3 — Buying a humidifier for one kitchen gourmet block
Overshoot. A humidifier is Branch E (two-plus blocks), not the first oyster flush.
Mistake 4 — Trusting one cheap hygrometer with no check
Cheap sensors drift 5-10% RH within months. Compare two units in the same spot for 24 hours and replace the one that disagrees by more than 5%. A second TempPro-style digital hygrometer is cheaper than a drowned block.
Mistake 5 — Reusing a tent or dome after a contaminated block
Green or bacterial film on plastic reinoculates the next culinary block. Wipe with isopropyl or replace. Do not scrape mold into kitchen air.
Related
- Pins still fail after RH is in range: pinning-problems.
- Still choosing the kit: how-to-choose-grow-kit and first-grow-kit.
- Ready to run the card: grow-kits.
- Cover already decided, shopping enclosure form: fruiting-chamber-for-gourmet-kits.
- Species RH context: oyster, lion’s mane, shiitake.
- Green or slime: contamination-overview.
Key takeaways
- A fine-mist spray bottle plus a clean kitchen counter covers most first gourmet blocks.
- Read 60-80% RH at the cut face; lion’s mane pinning often wants 85-95%, then 70-80%.
- Add a tabletop dome when the face dries between mists, not on day one.
- A dedicated tent is a multi-flush upgrade, not an oyster-kit default.
- Skip humidifier, Martha, and monotub until two-plus culinary blocks, and never as a first-flush default.
- If pins fail with humidity in range, leave this page for pinning-problems or contamination-overview.
Related guides
Back to essentials . Affiliate disclosure . Culinary / edible kitchen growing only. admin@fungiathome.com