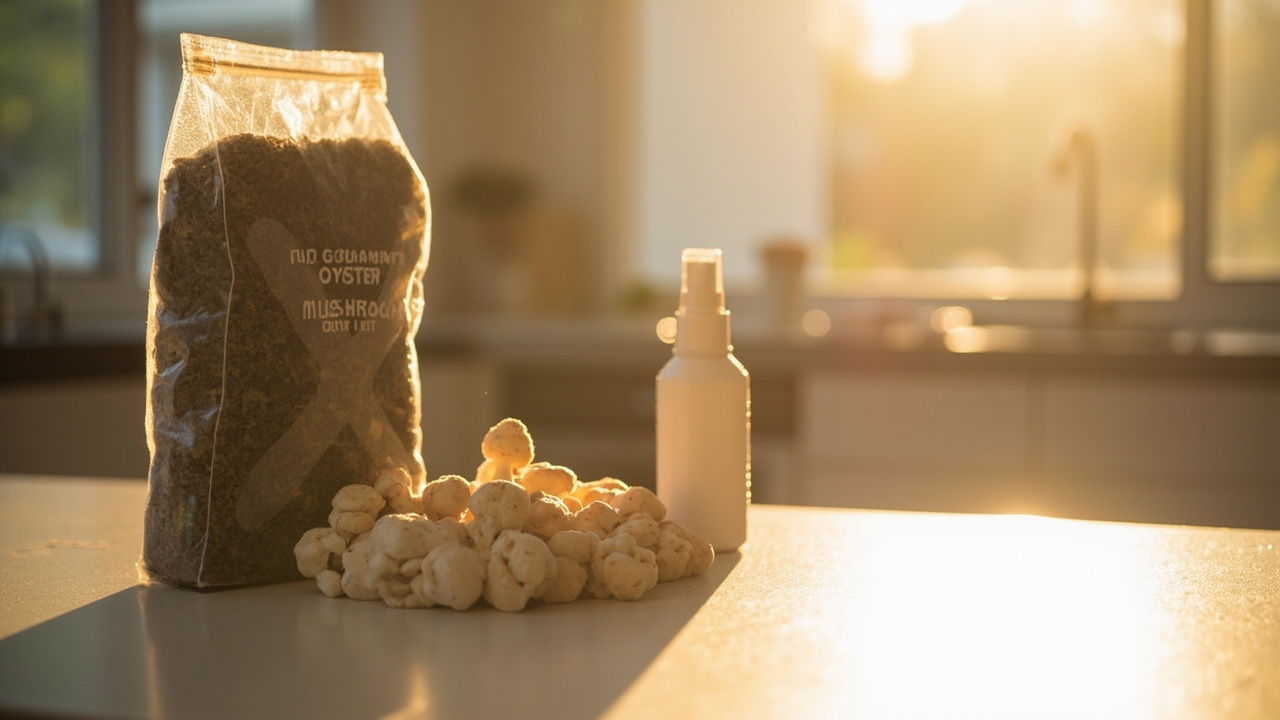
Your kit arrived, you cut the X, and now you’re staring at white mycelium wondering when something will happen. Most of the time the kit is fine — the fruiting conditions are off. Light, humidity, and air at the cut surface. Get those three lined up and most gourmet kits fruit on a kitchen counter with a spray bottle and a window.
Quick answer
Three things: room light (not direct sun), humidity at the cut surface (a fine dew, not a puddle), and gentle air exchange. Most kits fruit at 65–75°F. No lab, no sealed chamber, no expensive gear. If pins haven’t shown up after two weeks of consistent misting, the surface is probably drying out — fix humidity first.
If you haven’t bought a kit yet, an oyster mushroom grow kit is the most forgiving species to start with.
What “fruiting conditions” means — and what it doesn’t
Fruiting conditions are the environmental signals that tell colonized mycelium to stop spreading and start pushing out mushrooms. For a ready-to-fruit kit, the mycelium is already fully established in the block. Your job is to provide light, moisture, and air at the opening so pins form.
What fruiting conditions are not:
- A sealed sterile lab. The kit gets exposed to household air the moment you cut it. That is normal.
- A monotub setup with perlite and automated humidifiers. That is DIY cultivation — useful for grow bags, overkill for your first kit.
- A “fruiting chamber” brand-name product. What matters is the dew on the cut surface, not the name on the box.
First time? Start with the first grow kit guide and come back here when you want the deeper version.
What you’ll need
- A spot with indirect light — near a window or under a ceiling light
- A fine-mist spray bottle — the mist pattern matters more than you’d think
- A digital hygrometer — optional, but worth the ten bucks if your room runs dry
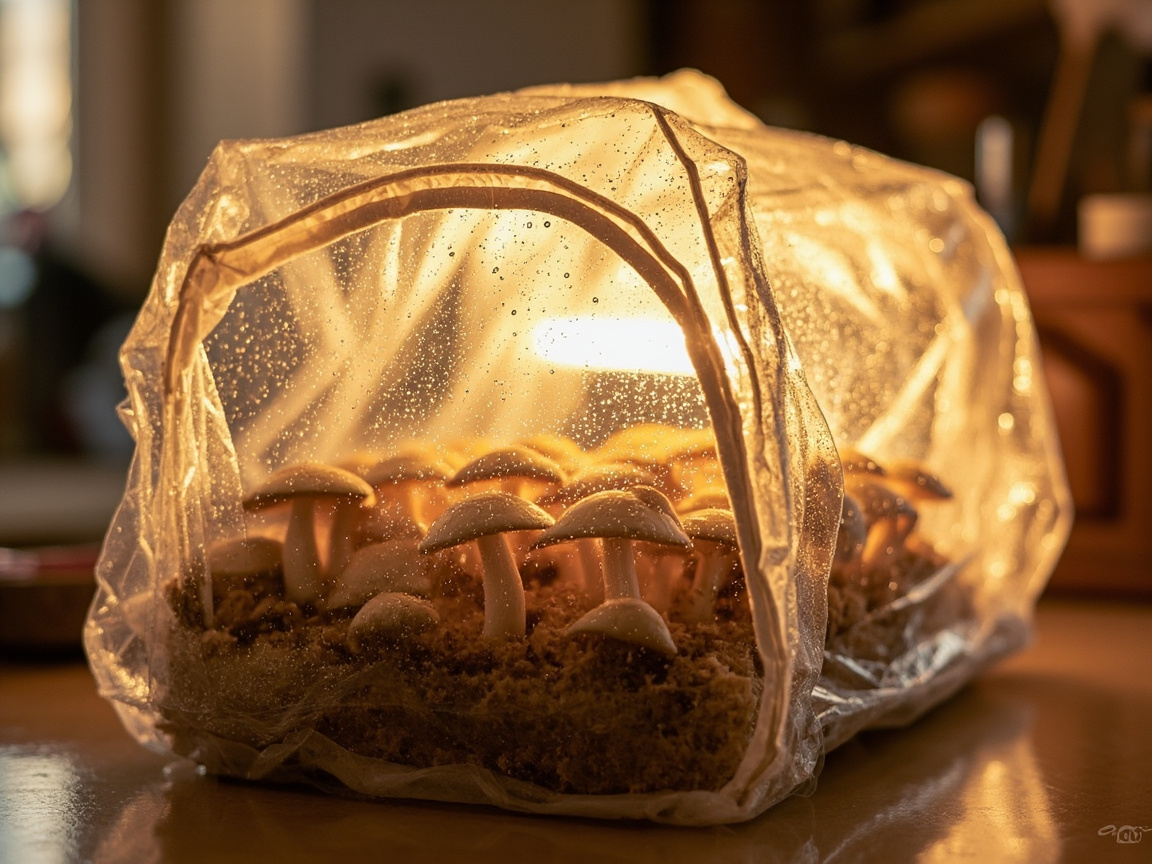
- A loose humidity tent or clear bag — only if your room is bone-dry
If your room stays above 40% relative humidity and has a window, you probably already have what you need. Desert climate or winter heating? A humidity dome with vents and a proper misting bottle will save you a lot of aborted pins. The full toolkit is in the humidity and misting guide.
The three things mushrooms need to fruit
Light — ordinary room light
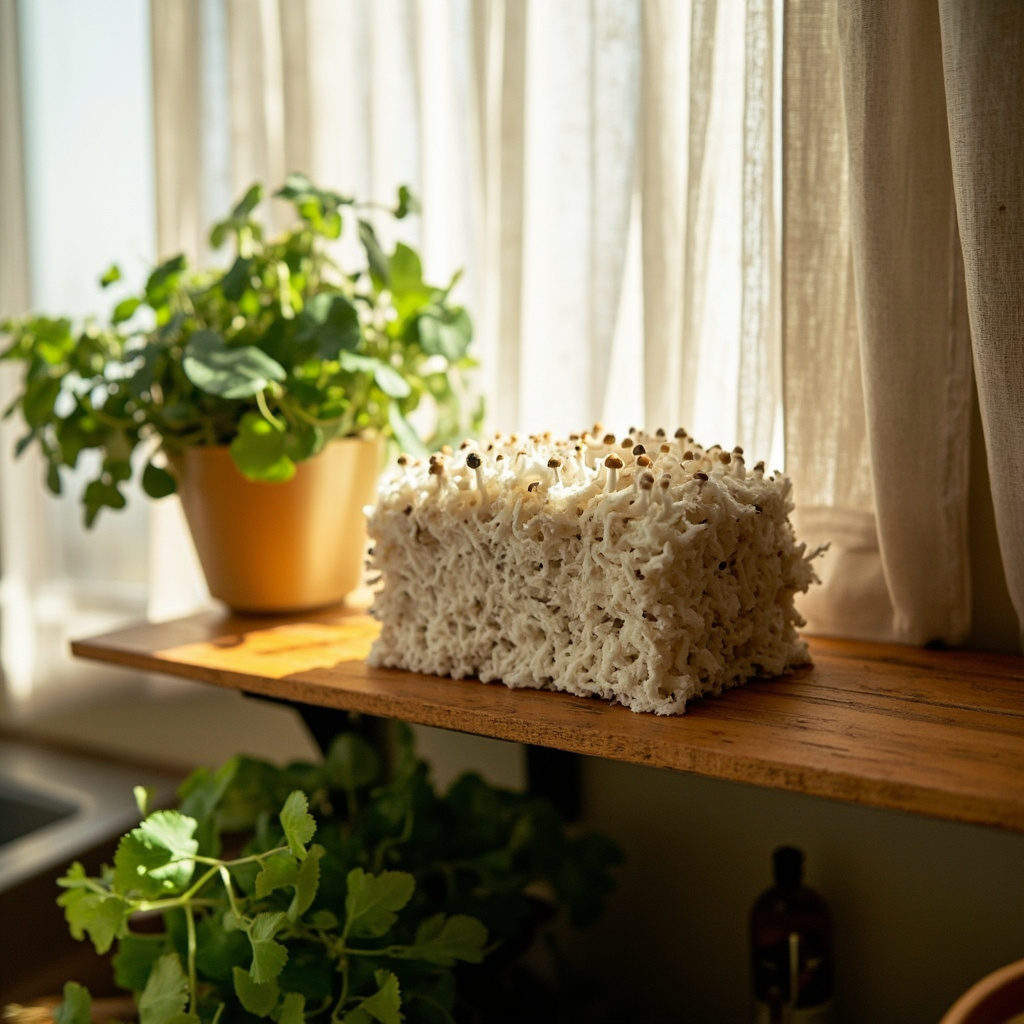
Mushrooms are not plants. They don’t photosynthesize. But they do use light as a directional signal — it tells them which way to grow and helps trigger pinning. Most gourmet species need some light to produce normal-shaped caps and short, sturdy stems.
What works: indirect light from a nearby window, a ceiling light left on during the day, or a full-spectrum LED bulb in a regular lamp. You don’t need a dedicated grow light unless your room has zero natural light.
What doesn’t work: a pitch-dark closet, a sealed box, or direct hot sun cooking the block (dries it out and stresses the mycelium).
If your oyster kit is pushing out long, thin, pale stems all reaching sideways, it’s looking for light. Move it closer to a window or turn on a lamp.
Humidity — the dew zone
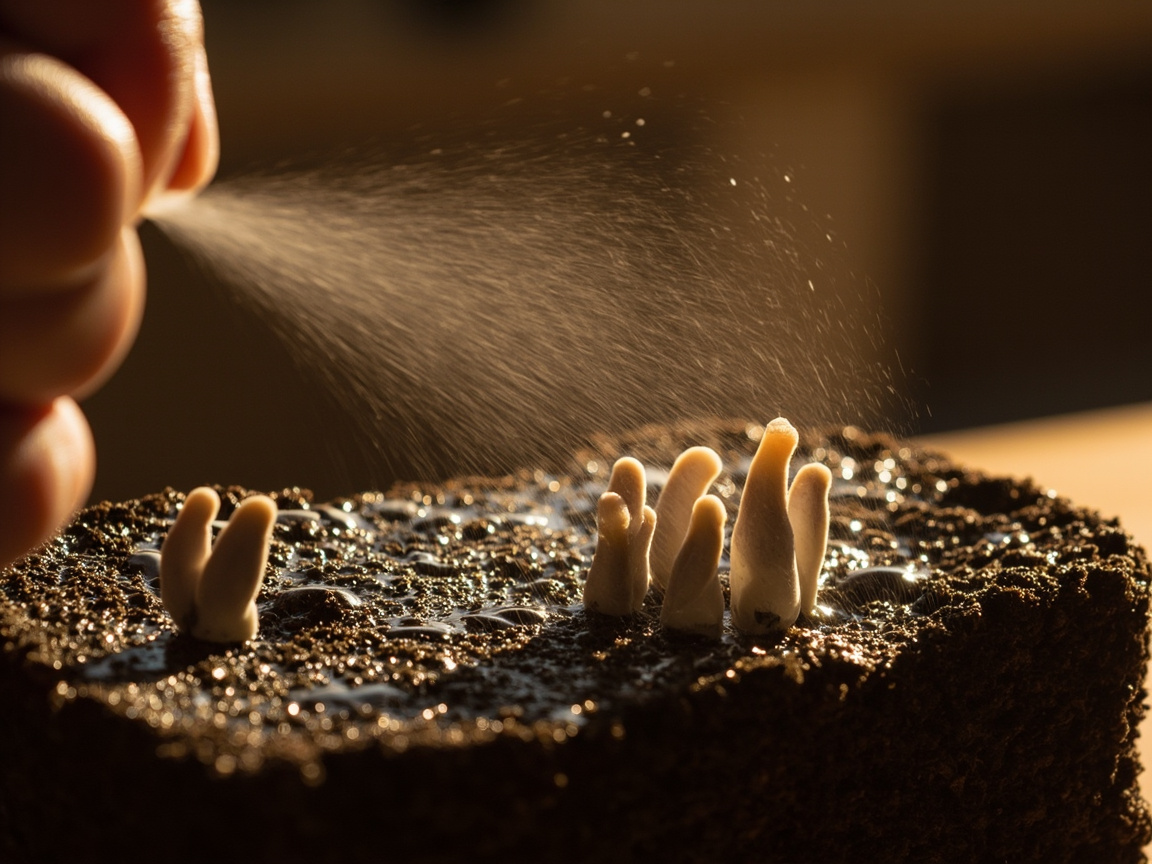
This is the single biggest reason kits don’t fruit. The cut surface of the block — the X you sliced — has to stay moist for pins to form there. Not soaking. Not dry. Dewy, like the inside of a greenhouse window.
Target: a fine film of moisture on the cut surface, kept up by misting one to three times a day depending on room dryness.
How to check: touch the bag near the cut. It should feel cool and slightly damp. If it feels papery within an hour of misting, your room is too dry and you need to mist more often or add a tent.
Fixes for dry rooms:
- Mist more frequently — every few hours if the air is really dry.
- Drape a clear plastic bag loosely over the kit, leaving gaps for air. Traps moisture without suffocating it.
- Move the kit away from heat vents, radiators, and direct sun — all of these cook the surface dry in under an hour.
- If you’re still using a generic squirt bottle from under the sink, switch to a proper continuous fine-mist bottle. The difference in droplet size is immediately visible on the cut surface.
Standing water in the bag is not humidity — it’s a problem. Puddles cause rot and make it harder to read what’s going wrong. Pour them out, mist lighter. If pins have stalled and the surface is already wet, read the pinning problems guide before misting harder.
Fresh air exchange — passive is fine
Mushrooms breathe oxygen and dump CO₂. In a sealed container, carbon dioxide builds up and the kit pushes out long, stringy stems with tiny caps — basically gasping for air.
On a kitchen counter: normal room circulation handles this. No fan, no air pump, no fanning schedule for most ready-to-fruit kits.
In a humidity tent: open it once or twice a day for a few seconds to swap the air. That’s it.
Skip elaborate air exchange systems. Those are for grow bags, not kits. Go down that road after one clean harvest, not before.
Temperature ranges by species
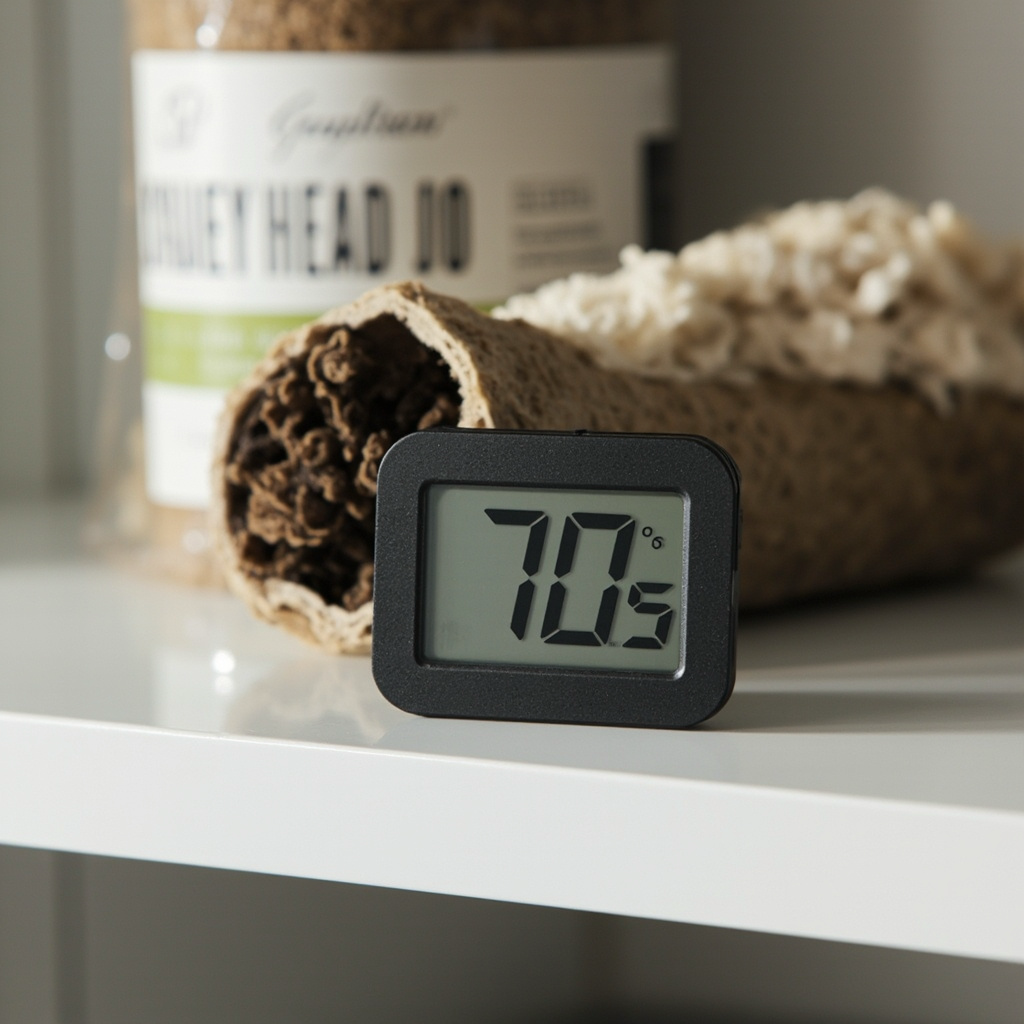
Most gourmet kitchen kits fruit at comfortable indoor temperatures. Typical ranges below — not guarantees, just what works for most people in most rooms.
| Species | Fruiting range | Notes |
|---|---|---|
| Oyster | 55–75°F (13–24°C) | Most forgiving. Fruits in cooler rooms. |
| Lion’s mane | 65–75°F (18–24°C) | Wants steady warmth and moisture. |
| Shiitake | 60–75°F (16–24°C) | Kit instructions may specify a cold-shock step. |
Rapid swings hurt more than a “wrong” steady temperature. A kit on a windowsill hitting 85°F in afternoon sun and dropping to 55°F at night is under more stress than one sitting at a steady 70°F on a shelf. If your room swings wildly, a new oyster kit is the most temperature-tolerant option to start with.
Keep the kit away from:
- Heat vents and radiators
- South-facing windows with direct sun
- Cold drafts from doors and AC units
- The top of a refrigerator (vibrates and runs warm)
Set up a simple fruiting spot
Pick a spot
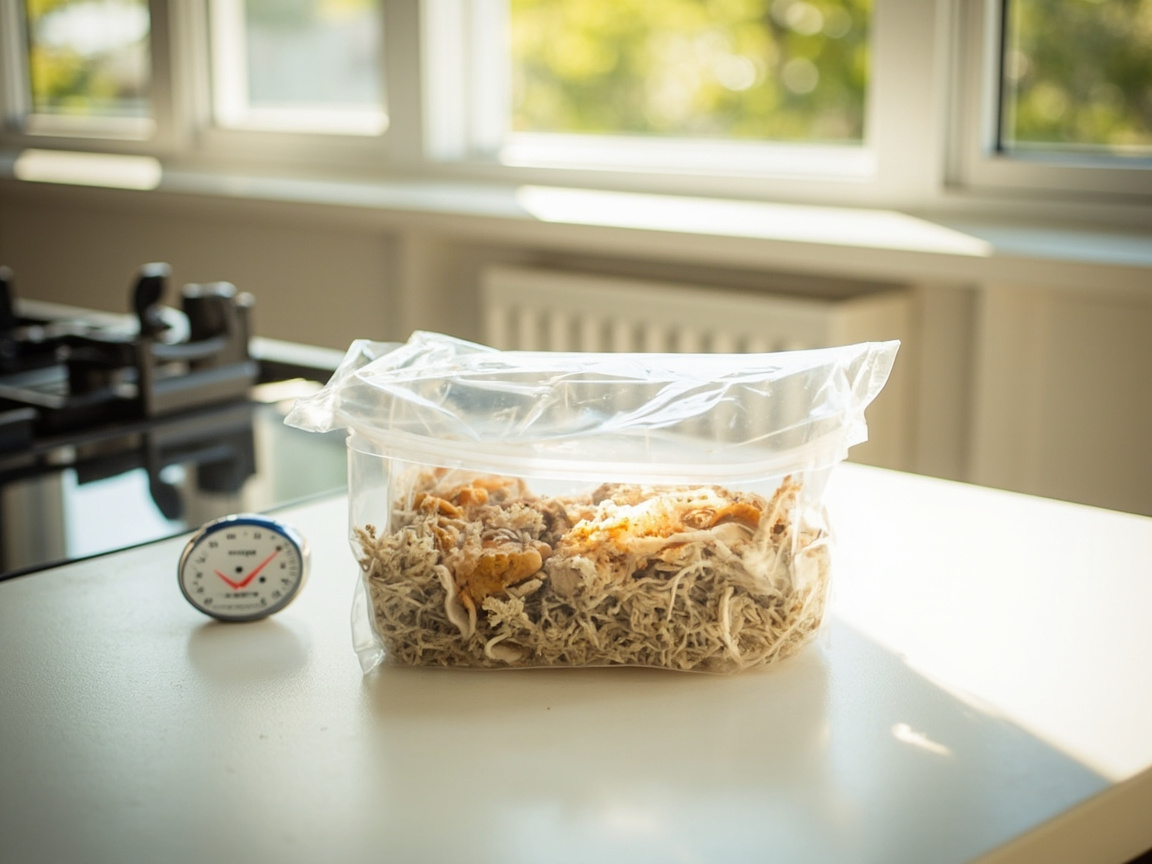
A kitchen counter away from the stove, a shelf near a north or east-facing window, or a bathroom counter (naturally humid) all work. The spot needs to be easy to reach for misting — if you have to move things around to get to the kit every time, you’ll start skipping sessions, and then the surface dries out.
Manage humidity
Mist the cut surface with a fine spray. Dew, not runoff. One to three times a day depending on how dry the room is. If the surface dries within an hour of misting, add a humidity tent or move the kit to a more naturally humid room like a bathroom.
A hygrometer takes the guesswork out of this if you live in a dry climate. You’ll know within a day whether your room sits at 35% or 65% RH, and can adjust misting frequency accordingly.
Check daily
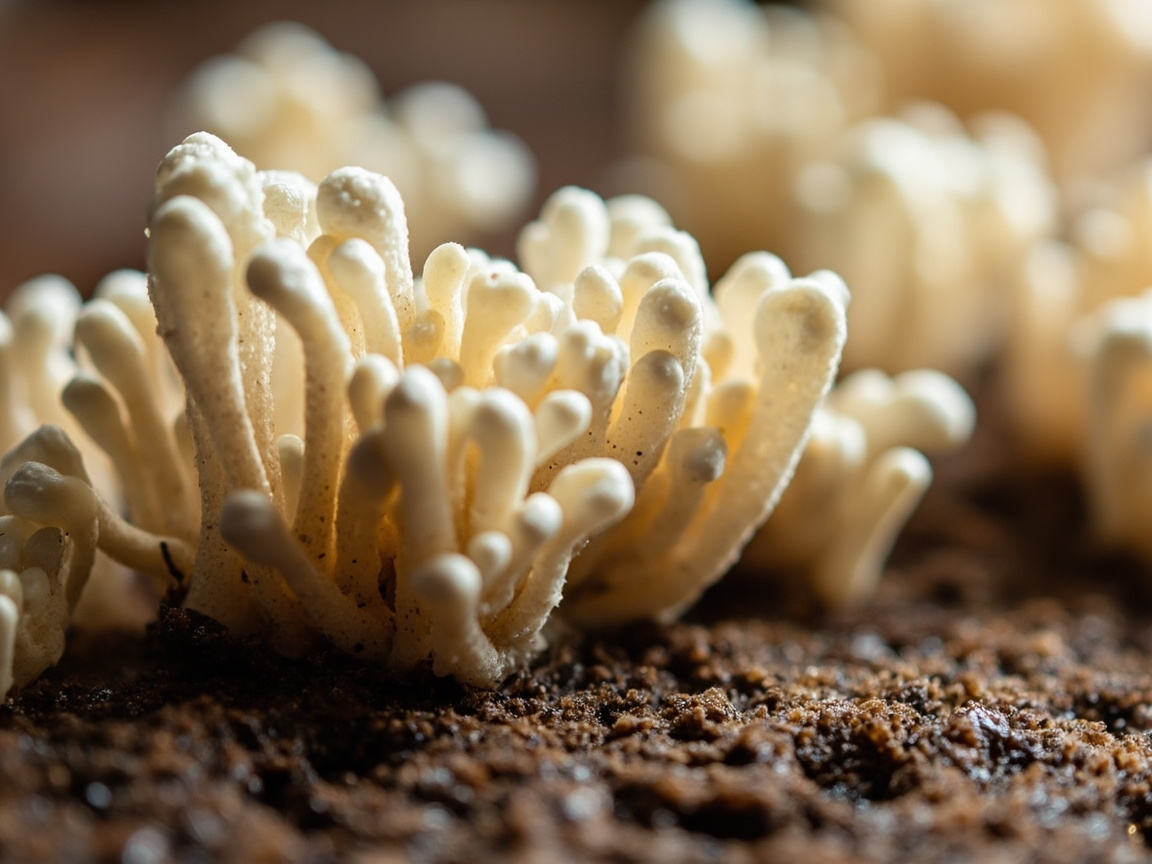
Look at the cut surface every day. White fluff is usually healthy mycelium forming pins — not mold. If you see green, blue-black, or wet slimy patches, that’s different — check the contamination overview before you panic.
Common mistakes
- Letting the cut surface dry out. The #1 reason kits fail to fruit. Skipping a day of misting in a dry room can abort pins that were starting to form. A fine-mist bottle makes this easier to keep up with than a dollar-store squirt bottle.
- Shoving the kit in a dark closet. Mushrooms need some light. A closet gives you weak, stretched stems reaching for a light source that isn’t there.
- Sealing the kit with zero airflow. A ziplock with no gaps suffocates it. If using a humidity tent, leave openings.
- Misting until water pools in the bag. Puddles cause bacterial rot and make contamination harder to spot. Dew, not a bath.
- Parking the kit next to a heat source. Radiators and vents dry the surface fast and swing the temperature enough to stress the mycelium.
When to adjust
- Skip buying a fruiting chamber for your first kit. A counter and a spray bottle work for most people.
- Skip a hygrometer if your room feels comfortable and the surface stays dewy. You only need one if the air is genuinely dry.
- Don’t seal the kit in an airtight container — CO₂ buildup gives you stringy stems.
- Don’t put the kit in direct sunlight. It dries the surface and overheats the block.
- Don’t expect a grow kit to fruit in under three days. Most take one to two weeks of consistent conditions.
If something goes wrong
| What you see | Likely cause | First move |
|---|---|---|
| No pins after 2+ weeks | Dry surface, low humidity | Increase misting → pinning problems |
| Long thin stems, tiny caps | Low light or high CO₂ | More light, open tent → pinning problems |
| Green patches on the block | Mold contamination | Isolate immediately → green mold guide |
| Wet rotting smell, slimy block | Over-misting, bacterial rot | Stop misting, check drainage → contamination overview |
| Surface dried and cracked | Room too dry, under-misting | Add humidity tent → humidity tools |
After your first flush
Most gourmet kits can produce a second flush after the first harvest. Same conditions — light, humidity, air — but the block may want a brief rest and rehydration. Some kits tell you to soak the block for a few hours; others just want consistent misting to resume.
Yield drops with each flush — often by half or more. A typical oyster kit gives one strong flush, a lighter second, and sometimes a third that’s barely worth the misting. Lion’s mane tends to give fewer, larger flushes. If the block contaminates, smells sour, or stops producing after the second flush, it’s done. Compost it and start fresh — that is normal, not a failure. The full flush and rehydration walkthrough is in the grow kit operations guide.
Key takeaways
- Three things: indirect light, dew-level humidity at the cut, gentle air exchange.
- Most kits fruit at 65–75°F on a kitchen counter — no special equipment.
- Dry cut surface is the #1 cause of failed fruiting. Mist consistently.
- White fluff is usually healthy mycelium, not mold. Green is the alarm color.
- Skip the fruiting chamber for your first kit. Upgrade to grow bags only after one clean harvest.
Culinary / edible kitchen growing only. FungiAtHome does not cover psychedelic or actives cultivation.