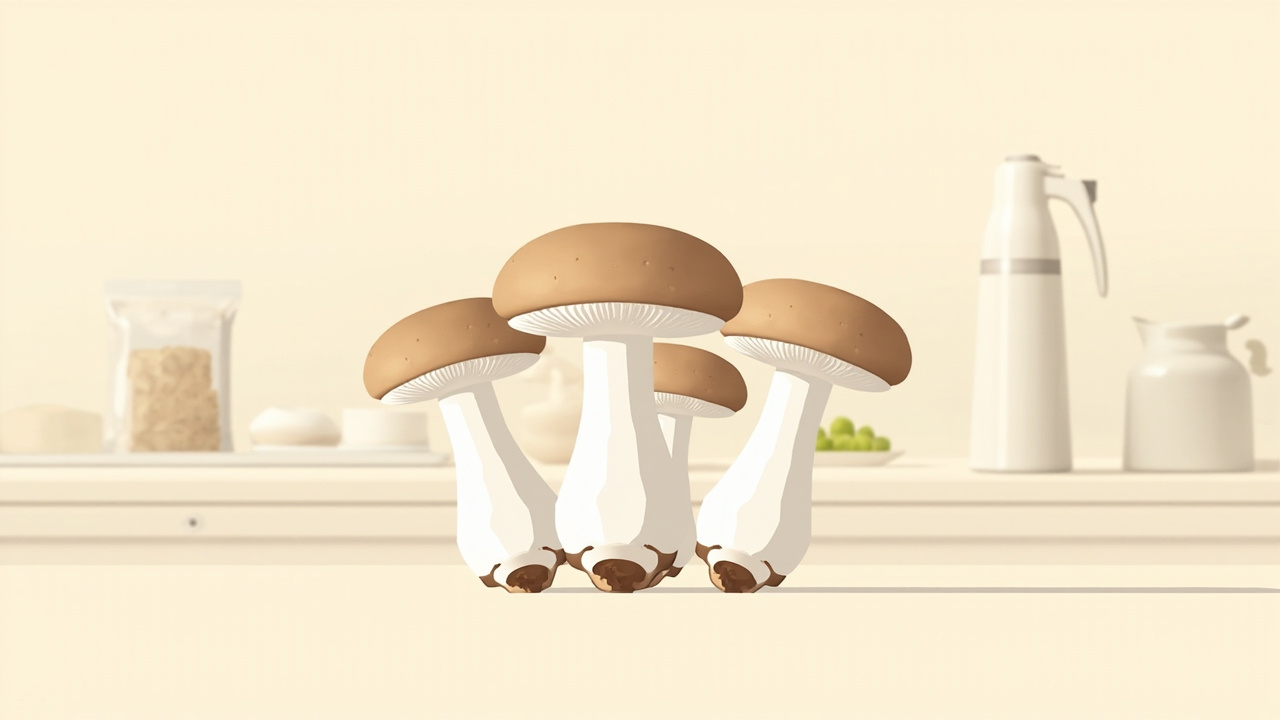
A king oyster kit pushes a thick, dense stem that slices into rounds like sea scallops — but it waits longer to pin than regular oyster, and the kitchen kit market for this species is small enough that you should know what you’re signing up for. If your kitchen runs warm, or you expect pins in a week, you’ll be frustrated. If you can keep a counter between 50 and 65 F and mist patiently for two to three weeks, the culinary payoff is one of the best edible mushrooms you can grow indoors.
Best for: Growers who want a thick-stemmed culinary edible and can keep a kitchen counter cool for 2-3 weeks of patient misting.
Quick answer
Start with a ready-to-fruit king oyster (Pleurotus eryngii) kit on a kitchen counter: keep the bag on, cut a small X, mist the cut face so it stays dewy, and wait longer than you would for regular oyster. Pins often take 14 to 21 days. King oyster prefers cooler rooms (50 to 65 F) and tolerates less fresh air, which gives it the thick stem. Harvest when cap edges roll slightly inward.
Scallop sear: why you grew a king oyster
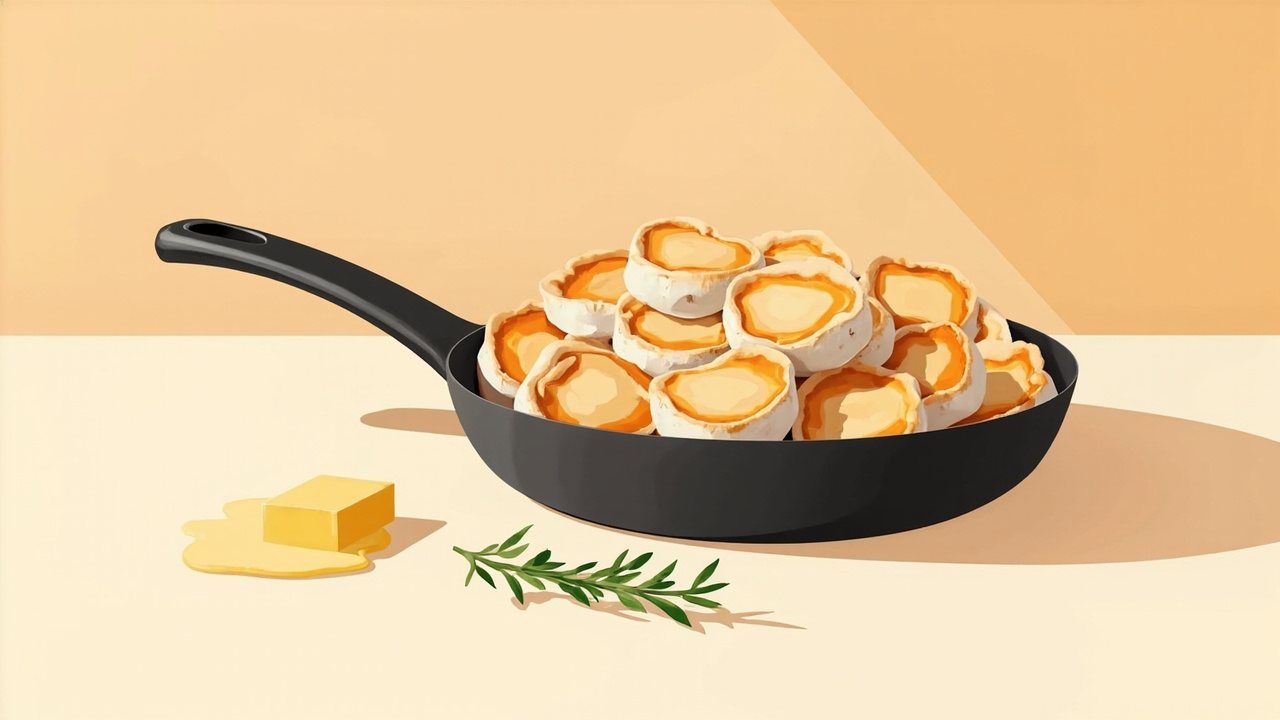
If the harvest ever feels anticlimactic, the pan fixes it. The stem is the entire reason you grew king oyster, and a hot dry skillet turns sliced rounds into something that resembles sea scallops on a plate. This is the dish that closes the loop — bag to browning in under five minutes, no specialty gear, no recipe notebook.
Pan temp + dry heat (no oil until the pan is hot)
Get the cast iron or heavy skillet screaming hot before the rounds touch it. Dry pan for 60 seconds, then rounds. You want sizzle on contact, not steam. Add oil and butter only after the first side has set — typically 90 seconds in. Butter burns at 350 F; smoke means the pan is too hot. Aim for the rounds to release on their own; if they stick, give them another 30 seconds and the crust will let go.
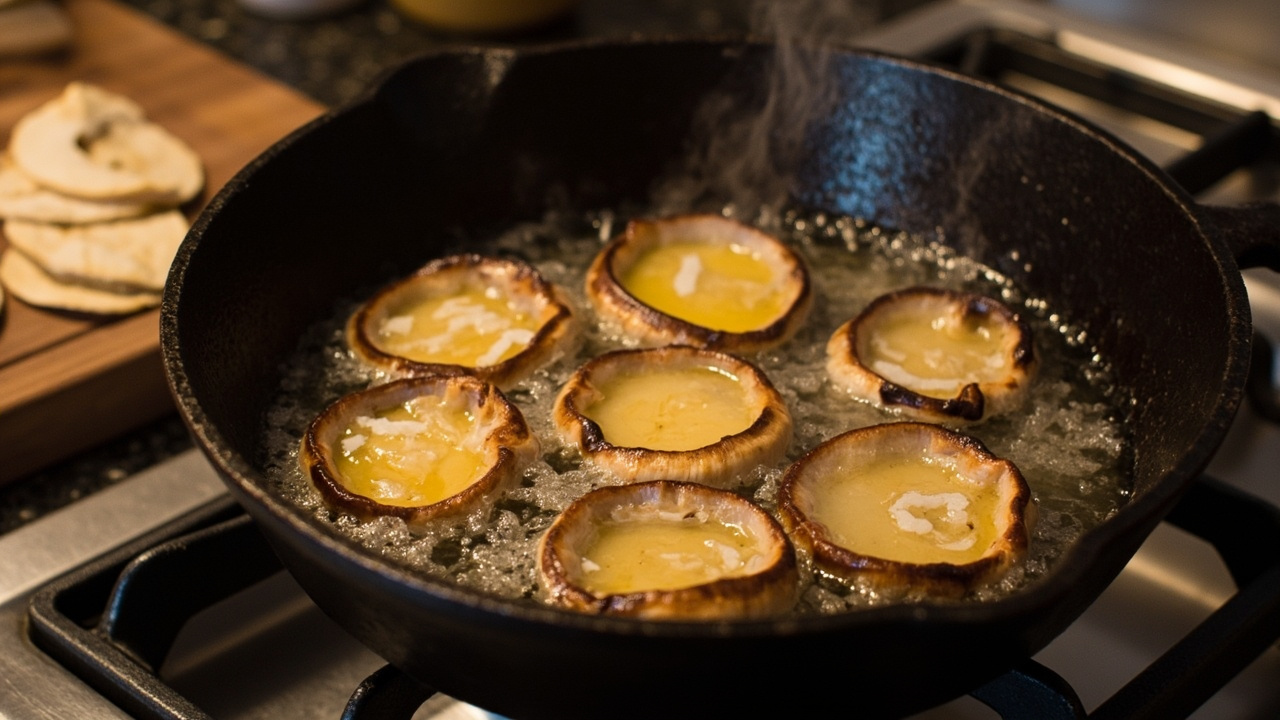
A 12-inch Lodge cast iron skillet covers 6 to 8 rounds in one batch with even heat across the surface. Smaller skillets crowd the rounds; they steam instead of brown.
Salt early vs late (and why it matters)
Salt too early and the rounds weep moisture before the crust forms. Salt too late and the surface never seasons. The window is the moment you flip — flake salt on the cooked face, then lay the second side down. Don’t salt the second side in the pan; pull the rounds off, salt the top, return for 30 seconds.
When to flip + cap pairing
Flip once. Twice if you must. The cooked face should be Maillard brown, not gray. Reserve the small caps for the last 60 seconds — they crisp faster and can carry a splash of soy or sherry vinegar off heat. Save any stems you won’t eat tonight for the storage section below.
That’s the meal. No wellness chapter, no supplement footnote — just a skillet and a salt flake.
Why grow king oyster (culinary only)
King oyster (Pleurotus eryngii, also sold as king trumpet) is the thick-stemmed cousin of the regular oyster mushroom you see at the grocery store. The stem is the prize — sliced into rounds and seared in a dry skillet, king oyster resembles sea scallops in texture and browns in butter, garlic, or soy. It holds its shape in stir-fries, roasts, and grilled skewers better than almost any other kitchen mushroom. We cover growing and cooking only. No medicinal claims, no wellness marketing — if you have specific dietary questions, your doctor or a registered dietitian is the right source.
If this is your first mushroom kit of any kind, read your first grow kit walkthrough before opening the bag.
The shape is the value — thick stem vs wide cap
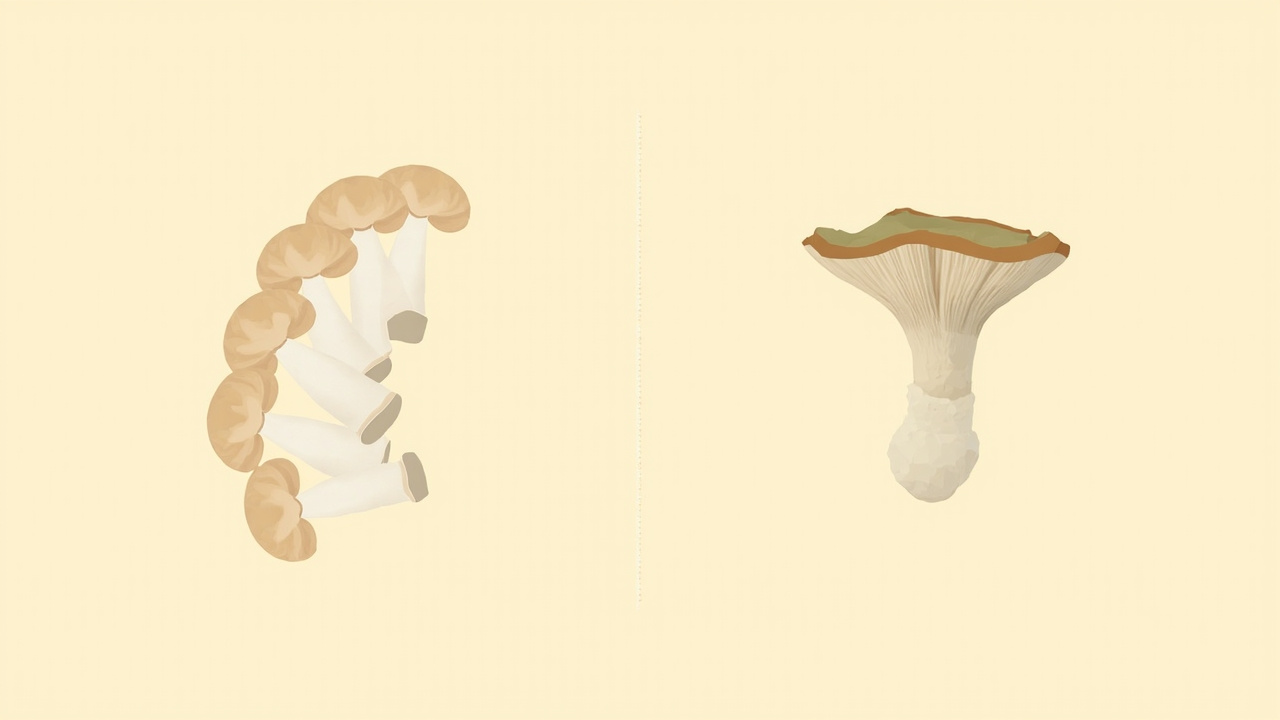
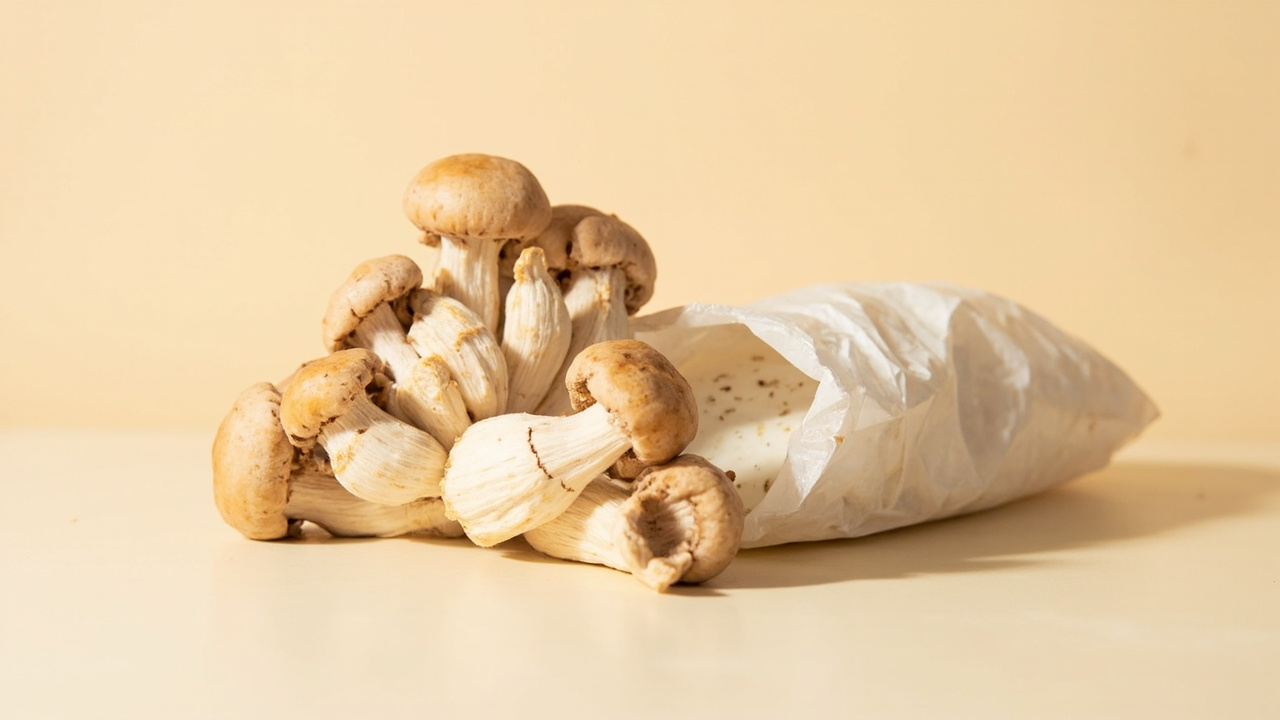
King oyster (P. eryngii) and regular pearl oyster sit in the same genus, but their morphology and culinary use are completely different. King oyster has a thick central stem, often 2 to 3 inches across, with a small tan-brown cap (1 to 3 inches). Pearl oyster has a wide fan-shaped cap (3 to 8 inches) with almost no stem at all. A king oyster kit delivers stems — the scallop-like cut. A pearl oyster kit delivers caps — the tear-and-saute cut. Don’t expect the same visual as the oyster kit you may have grown last year.
What this is not
King oyster is NOT regular oyster — different species, different fruiting parameters, different culinary use. It is NOT Black Pearl — that is a hybrid in the regular oyster lineage, marketed as king-oyster-like but not true P. eryngii. The hybrid is more forgiving in warm rooms but won’t match true king oyster for stem density or culinary scallop texture. It is NOT a medicinal mushroom — king oyster is a culinary ingredient, and we do not cover health, immune, or wellness claims. It is NOT a recipe site — we touch on culinary use briefly, but for recipes, search a dedicated recipe site.
Why cooks love king oyster
The stem’s density holds up to high-heat methods that turn other mushrooms to mush. Sliced thick and seared, it becomes the classic mushroom scallop — browning on the edges, meaty in the center. Sliced thin, it holds its shape in stir-fries, ramen, and Korean BBQ. Pulled apart, king oyster shreds into a vegan pulled-pork texture. Same family of culinary uses as portobello or chicken-of-the-woods, with a firmer bite than either. For cooks who want an edible mushroom that earns its spot on the plate rather than disappearing into a sauce, king oyster delivers.
Is this right for you? (Path A vs Path B decision)
Three questions in order, to choose your path. If you have never grown any mushroom at kitchen scale, start with your first grow kit walkthrough and come back here.
Question 1: Have you grown an oyster kit before?
No — strongly consider starting with regular oyster instead. Oyster is faster, more forgiving, and the kit market is mature. Read how to grow oyster mushrooms first.
Yes — you already know the X-cut, mist, pins, harvest rhythm. King oyster is a reasonable next step that rewards patience with a thicker culinary result.
Question 2: Can you keep a kitchen counter between 50 and 65 F for 2-3 weeks?
No, my kitchen runs warm (70 F or above) — king oyster will pin slowly or not at all. Consider pink oyster (a warm-climate cousin) or stay with regular oyster.
Yes, or I can move the kit to a cooler basement or garage corner — king oyster will work. Plan for a long pinning window of 14 to 21 days, typical for this species.
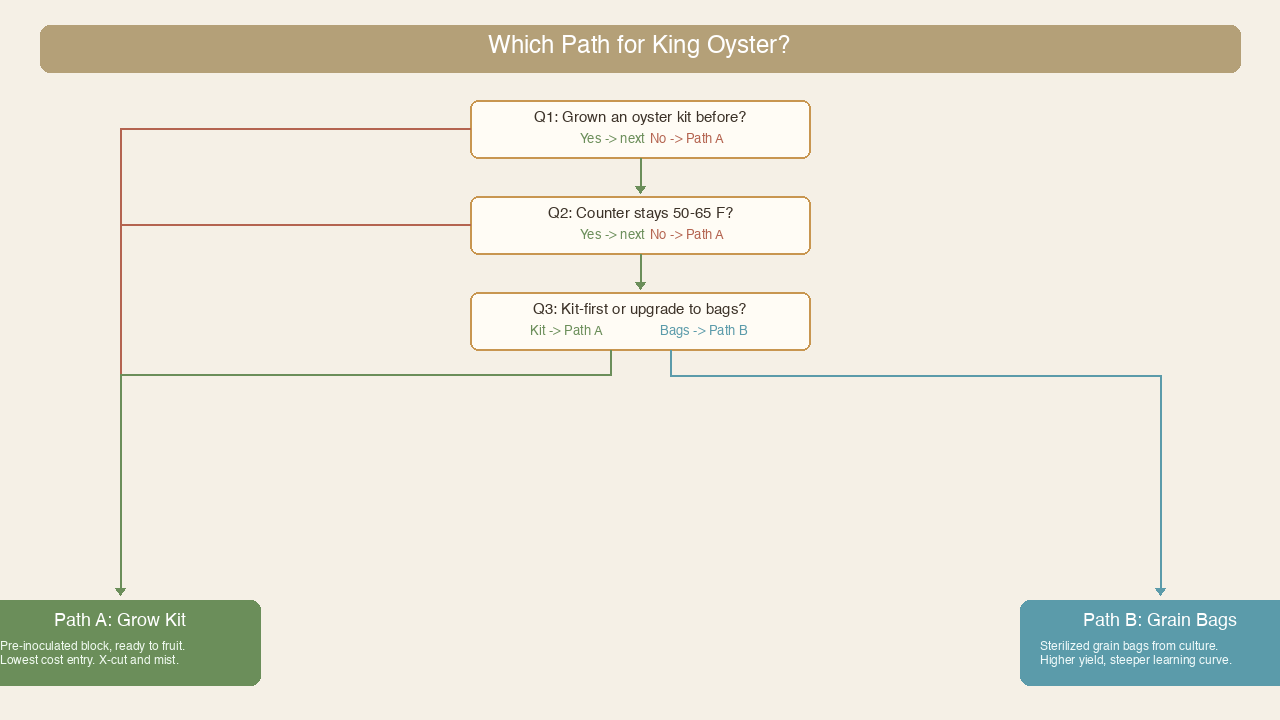
Question 3: Do you want to stay kit-first, or upgrade to bags?
Stay kit-first — Path A. Buy a ready-to-fruit king oyster block. Read how grow kits work for the shared workflow.
Upgrade to bags after one successful kit — Path B. Buy king oyster grain spawn or liquid culture plus an all-in-one substrate bag. Read grow bags after your first kit for the upgrade path. Skip Martha tents, SGFCs, and monotubs — those are out of scope for this site. If you buy the spawn before the bag, mind the king oyster spawn fridge storage window — producers quote roughly four months refrigerated, and this cool-loving species does not bounce back from warm storage the way regular oyster does.
Path A: From a grow kit (default)
Path A is the default recommendation. Most readers should start here, harvest at least once, and only move to Path B if they want to scale up.
What the kit looks like when it arrives
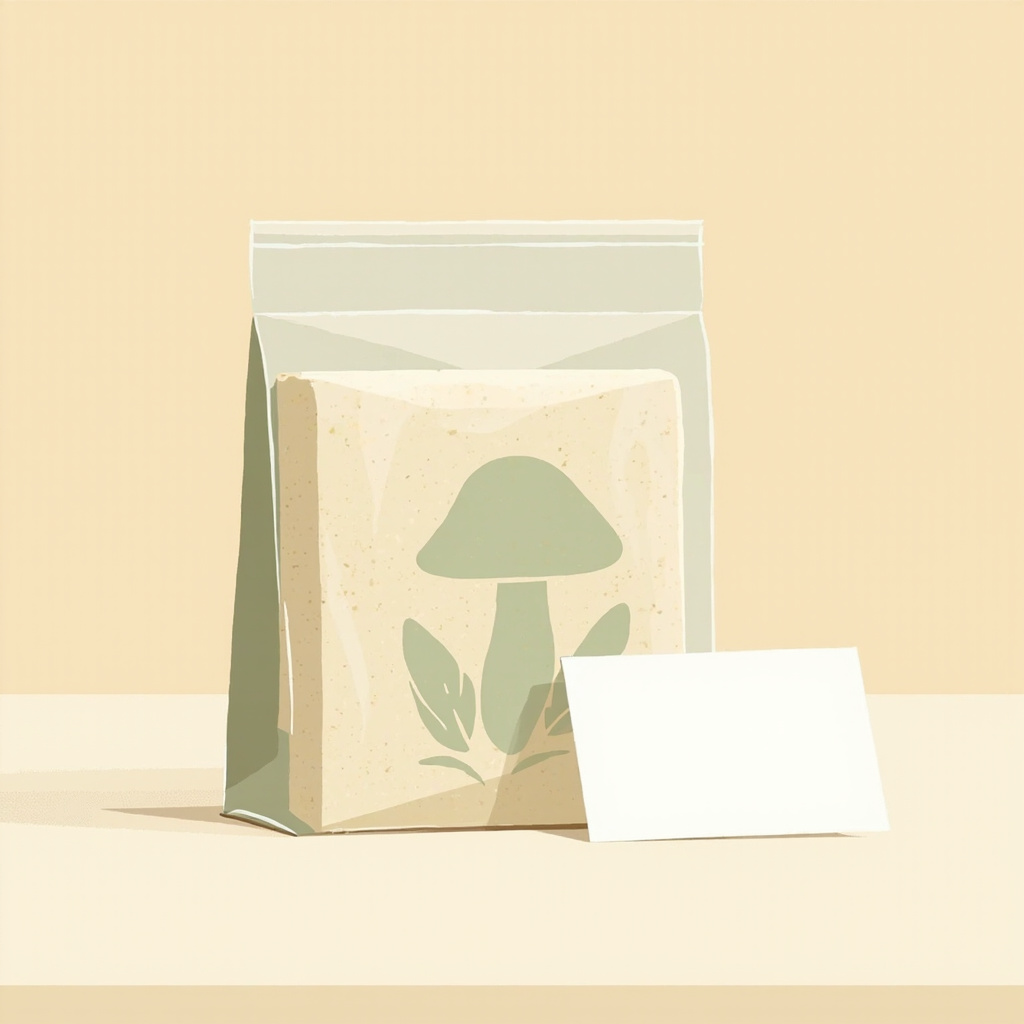
A typical king oyster kit ships as a 3 lb or 4 lb colonized sawdust block inside a filter-patch grow bag, with a small spray mister and a printed instruction card showing the vendor-specific cut pattern. The honest market note: king oyster kit vendors on Amazon are few. The Root Mushroom Farm Two King Oyster Mushroom Grow Kits is the main dedicated option, shipping as a 2-pack of 3 lb blocks. Reviews are thin and honest about king oyster’s harder fruiting — the 2-pack format means you can afford one to fail. Read how to choose a mushroom grow kit for vendor evaluation criteria.
Cutting the X (or following the card)
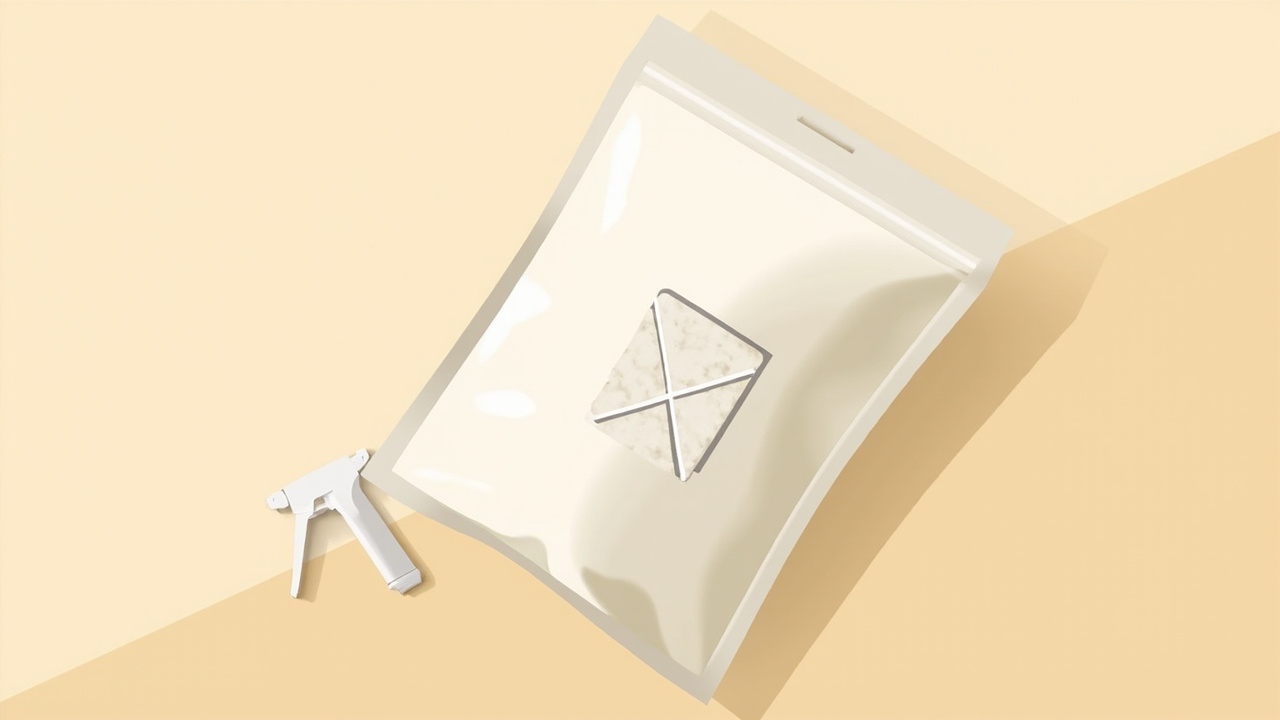
The printed card is the authority. Vendors differ on cut pattern. If the card says X: cut a 2-inch X on one face of the bag, peel back the plastic flaps slightly, and expose the mycelium. Do NOT remove the whole block from the bag — the bag acts as a humidity shell. Wipe your knife with rubbing alcohol first, and mist immediately after cutting.
The long wait for pins
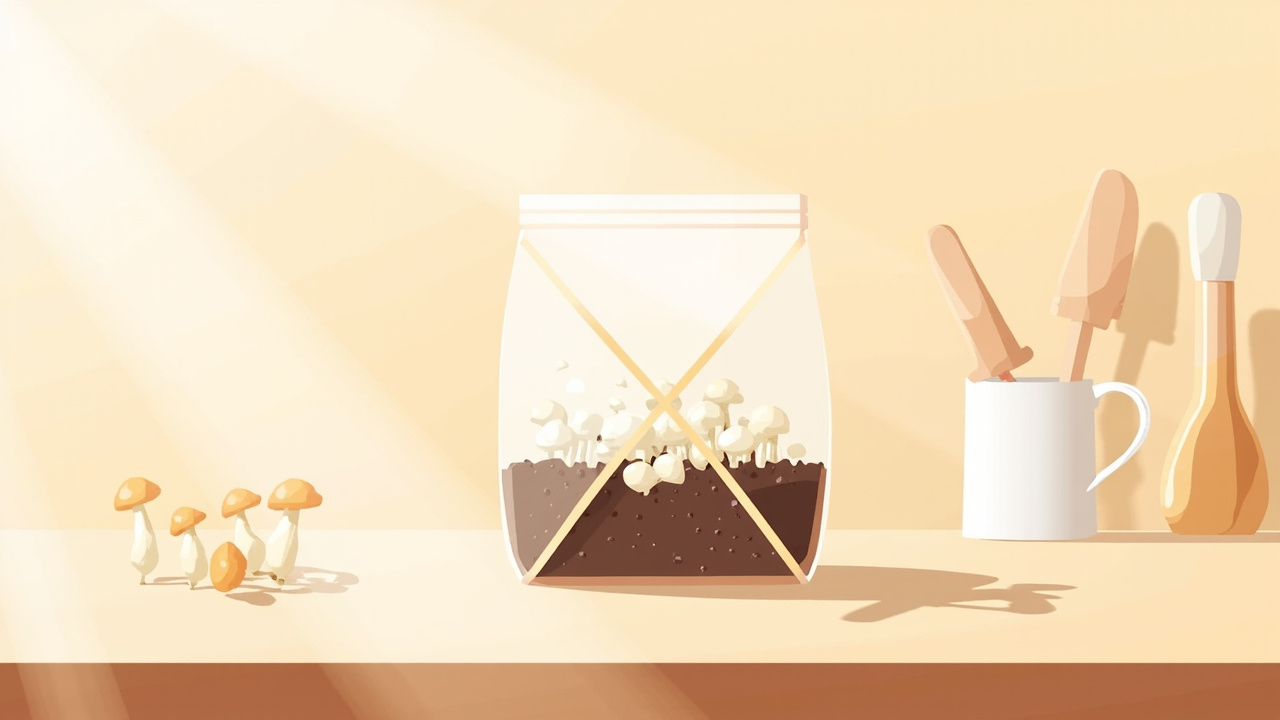
King oyster pins often take 14 to 21 days after cutting — compared to 7 to 10 days for regular oyster. That is the main adjustment in pace and expectations. Keep the cut face dewy with daily misting. A continuous mister gives even coverage without pooling, which matters when you’re misting for three weeks straight.
If the room is dry (below 40% RH), tent the kit loosely with a humidity dome or clear plastic. Pinning signal: small white bumps forming on the cut face. These are pins, not contamination. If pins don’t appear by day 21, check humidity, check temperature, and read the pinning problems guide. For misting gear decisions, read humidity and misting tools.
Path B: Sawdust bags / next level
Path B is for growers who have already harvested at least one king oyster kit and want to scale up to substrate bags. It requires sterile technique, a pressure sterilizer or instant-pot, and patience. The kit-first reader should skip this section and come back after a successful Path A harvest.
Spawn options for king oyster
Grain spawn — pre-colonized grain (rye, millet, wheat) you mix into a substrate bag. Liquid Fungi Black Pearl King Oyster Grain Spawn is the main Amazon option. Caveat: Black Pearl is a regular oyster hybrid, not pure P. eryngii — thicker stems than typical oyster, but not the same stem density or culinary scallop texture.
Liquid culture — a sterile syringe of live mycelium in nutrient broth. King Oyster (P. eryngii) liquid culture is labeled with the species name (Pleurotus eryngii) for clean identification. Liquid culture requires a still-air box or flow hood for inoculation — not for a first attempt.
For the bag workflow itself, read grow bags after your first kit. For choosing a substrate bag, the North Spore ShroomTek All-in-One Bag is the highest-reviewed substrate bag on Amazon (295+ reviews) and works for any species once you add spawn.
Skip Martha tents, SGFCs, and monotubs
Those setups are out of scope for this site. For king oyster at kitchen scale, a humidity dome or loose plastic tent is enough. For larger grows, read the grow bags guide — the proper kitchen-scale upgrade path.
Conditions table (temp / humidity / light / air)
King oyster fruiting conditions at a glance
King oyster wants cooler rooms and higher CO2 tolerance than regular oyster. The parameters below are cross-checked against three competitor guides (Grocycle, ShunCy, EZMushroom) and consistent across all three.
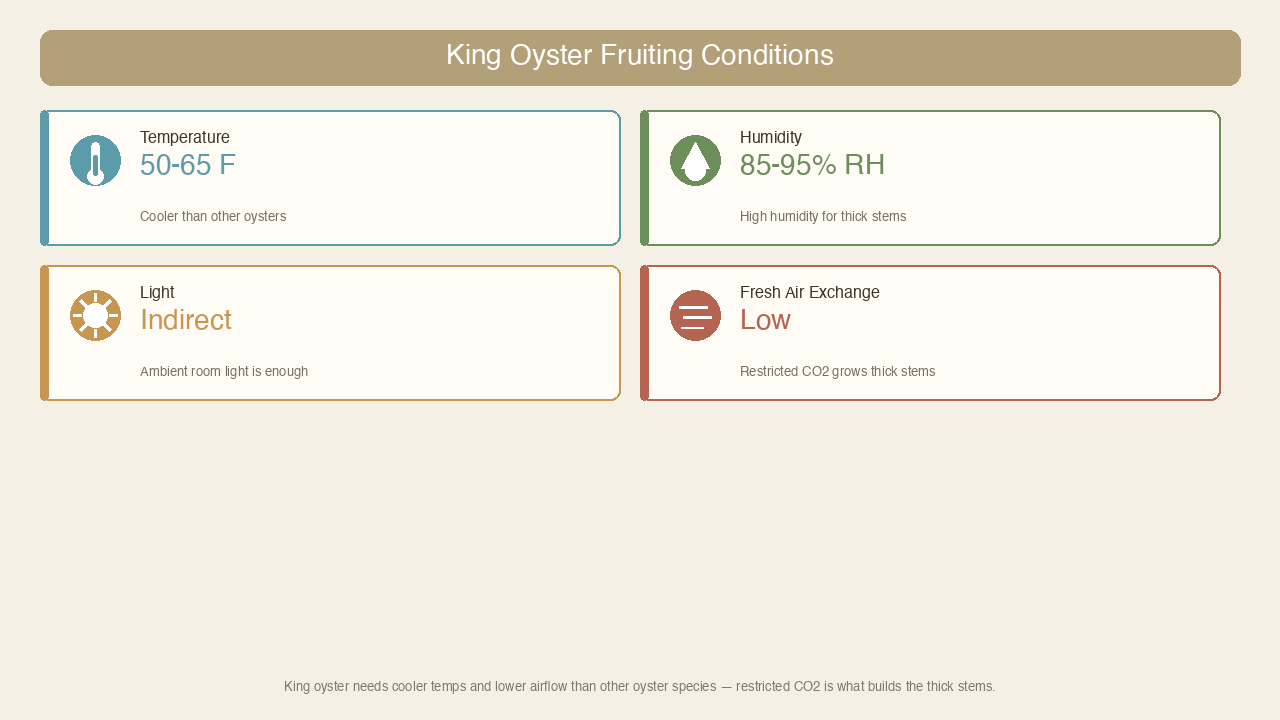
Temperature (50-65 F): Cooler than regular oyster. Warm rooms above 70 F slow pinning and produce thin stems. A basement or garage corner often hits this range naturally.
Humidity (85-95% RH at surface): Higher surface humidity is needed because pinning is slow. Use a humidity dome if room RH drops below 40%.
Light (indirect, low): Ambient kitchen light is enough. King oyster does not need grow lights; direct sun dries the surface.
Fresh air exchange (low for thick stems): Counterintuitively, king oyster tolerates higher CO2 than regular oyster. That is what produces the thick stem morphology. Don’t fan aggressively during pinning.
Harvest and second flush
When and how to harvest
Harvest when cap edges are still slightly rolled inward. King oyster often fruits as a tight cluster, so harvest the whole cluster at once by twisting at the base. Use a clean knife or scissors for the final cut if twisting doesn’t release cleanly. Don’t wait for caps to flatten — king oyster caps stay small, and the stem is the crop. Harvest before spore drop (caps edge up, gills visible) because over-ripe king oyster loses firmness.
Second flush — yes, but smaller
King oyster responds well to a cold-shock soak, similar to shiitake. After the first harvest, let the block rest 7 to 14 days, soak in cold water for 12 to 24 hours, and return to fruiting conditions. Second flush yield is typically 30 to 50% of the first flush. Stop the second attempt if green growth spreads, the block smells sour, or no pins appear after 4 weeks post-soak. Return to gentle misting with a continuous mister after the soak. For contamination decisions, read the green mold guide or the contamination overview.
Storage and second-flush lifecycle
The cluster you twisted off this morning is good in the fridge for 3 to 5 days — longer if you wrap it right. The block still on the counter has another flush in it if you treat it correctly. This section covers both lifecycles so nothing goes to waste.
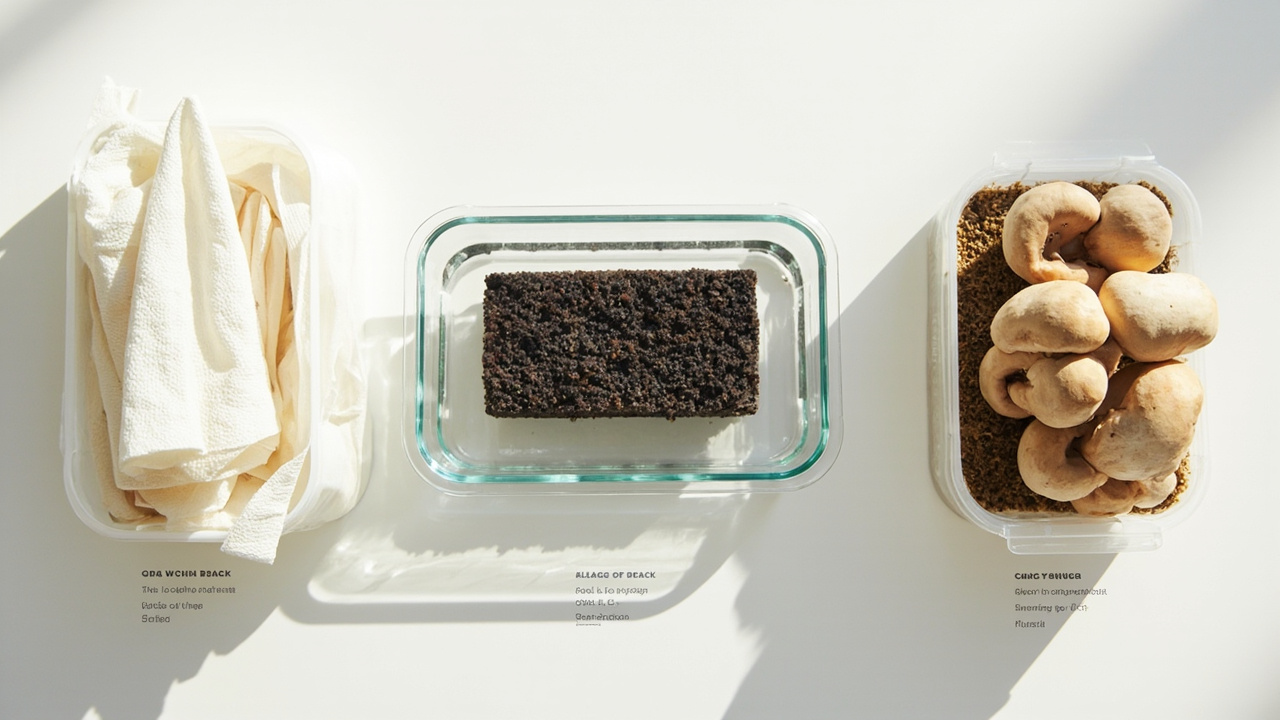
Fridge storage window (3 to 5 days, paper-towel wrapped)
Don’t seal king oyster in plastic right after harvest. The stems sweat and the surface gets slick — the scallop sear above loses its sear and becomes a steam. Wrap loosely in a dry paper towel, place in a paper bag or a vented glass deli container, and refrigerate at 38 to 42 F. Use within 5 days for best texture. After day 5 the stems get fibrous — still edible, but the sear is gone.
Second flush — soak protocol and what to expect
After the first harvest, rest the block 7 to 14 days. Then soak it in cold water for 12 to 24 hours, fully submerged, with a small weight on top to keep it down. Return to fruiting conditions and mist. Second flush yield runs 30 to 50% of the first; the cluster is usually smaller and the caps slightly larger. Stop the attempt if green spreads, the block smells sour, or no pins appear within 4 weeks post-soak.
When to retire the block (signals beyond green)
Green is the obvious stop, but not the only one. Retire the block if the substrate has fully collapsed into mud, it smells sour or alcoholic, pins appear but abort repeatedly, or the block has been resting for 6+ weeks with no flush and no contamination. Compost retired blocks — the mycelium breaks down the substrate for soil. For broader block lifecycle and spawn-storage strategy, read the spawn storage guide before you toss anything.
That closes the lifecycle: harvest, store, soak, retire.
Common mistakes and failures
1. Handling king oyster like regular oyster (wrong pace)
King oyster is not regular oyster with a longer name. Handling the kit the same — expecting pins in a week, misting the same amount, fanning aggressively — is the most common path to disappointment. King oyster’s 14 to 21 day pinning window and cooler temperature preference are the two biggest adjustments.
2. Scraping green patches into the air
When Trichoderma (green mold) appears, growers sometimes scrape it off hoping the block will recover. Scraping releases millions of spores into your kitchen air, contaminating future kits and food prep surfaces. Instead, isolate the block, photograph the patch, and read the keep-or-toss decision in the green mold guide before doing anything.
3. Removing the whole block from the bag
Some growers assume the bag is just shipping packaging and pull the block out for better air flow. The bag is a humidity shell — without it, the cut face dries to a crust in hours and pins never form. Cut an X in the bag face only and leave the bag on.
4. Over-misting to compensate for slow pinning
Impatience leads to over-misting. A puddled cut face invites bacterial contamination (sour smell, slimy patches) faster than a dry face stalls pinning. Mist to dewy, not dripping. Use a continuous mister for even coverage, and tent with a humidity dome if the room is the problem — don’t drown the block.
5. Confusing Black Pearl hybrid with true king oyster
Amazon search results mix king oyster, king trumpet, and Black Pearl king oyster interchangeably. Black Pearl is a regular oyster hybrid — thicker stems than typical oyster, but not pure P. eryngii. Read product titles carefully. For true species, look for the Latin name Pleurotus eryngii on the label.
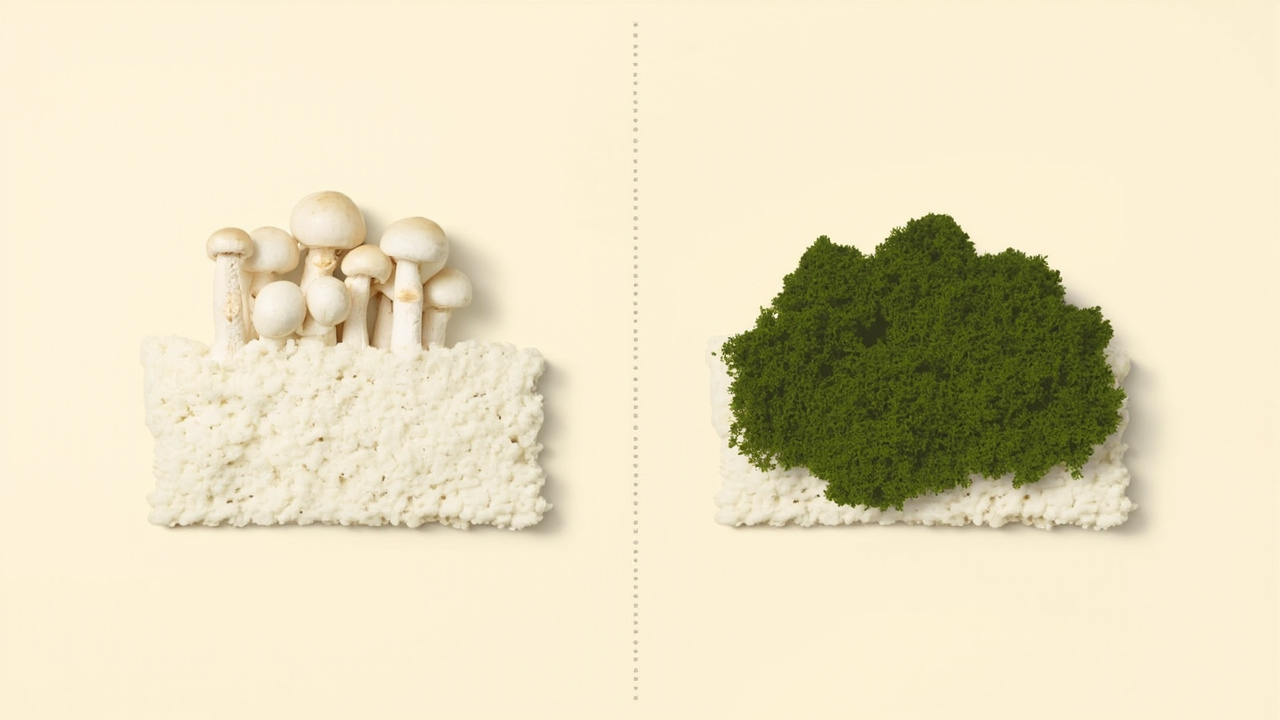
Healthy white pins vs green contamination
During the long pinning window, the highest-stakes visual decision is telling healthy white pins from contamination. Healthy pins are small, white, and rounded, emerging in clusters from the cut face. Trichoderma mold is fuzzy, bright green, and spreads across the surface rather than rising from it. If you see green, isolate the block before reading the green mold guide.
What you’ll need
For Path A (kit-first):
A ready-to-fruit king oyster kit — Root Mushroom Farm Two King Oyster Mushroom Grow Kits. The 2-pack format means you can afford one to fail; reviews are honest about king oyster’s harder fruiting.
A continuous mister — SUPER+ Continuous Spray Bottles. Fine mist without pooling; the long pinning window means you’ll mist for weeks.
A humidity dome for dry kitchens — AC Infinity Heavy-Duty Humidity Dome. Reusable, clear, sized for a kitchen counter.
For Path B (after one successful kit):
King oyster liquid culture (true P. eryngii) — King Oyster (P. eryngii) liquid culture. Requires sterile technique — still-air box, flow hood, or instant-pot prep.
Black Pearl king oyster grain spawn (regular oyster hybrid) — Liquid Fungi Black Pearl King Oyster Grain Spawn. More forgiving than true king oyster in warm rooms, but not the same culinary result.
An all-in-one substrate bag — North Spore ShroomTek All-in-One Bag. The highest-reviewed substrate bag on Amazon; works with any species once you add spawn.
Related species
How to grow oyster mushrooms — the wide-cap cousin. Faster pinning, more forgiving, larger kit market. If king oyster feels intimidating, start here.
How to grow shiitake mushrooms — the classic cap-and-stem edible. Slower than king oyster but with a similar cold-shock-friendly flush pattern.
How to grow lion’s mane mushrooms — a different texture entirely (shaggy, seafood-like). For when you want a fourth species in your kitchen rotation.
For the kit workflow itself, read how grow kits work. For choosing between kits, read how to choose a mushroom grow kit.
Key takeaways
- King oyster (Pleurotus eryngii) is not regular oyster. Thick stem, small cap, slower pinning (14-21 days), cooler room (50-65 F).
- Kit market is small — Root Mushroom Farm 2-pack is the main Amazon option. Read instructions carefully.
- Path A (kit) is the default. Path B (sawdust bags) is for after your first successful harvest.
- Skip Martha tents, SGFCs, and monotubs — out of scope; use a humidity dome instead.
- Harvest when cap edges roll slightly inward. Second flush after cold-shock soak is smaller but real.
- The stem is the culinary prize — seared thick slices resemble sea scallops.