Species · Intermediate · Still kit-friendly
How to Grow Lion's Mane at Home (Gourmet Kit Guide)
Lion's mane is popular and photogenic, and ready-to-fruit kits exist. It often wants steadier moisture than oyster. Completely new? Consider oyster first.
Grow lion's mane from a gourmet kit with clear steps, fruiting conditions, mycelium cues, harvest timing, and fixes for common mistakes.
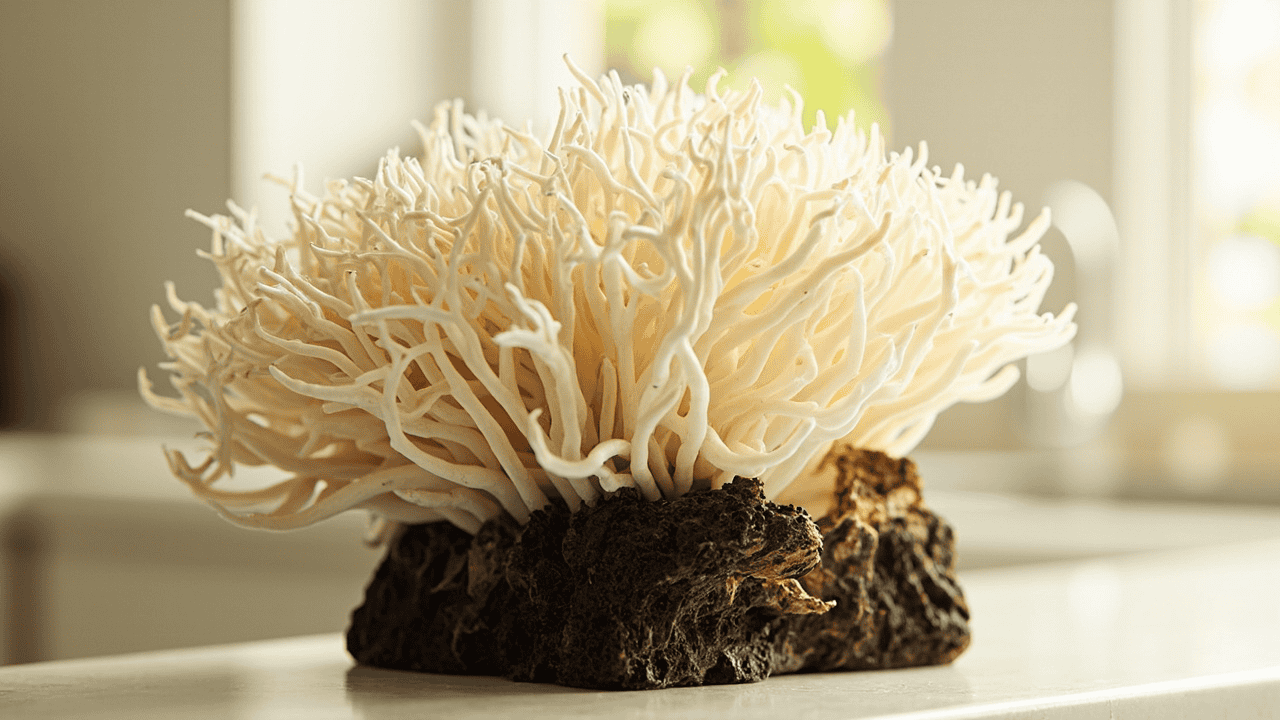
Lion’s mane grows happily on a kitchen counter and looks like nothing else you’ll cook this year — but it punishes a dry room harder than oyster does. Hold a misting schedule (or cheat with a small tent), and a ready-to-fruit kit pays you back with white pom-poms in about two to four weeks.
Best for: Growers who want a distinctive look and can keep the face of the kit from drying out.
Quick answer
Grow lion’s mane from a ready-to-fruit kit: block stays bagged, cut the opening as your kit directs, and mist until the face gleams — never pooled. White pins usually show in 10 to 21 days; harvest while the pom-pom is white with short teeth. It’s a gourmet kitchen mushroom, grown for the pan. Never grown a kit? Your first grow kit and oyster are easier first wins.
What this is, and what it is not
This page: growing lion’s mane at home from a ready-to-fruit kitchen kit, for food. That’s the whole assignment.
What it is not:
- Not a supplement or capsule project — we make no claims about pills and powders either way.
- Not psychedelic or actives cultivation — outside FungiAtHome scope, same line as the footer.
- Not outdoor logs or farm-scale growing — kitchen-scale or nothing.
- Not a guaranteed-harvest pitch — kits fail when moisture slips.
The culinary-only line
We cover lion’s mane as an edible gourmet mushroom: the texture, the sear, the pan work. If you want articles about what it might do for your health, this site isn’t that source — by policy. Bigger sites blur that line; ours stays fixed.
Decision tree — starting from where you are
Start from what you’ve already grown, not from what a product listing promises.
- Never grown any kit? Start with oyster — it forgives dry spells lion’s mane won’t. Read Your first grow kit, get one harvest behind you, come back.
- Grown a kit before, and your room isn’t bone-dry? You’re the default reader — Path A below, a lion’s mane kit as your main line.
- Dry room, or you can’t mist daily? Fix the environment first — a tent over the kit changes the math (Humidity tools). Not realistic yet? Defer this species.
- Already harvested and want more from the same block? Rest and rehydrate for a second flush (Harvest cues below), then consider Path B bags.
Three exits if something looks wrong: stalled or yellow-aborted pins → pinning problems; spreading green → green mold guide; anything you can’t name → contamination overview and the contamination checker.
Why grow lion’s mane (culinary only)
Short version: one of the most rewarding kitchen mushrooms you can grow, covered here as food and nothing else. Below: what growing gets you, when buying wins, and what we refuse to write.
What it brings to the pan
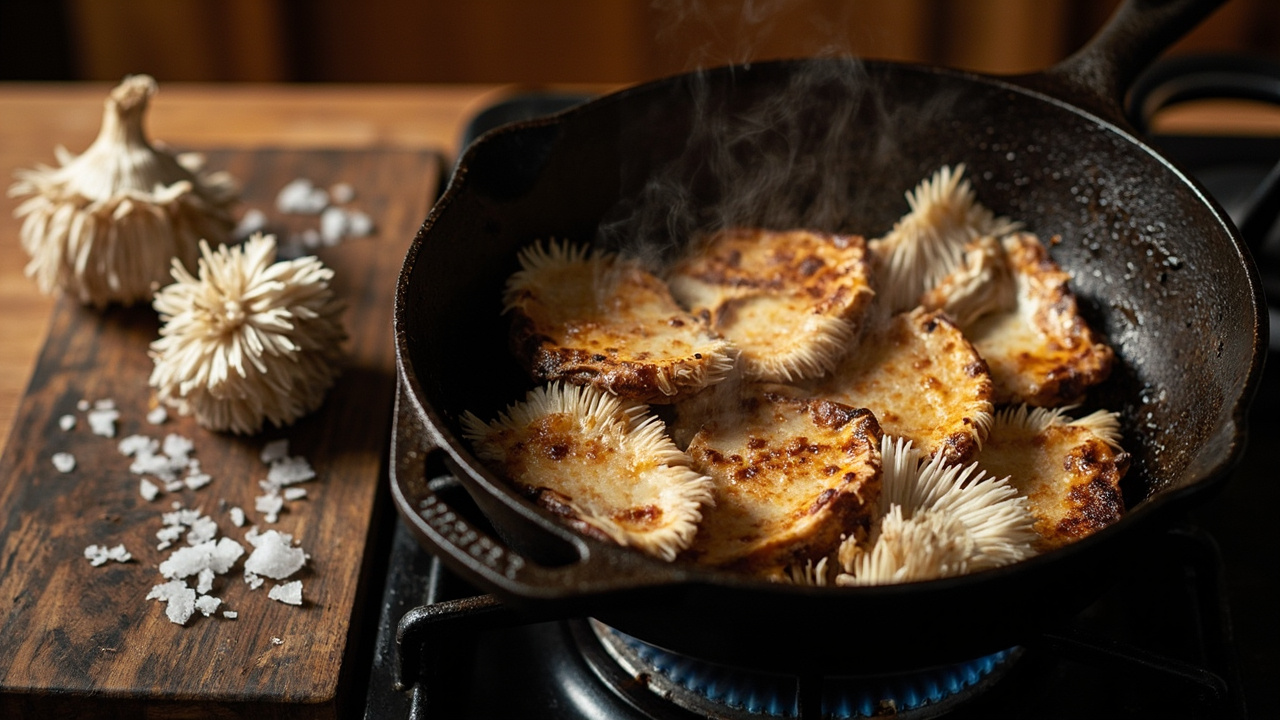
Cooking is the whole point. Lion’s mane cuts into dense, steak-thick slabs that sear hard and hold their shape — the texture lands between crab and scallop, which is why cooks build dinners around it. Freshness is the other half: the fruit body starts softening the moment it’s picked, so harvest-to-pan in minutes is something store-bought can’t match.
Grow it or buy it?
Grow it for harvest-to-pan freshness, for the enjoyment of growing, or because fresh lion’s mane isn’t sold where you live. Buy it if you only want dried mushrooms for the pantry — a jar of dried lion’s mane covers cooking trials without a multi-week project. Capsules and powders are a different purchase entirely — processed products this guide neither endorses nor replaces. Choosing a kit over a bottle is a kitchen decision, not a health one; this page takes no position on health outcomes in either direction.
What we deliberately do not cover
Health claims of any kind — nothing on what this mushroom might or might not do for your body. No capsule or extract comparisons, no dosage talk, no novelty-mushroom growing (the footer draws that line), no foraging. The exclusions are deliberate: big sites blur the line between kitchen mushroom and supplement aisle; we’d rather be clear.
Is this right for you?
Good fit if you already know how to mist a kit and your room is not bone-dry, or you can add a humidity tent.
Maybe later if you cannot mist regularly — dry air stalls pins and fruits. See Humidity tools.
Never grown anything? Take the oyster-first branch above — one easy harvest teaches you more about your room than any article.
Path A: From a grow kit (default)
The main line for almost everyone: the block arrives colonized and ready to fruit; your job is the opening, the moisture, the patience. Buying today? The standard 4 lb lion’s mane kit is the default start. Full mechanics live in How grow kits work — here’s the species-specific version.
Day 1: opening and placement
Cut the opening exactly as your kit directs on arrival — some lion’s mane kits want a different opening than oyster, so don’t copy old habits. The block stays in its bag, on the counter, away from direct sun, heat blasts, and the dry draft off an AC vent.
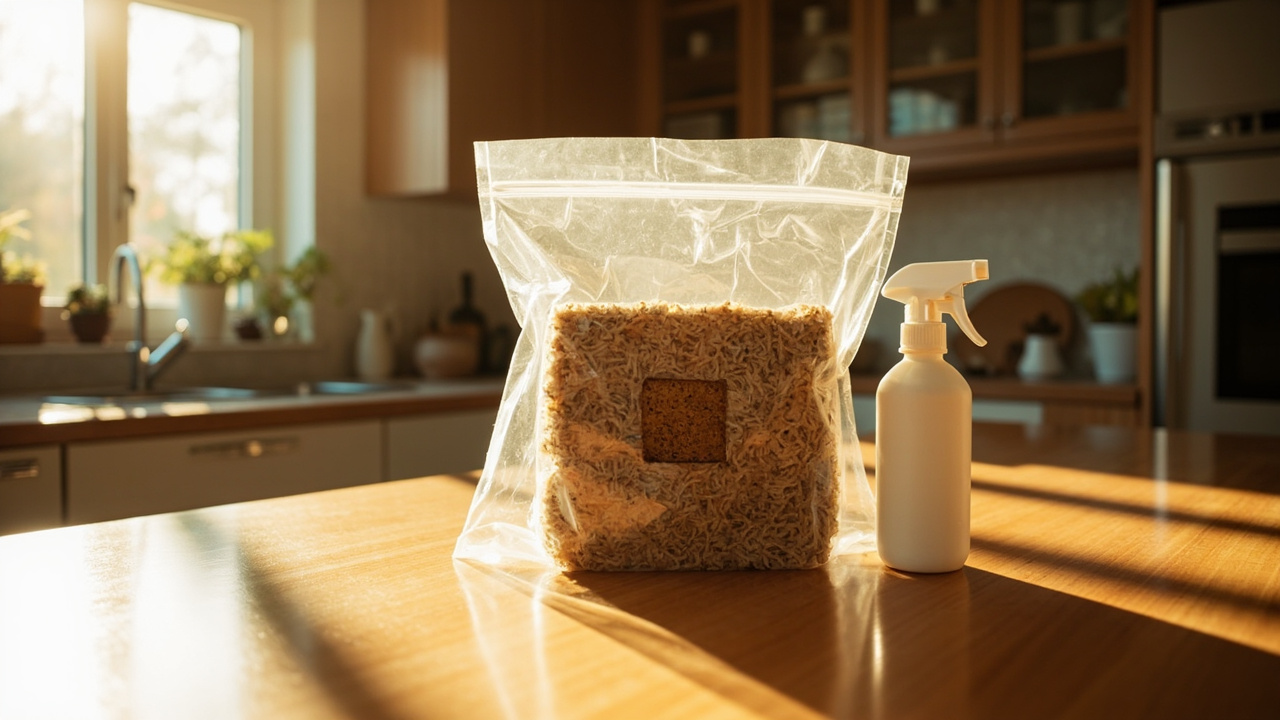
Then expect nothing visible for several days. That’s normal, not failure — the block is building up to fruit, and your only job is keeping the face from drying.
What the block should look like
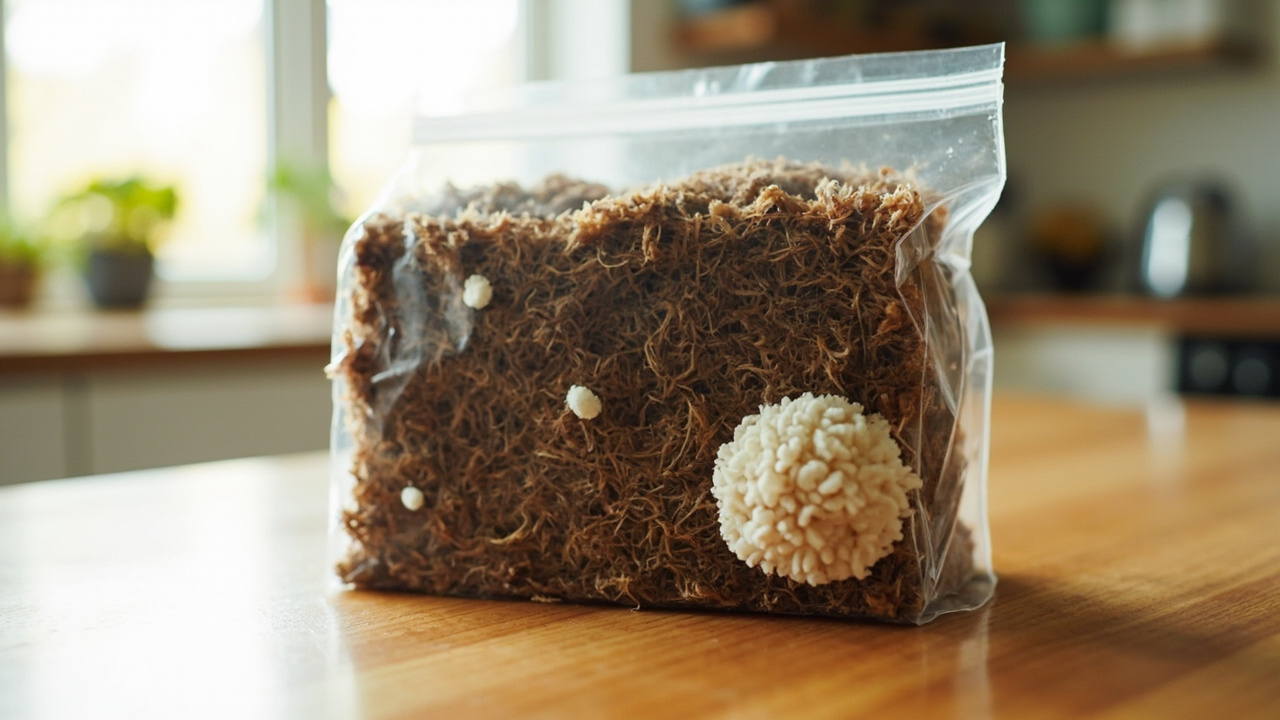
Lion’s mane mycelium runs thinner, fainter, and more off-white than oyster’s dense bright blanket — long wispy threads rather than a solid white coat.
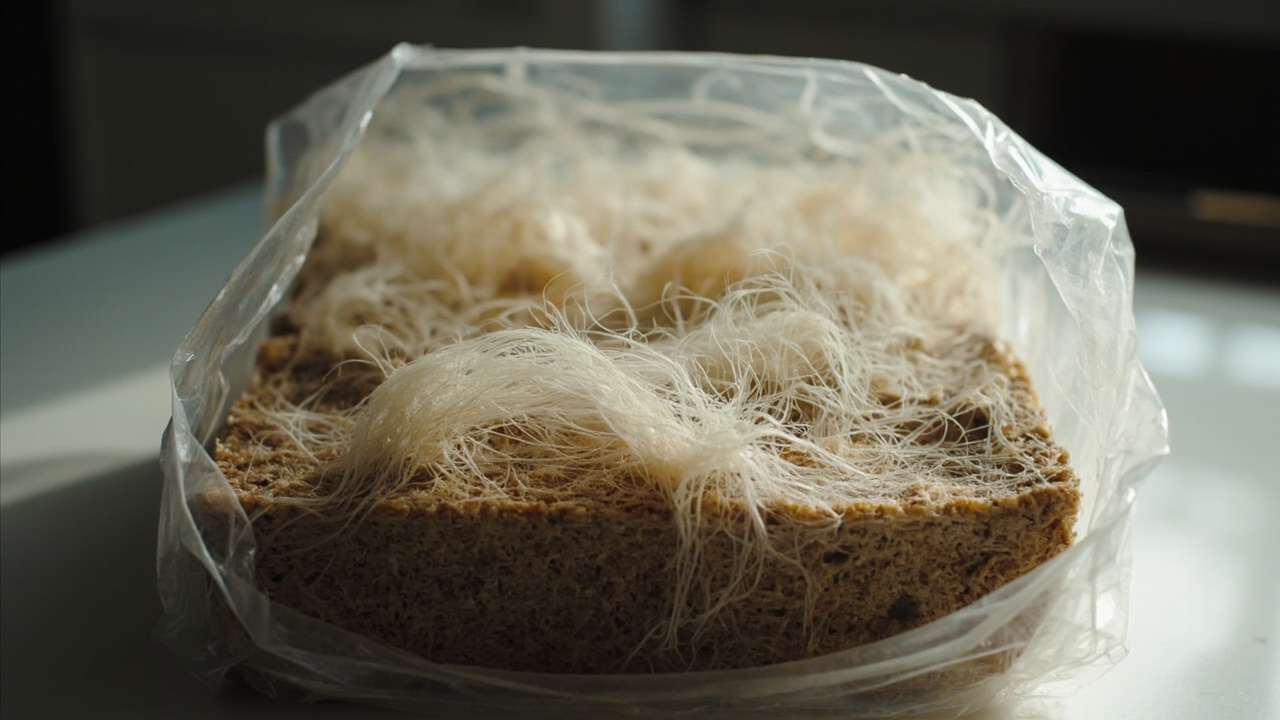
A sparse-looking block alone is not a discard reason — it’s how this species reads. Real worry looks like: spreading green growth, black spots, or a sour smell (exits in Common failures below).
Mist, don’t drown
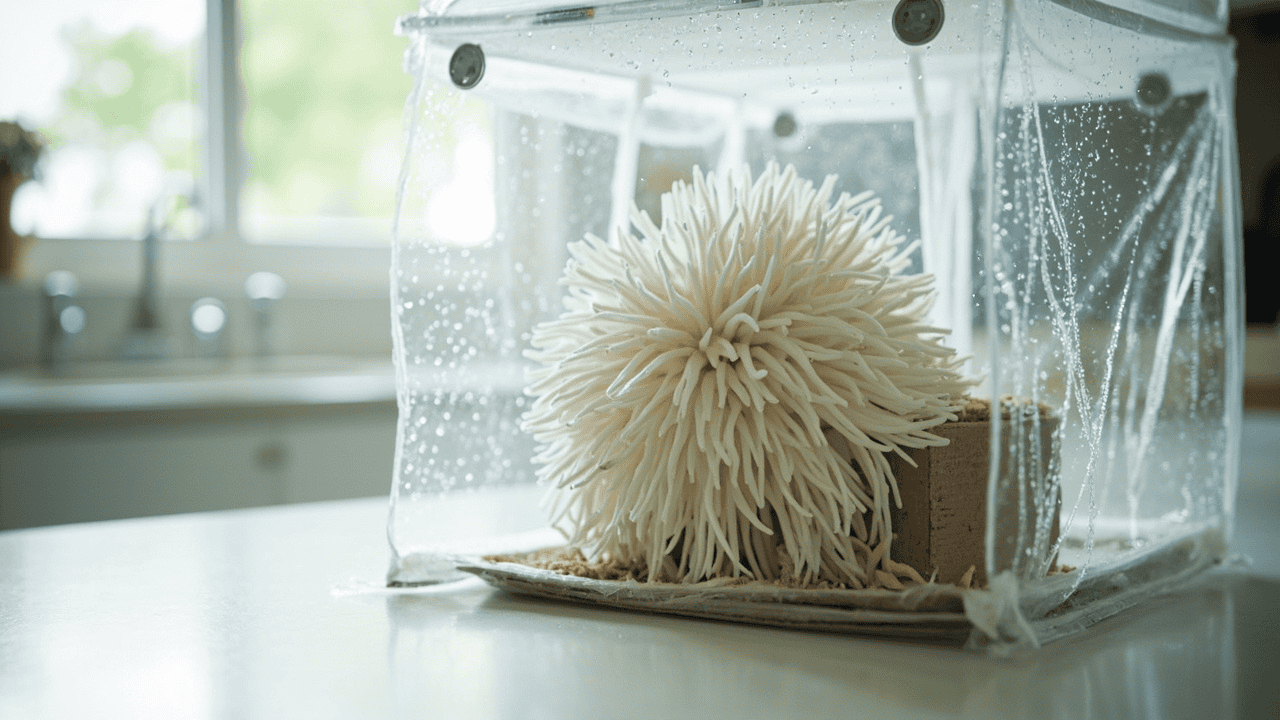
Moisture is the make-or-break variable — more than temperature, more than light. Mist with a fine spray until the face gleams, then stop. Standing droplets in the cut: ease off. A dry, pale face by afternoon: mist again. In a dry room, a tent over the kit holds moisture so you’re not misting around the clock — the continuous fine-mist sprayer covers the first job.
Days 10–21: pins and teeth
The honest clock: days 1 to 4, nothing obvious; around days 7 to 14, small white pins push from the opening; from there, pins swell and fine teeth lengthen into the pom-pom shape. The commonly seen window is pins at 10 to 21 days, harvest often around 14 to 28 — your room shifts both numbers.
Day 10 looks like tiny white bumps you’d miss without looking; a week later, a small pom-pom with visible teeth.
Day 21 with a dry pale face and no pins is a moisture problem, not a mystery — fix the misting, give it a few more days.
Path B: Bags (short)
A later project, not a first one — harvest once from a kit, then read Grow bags if the bug bites. Bags mean grain spawn into sterilized substrate: hardwood pellets or supplemented sawdust, not coffee grounds, which stay wet and spoil. Done right it’s cheaper per harvest; done casually, a contamination lesson. The standard pairing: lion’s mane grain spawn with master’s-mix substrate pellets. One caveat on buying ahead: lion’s mane spawn is the most cold-sensitive — storage tips matter more here than for oyster, because temperature swings in storage set lion’s mane back harder than any other common kitchen species.
Conditions
Lion’s mane fruiting conditions, in four rows:
- Temperature: an ordinary indoor range works — just avoid heat blasts and cold drafts, which stall pins.
- Humidity: the priority variable, higher than oyster needs. Dry air aborts pins yellow before they size up; in a dry room, a vented dome over the kit holds moisture so you’re not misting hourly.
- Light: bright indirect light as a day-and-night cue; direct sun warms the block and dries the opening.
- Fresh air: light airflow without drying the fruit to jerky; stagnant corners invite off smells.
Hold those four steady and the block mostly runs itself; let one slide and the next section is usually why.

Harvest cues
Lion’s mane tells you when it’s ready — you just have to read teeth, not caps.
Reading the teeth
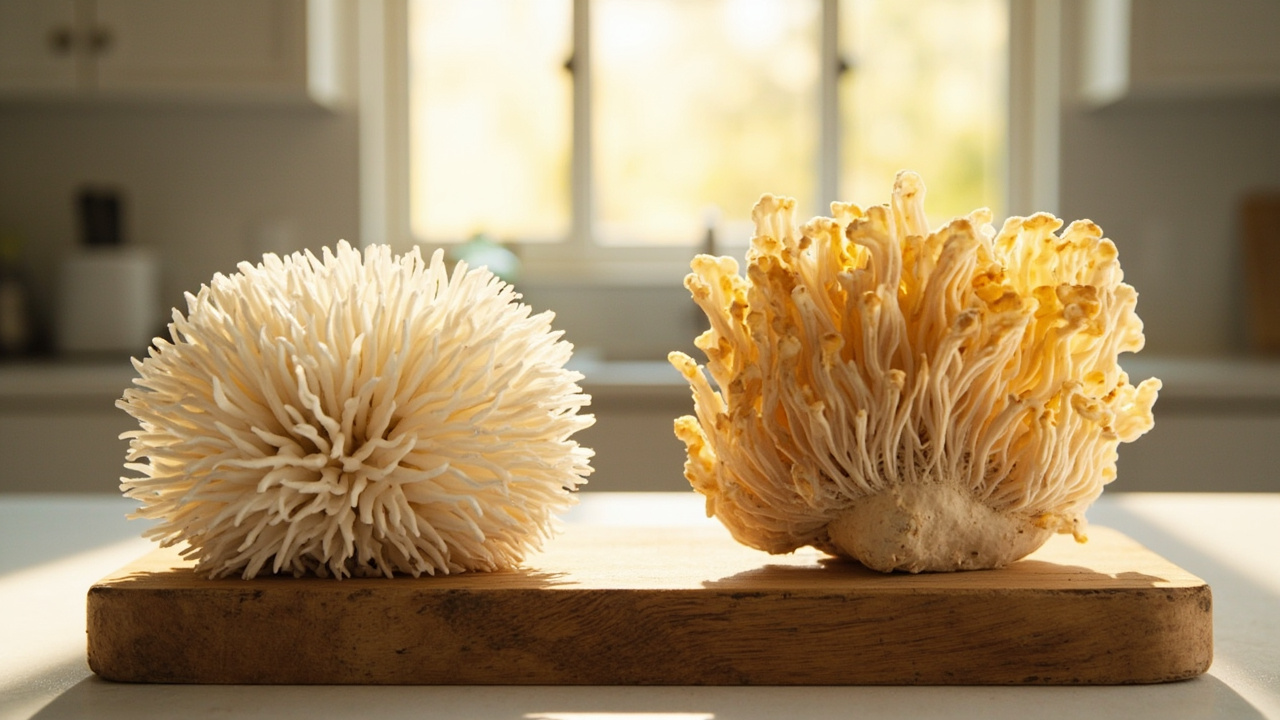
Harvest when the pom-pom is full and the teeth well formed but still short — before heavy yellowing or off smells. Younger fruit is denser in the pan; the teeth are the clock face. Soft, water-soaked yellow-brown patches mean it stayed too long.
How to cut
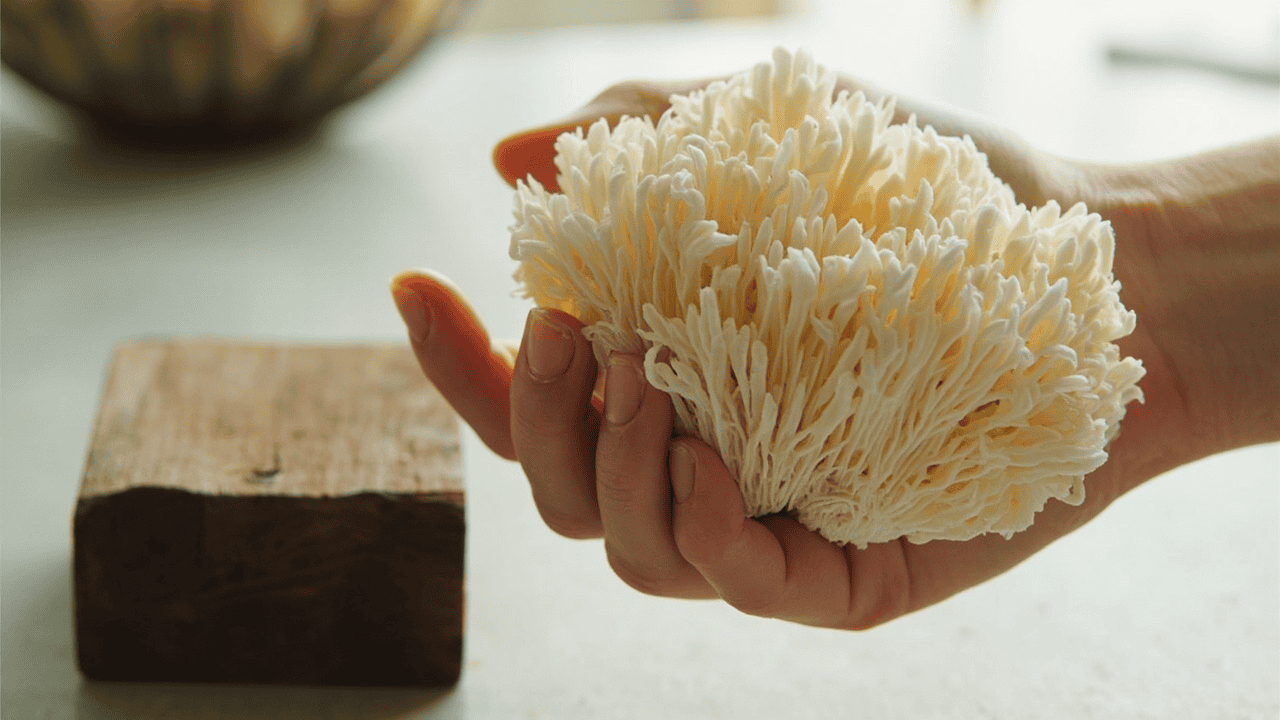
Cut or twist the fruit free at the base per your kit notes — cleanly, without ripping the block face. A clean harvest leaves the block producing; a torn face is slow to seal.
Second flush
Rest and rehydrate per the label, return to fruiting conditions, and expect a smaller second flush — worth one attempt. Discard triggers are non-negotiable: spreading green growth or sour odor means done. The second flush method covers the routine; to stagger harvests instead, the organic 4 lb kit runs alongside.
Common failures → Problems
Four mistakes cover most first runs with this species.
Letting the face dry out
The number one failure, by a distance. The pinning surface dries, pins stall or abort yellow, and growers blame the kit. Yellowing tips early in the run mean moisture stress, not age — fix the cadence or add a tent and most blocks recover. Diagnosis: pinning problems and Humidity tools.
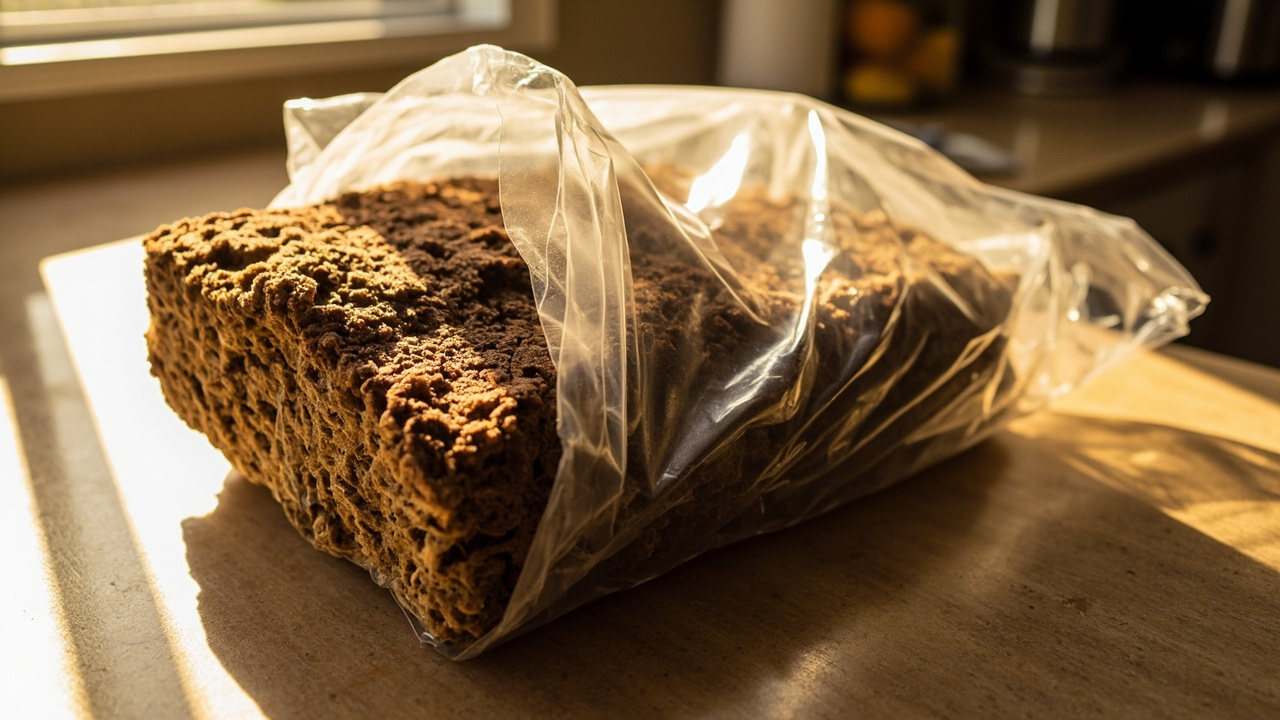
Tossing a good block
Sparse pale wispy mycelium is this species’ normal look — panic discards are almost a rite of passage. Compare against Contamination overview first; if you can’t name it, the contamination checker walks it with you.
Harvesting too late
Water-soaked yellow-brown patches and soft flesh mean the fruit aged past prime — different from the dry yellow tips of moisture stress, which show earlier. Late fruit loses the dense texture; it won’t improve by waiting. In doubt, cut young. Pins that aborted long before this stage: pinning problems instead.
Scraping or spraying green mold
Never scrape colored growth into kitchen air or spray mystery chemicals at it. Isolate the kit, decide with the green mold guide, start clean when it’s time.
What you’ll need
Roles, not a shopping list — you need less than the internet suggests.
- The kit: a 4 lb ready-to-fruit block — the standard 4 lb lion’s mane kit or the USDA-organic block if organic matters to you.
- A fine-mist sprayer so the face gleams without puddles: a continuous mist bottle earns its keep here.
- A vented dome for dry rooms — misting twice a day instead of hourly: a propagator dome.
- A sharp knife for harvest. Any clean blade works.
- Later, after a kit succeeds: grain spawn and substrate pellets for the Path B project.
- For the pan meanwhile: a jar of dried lion’s mane to learn the flavor while your block grows.
Related species
Oyster remains the easier first win. Once this species is under your belt, shiitake is the natural next hub; comparing kits across species before spending — how to choose a grow kit does it in one page.
Key takeaways
- Keep the block in its bag and cut the opening the way your kit directs — don’t copy oyster openings.
- Hold moisture like it’s the whole job: a dry face is the number one failure.
- Expect pins in 10 to 21 days and harvest around 14 to 28 — while the fruit is white and the teeth are short.
- Sparse, off-white mycelium is normal for this species; green growth, black spots, or sour odor is not.
- Grow it for the pan, buy dried for the pantry, and skip the supplement aisle entirely.
- Attempt one smaller second flush before any discard — but never scrape or spray green mold.
- Never grown a kit? Prove your room with oyster first.
Give the kit two honest weeks of steady misting before you judge it — most slow starts trace back to a dried-out face, not a bad block. Photograph the opening in daylight so you can compare day to day, and cook your harvest the same day you cut it; that freshness is the whole point of growing your own.
Culinary / edible kitchen growing only. FungiAtHome does not cover psychedelic or actives cultivation.
Related guides
Back to species . Affiliate disclosure . Culinary / edible kitchen growing only. admin@fungiathome.com