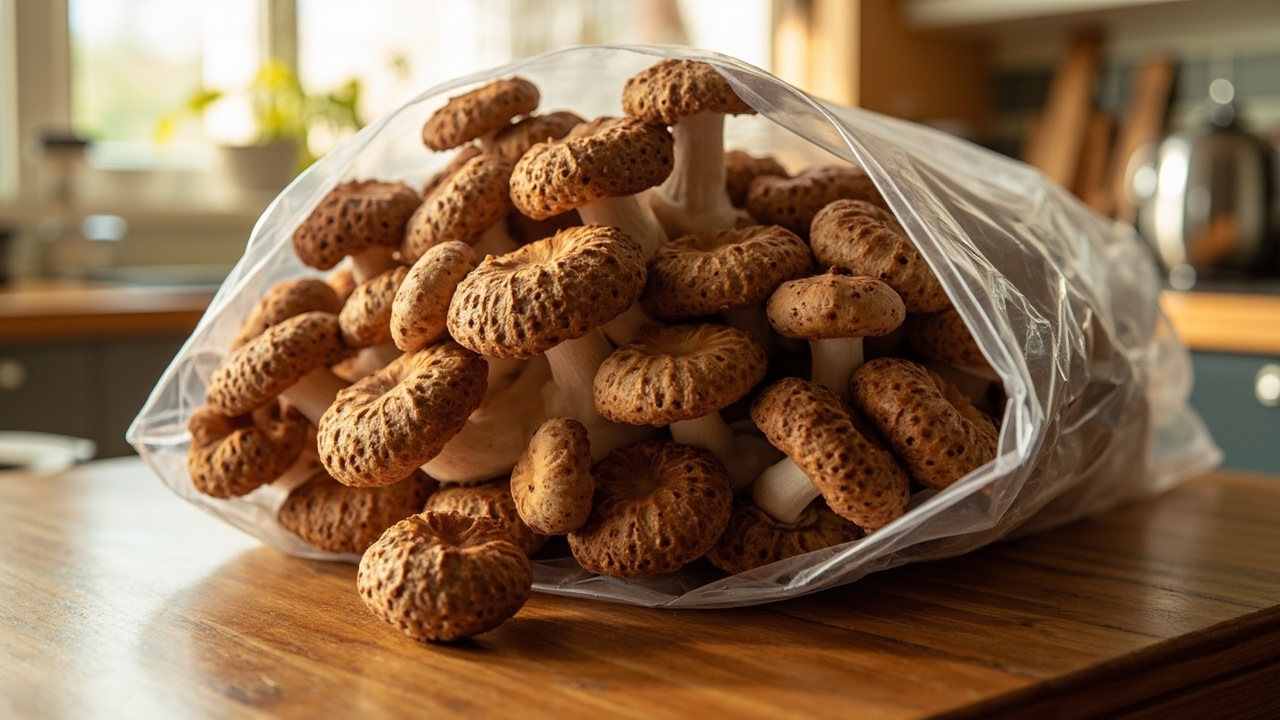
Chestnut mushrooms are a nutty gourmet edible with scaly brown caps — kitchen food for sautés and soups, not a wellness crop. Master kit dew misting first, then step into plugs or bags if you want more. Slower timelines than oyster are normal; plan patience before you plan outdoor logs.
Quick answer
Chestnut mushrooms (Pholiota adiposa) are a nutty gourmet edible with scaly brown caps — a kitchen culinary species, not a clinic crop. Most home growers start Path A with an easier oyster kit on the counter, then move to Path B chestnut plugs, liquid culture, or bags once humidity habits are solid. Expect slower fruiting than oyster, steady misting, and fresh edible harvests for sautés and soups rather than one-week counter magic.
What this is / is not
What this guide is
A culinary species hub for gourmet edible chestnut mushrooms (Pholiota adiposa / market chestnut), kit-first habits then plugs and LC Path B. Home kitchen and seasonal log notes — cook the harvest. You’ll get a decision tree, conditions ranges, and an honest Path A before Path B order of operations.
What this is not
Not baby bella / brown button Agaricus supermarket mushrooms. Not a wellness or supplement chapter. Not actives cultivation. Not monotub-as-default growing.
If you need a first edible win this month with fewer variables, start oyster and return here. This page assumes you want chestnut specifically as food for the pan.
Decision tree
Pick one branch for this month. Mixing Path A practice with Path B plugs in the same week usually wastes both.
Branch A — Zero kit experience
Start Path A with an oyster gourmet kit. Learn dew misting before chestnut gear. See oyster as Path A practice species and choosing a first gourmet kit. Chestnut plugs will still be there after you can keep a face dewy without flooding.
Branch B — Chestnut RTF kit available
Path A species kit: open per label, humidity shell on, fine mist, patience on pins. Measure the room with a TempPro TP50 so you are not guessing about dry HVAC air.
Branch C — Want outdoor/balcony logs after kit success
Path B chestnut plug spawn plus wax workflow (seasonal). Do this after one clean kitchen harvest, not instead of it.
Branch D — Want indoor bags after sterile basics
Path B liquid culture plus bags after the first kit — not day-one. Bags amplify whatever habits you already have.
Branch E — Contamination shows up
Route to the problems cluster (if the block turns green, cobweb, blotch) instead of buying more spawn. Isolation first; shopping later.
Why grow this
Culinary identity
Chestnut mushrooms (Pholiota adiposa / related market names) bring nutty, firm gourmet caps for sautés, roasts, and soups. Scaly brown tops make them a distinctive edible kitchen species beside oyster and shiitake. They’re not supermarket baby bellas with a fancy nickname.
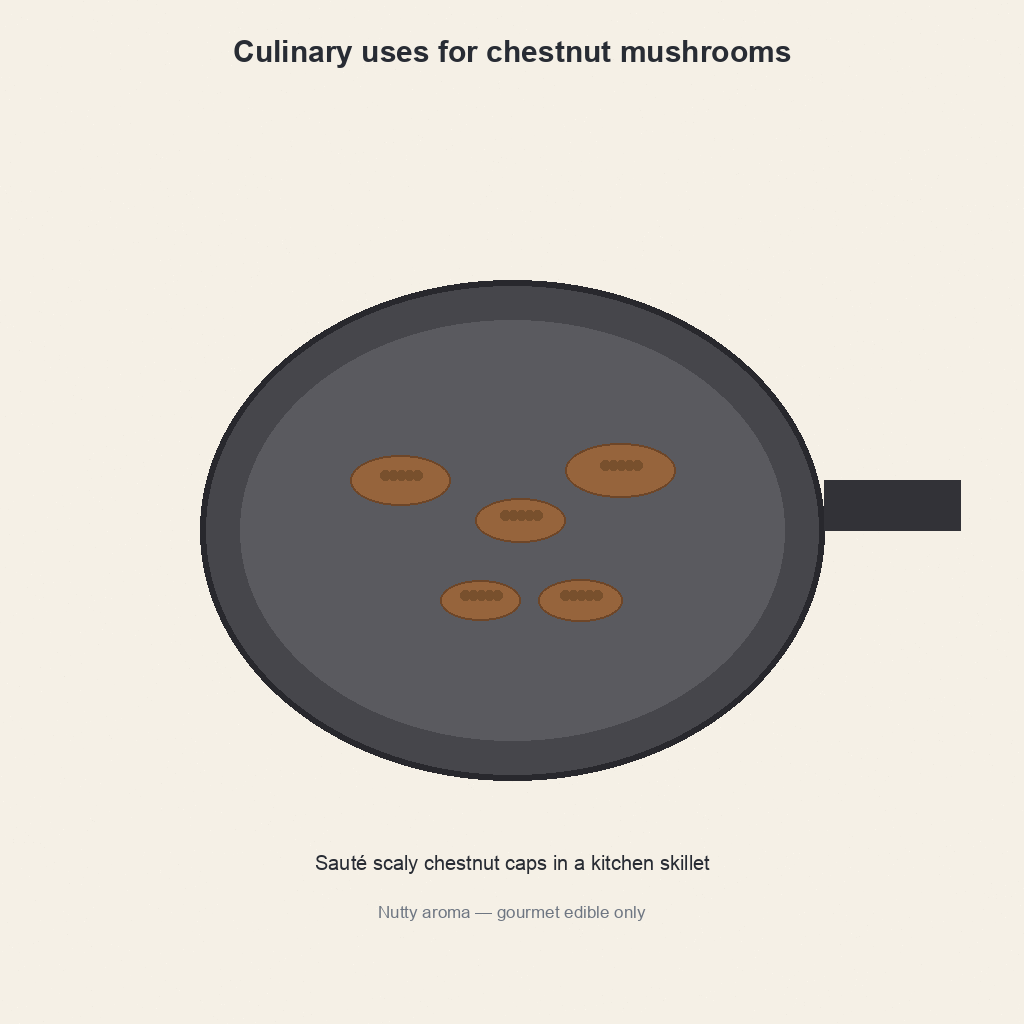
Cook them as their own ingredient. Firm texture holds up in a hot pan. Clean smell and firm flesh beat soft, waterlogged clusters every time.
Grower fit
Rewarding intermediate culinary project after you can keep a kit face dewy without flooding. Slower than oyster marketing timelines — plan patience. If you need a harvest next week with minimal variables, stay on oyster first.
Out of scope
No wellness or immune chapters. No actives cultivation. Logs appear only as a short Path B note, not the H1 promise. This page is kitchen food growing.
If a seller page wraps chestnut in health language, ignore that frame here. We’re growing dinner texture and flavor, then cooking it.
Is this right for you?
Yes if
You want a gourmet edible with more texture than oyster shelves. You can maintain humidity without sealed stagnant air. You’re fine with Path A oyster practice first when chestnut RTF kits are scarce. You’re patient with timelines that stretch past oyster marketing windows and you will cook what you grow.
Not yet if
Zero kit experience and chaotic apartment HVAC — start the kit method baseline and oyster first. If your only free shelf sits on a heater vent, fix placement or species before you buy plugs.
Chestnut rewards steady growers. It frustrates people who want a ten-day counter miracle and a sealed wet tent with zero air.
Path A: From a grow kit
Path A is where most home growers should start, even if the dream is outdoor plugs later. The goal is boring competence: cut, mist for dew, wait, harvest, cook.
Ready-to-fruit chestnut kits (when available)
Follow species label for cut pattern. Keep plastic as humidity shell. Indirect light, stable room, fine mist. Don’t yank the block bare onto a dry counter. The bag is not trash on day one — it is the cheapest humidity tool you already paid for.
Practical Path A when chestnut kits are rare
Run a North Spore-class oyster gourmet kit to lock habits. A North Spore blue oyster 4 lb kit is the usual on-ramp. Use that success before chestnut spawn or plugs. Kit skills transfer; panic buying plugs does not.
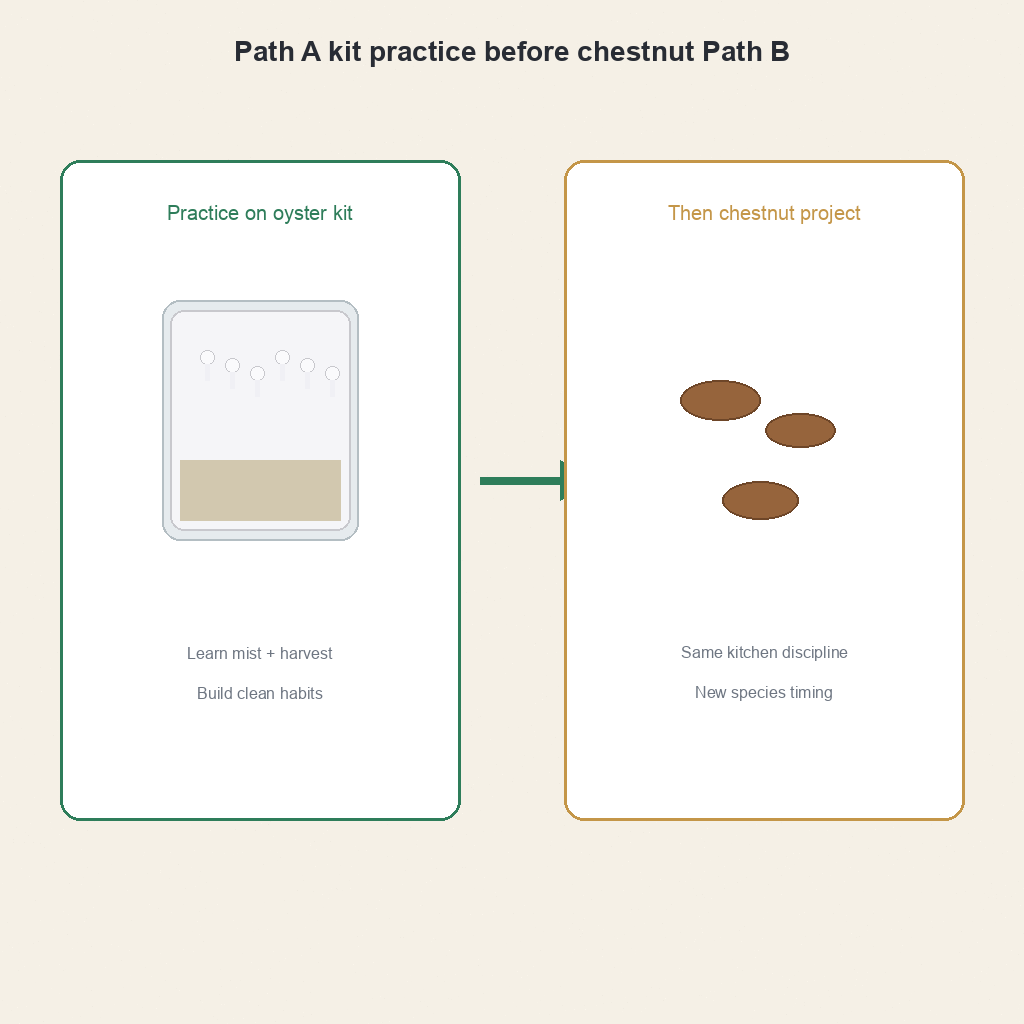
We’ve seen more failed plug projects from skipped kit practice than from “wrong brand” plugs. Dew misting and patience are the real prerequisites. If you can’t keep an oyster face dewy for two weeks, outdoor plugs will not magically go better.
Care loop
Dewy face, gentle air, watch for pins as dense knots rather than oyster ribbons. Longer colonization and fruit waits than oyster are normal. A continuous fine mister keeps the face honest without flooding young caps. If you’re tempted to soak the face daily, stop and check air instead.
Write a three-line log: date opened, room feel or meter reading, mist count. When pins stall, the log tells you whether the room dried out or you over-sprayed. That beats guessing while you refresh shopping tabs.
Path B: Bags / next level
Plug spawn for logs (outdoor / balcony seasonal)
Chestnut plug spawn is a real Path B product role — hammer plus wax workflow; not day-one kitchen counter. North Spore chestnut spawn plugs (100 ct) cover the plug role. A chestnut plugs spawn kit bundle packages the outdoor path when you’re ready. Seasonal timing and log moisture matter more than brand logos.
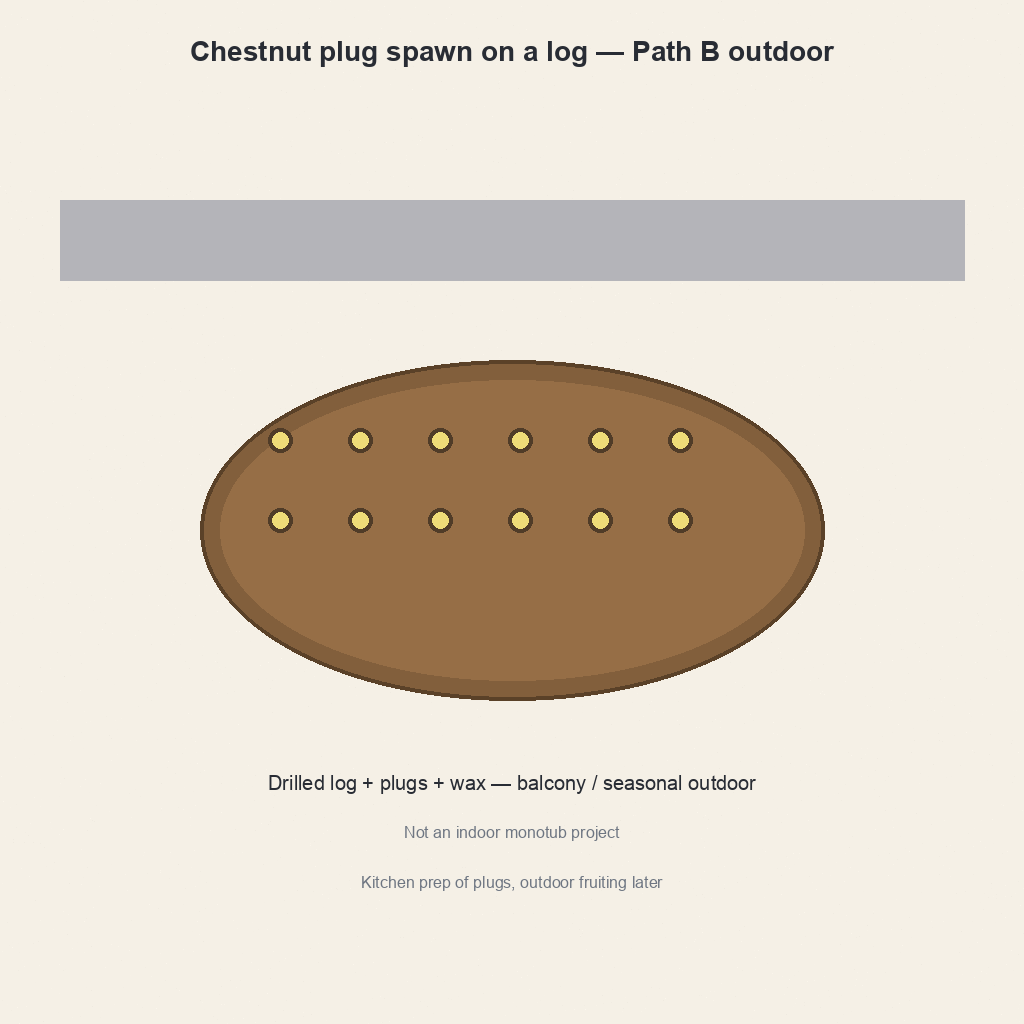
Outdoor Path B still needs patience. Freshly plugged logs are not a two-week apartment project. Plan seasons, not weekends.
Liquid culture
Pholiota adiposa LC for sterile bag projects after kit hygiene skills exist. A chestnut liquid culture syringe is Path B supply, not a first kit. Pair with grow-bags method pages; no monotub main narrative. If you can’t keep a kit clean, culture work will amplify the mess.
Bag fruiting high level
Colonize → fruiting conditions → mist discipline. Defer deep bag SOP to methods/grow-bags. For environment targets, see fruiting conditions. Bags reward steady air and dew; they punish sealed wet boxes.
Keep Path B gear on a separate shelf from any blotchy or webbed kit. Shared misters and shared panic are how outdoor plans and kitchen kits contaminate each other.
Conditions table
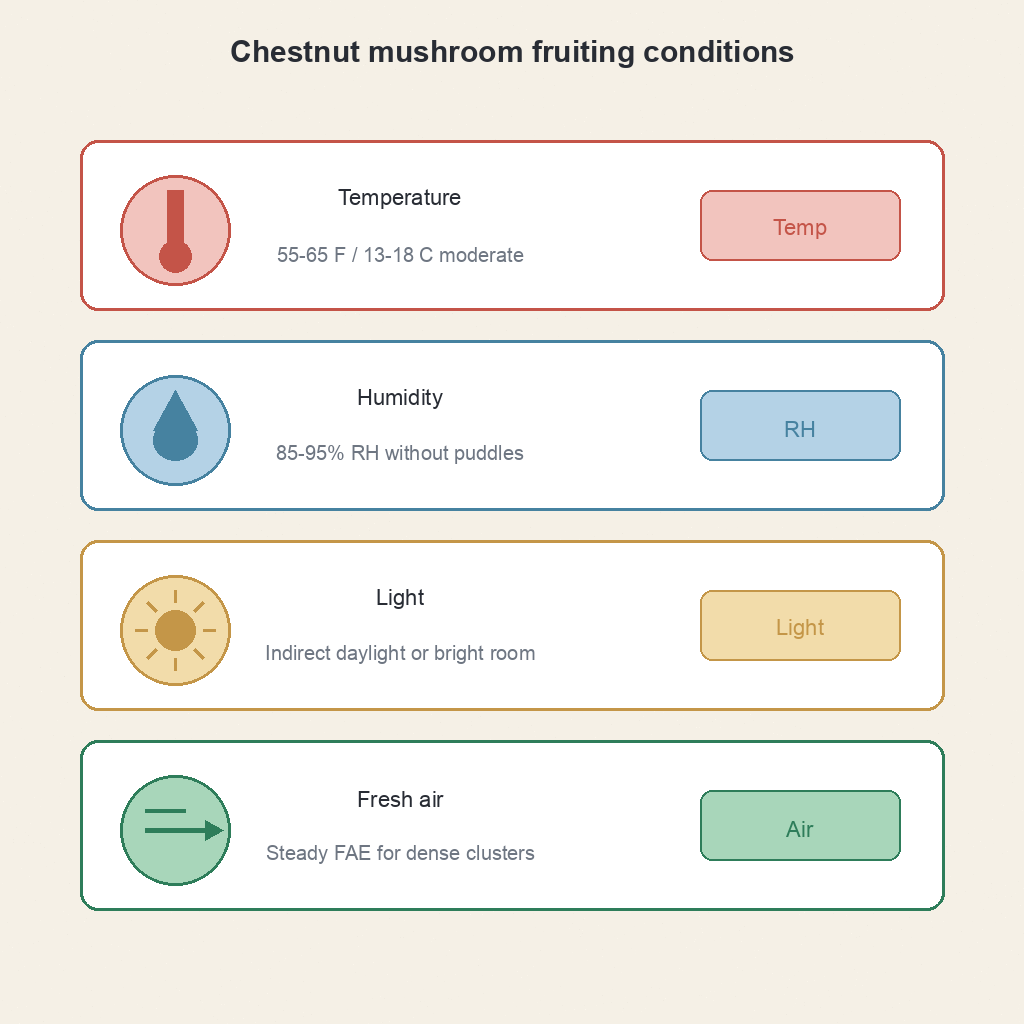
Typical home ranges only. T04 renders the conditions graphic; act on the numbers below now. Steady beats perfect. Don’t chase lab perfection in a rental kitchen — chase ranges you can hold for a week.
Temperature
Moderate room band. Avoid heat spikes that dry scaly caps. Track with a TempPro TP50. A sunny window ledge that cooks at noon is a bad fruiting seat. Move two feet off the glass and many “mystery stalls” calm down.
Humidity
High at fruiting sites. Fine mist. No standing water on young caps. Tool roles: misting tools for slower fruiting. If caps look greasy-wet, ease water and add air before you add more gear. A continuous fine mister is the daily tool; tents are optional.
Light
Indirect household light to orient clusters. You don’t need a grow light for kitchen culinary fruiting. A bright room corner usually beats a dark cupboard that also stays stagnant.
Air
Fresh air exchange to limit soft wet films on gourmet caps. Sealed still tents are where blotch stories start. Open the shell on a schedule even when humidity feels “perfect.”
Harvest & second flush
Harvest cues
Caps expanded enough for culinary use but not flipping overly flat or soft. Firm flesh, clean smell. Scaly tops can look dramatic while the flesh is still perfect for a hot pan — don’t wait for supermarket-perfect uniformity.
Cut method
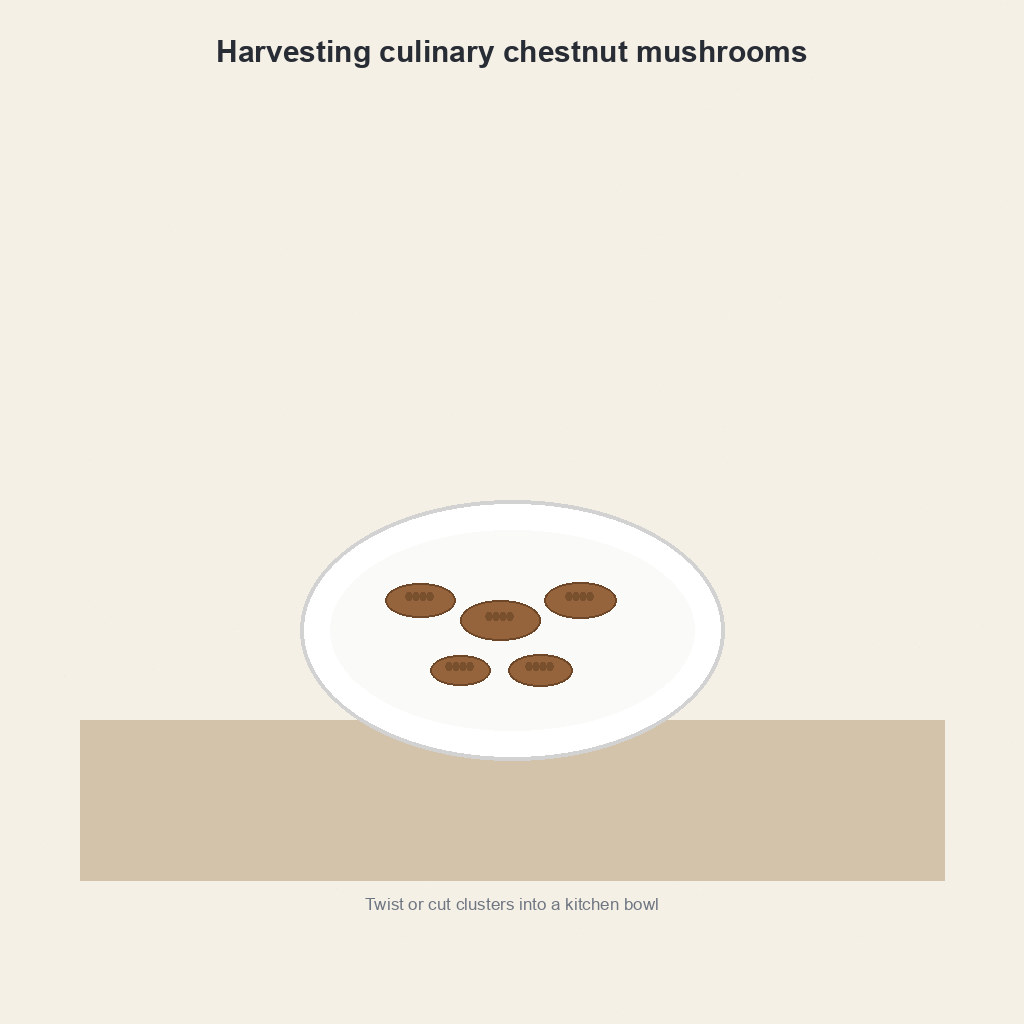
Clean blade at cluster base. Minimize block tearing. Wipe the blade if you move between kits so you don’t drag soft tissue problems around the shelf.
Second flush
Rest plus light humidity. Later flushes smaller. Don’t flood the face to force more fruit after a strong first harvest. Dew, air, and patience still beat heroic soaks.
Kitchen prep
Brush debris, cook as gourmet edible food. Sautés, roasts, soups. Firm clean clusters are the goal; soft overdue fruit is not a badge of patience.
Common mistakes
- Buying plugs before one successful kit — Path B gear without Path A habits. Learn dew misting on a kit first.
- Handling chestnut like 10-day oyster marketing kits — timeline disappointment leads to over-mist panic. Slower is normal.
- Sealed wet tents with no air — invites blotch and cobweb on gourmet fruit. Open the shell.
- Wellness storytelling in the grow log — this hub stays culinary. Cook the harvest; don’t write a clinic chapter.
- Ignoring green or grey contaminants — route to problem hubs immediately. More spawn won’t fix a dirty shelf.
If you’re stuck between “wait longer” and “something’s wrong,” photograph in daylight and compare tomorrow before you buy another bag of plugs. Most failed chestnut grows are dry faces, sealed wet tents, or skipped Path A practice — not bad luck genetics.
What you’ll need
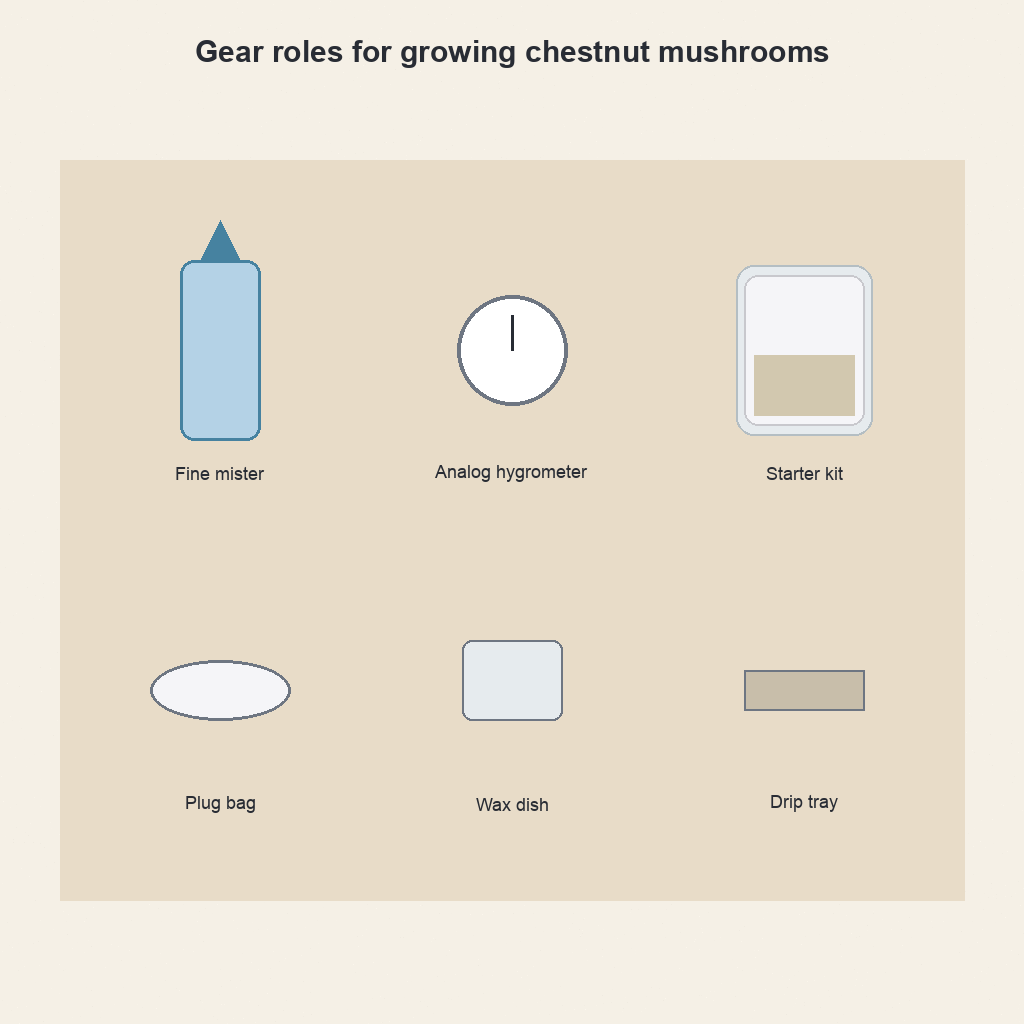
Roles only. Buy for the path you’re actually on this season.
Path A oyster gourmet kit
Habit builder: North Spore blue oyster kit. This is the practice block that teaches dew misting before you spend on plugs.
Chestnut plug spawn
Path B logs: North Spore chestnut plugs 100 ct. Buy plugs after kit habits, not instead of them.
Chestnut liquid culture
Path B bags: Pholiota adiposa LC syringe. Culture is a later tool for people who already keep fruiting faces clean.
Fine mister + hygrometer
Daily environment control: SUPER+ fine mist and TempPro TP50. These two solve more home failures than a third bag of spawn.
Optional plug kit bundle
If doing outdoor logs properly: North Spore chestnut plugs kit. Seasonal outdoor work still waits on Path A skills indoors.
Related species
- Oyster for Path A practice and enoki for another cool-leaning culinary sister
- Methods: grow kits, grow bags, and fruiting conditions when air and humidity need a reset
- Essentials: how to choose a grow kit and humidity tools before more spawn
- Problems cluster when fruiting goes soft or grey: start with isolation, then read the matching guide
Key takeaways
- Chestnut is a nutty gourmet edible with scaly caps — not supermarket baby bellas.
- Kit skills first; plugs and liquid culture second.
- Humidity plus fresh air beat fancy gear and sealed wet tents.
- Slower timelines than oyster are normal — don’t panic-mist a healthy block.
- Contaminants route to the problems cluster early, not random additives later.
- Culinary kitchen growing only — cook your harvest as food.
Give Path A two honest weeks before you judge chestnut as “too slow.” Most home failures come from sealed wet tents, dry cracked faces, or plugs bought before kit habits. Photograph the face in daylight, fix air and dew mist first, then decide whether Path B logs or bags are still worth the calendar. When fruit is firm and clean-smelling, cook it the same day — sautés and soups reward kitchen timing more than waiting for every cap to look store-perfect.
Culinary / edible kitchen growing only. FungiAtHome does not cover psychedelic or actives cultivation.