Species · Worth the wait · Indoor / kit focus
How to Grow Shiitake Mushrooms at Home (Gourmet Kitchen Guide)
Shiitake is a classic culinary mushroom. Indoor kits work, but expect a slower, more patient pace than oyster. Outdoor logs are a later/optional path — not our Launch main story.
Grow edible shiitake at home with a kitchen grow kit — soak, cold-shock, harvest, second flush, and fixes when pins stall or the block turns green.
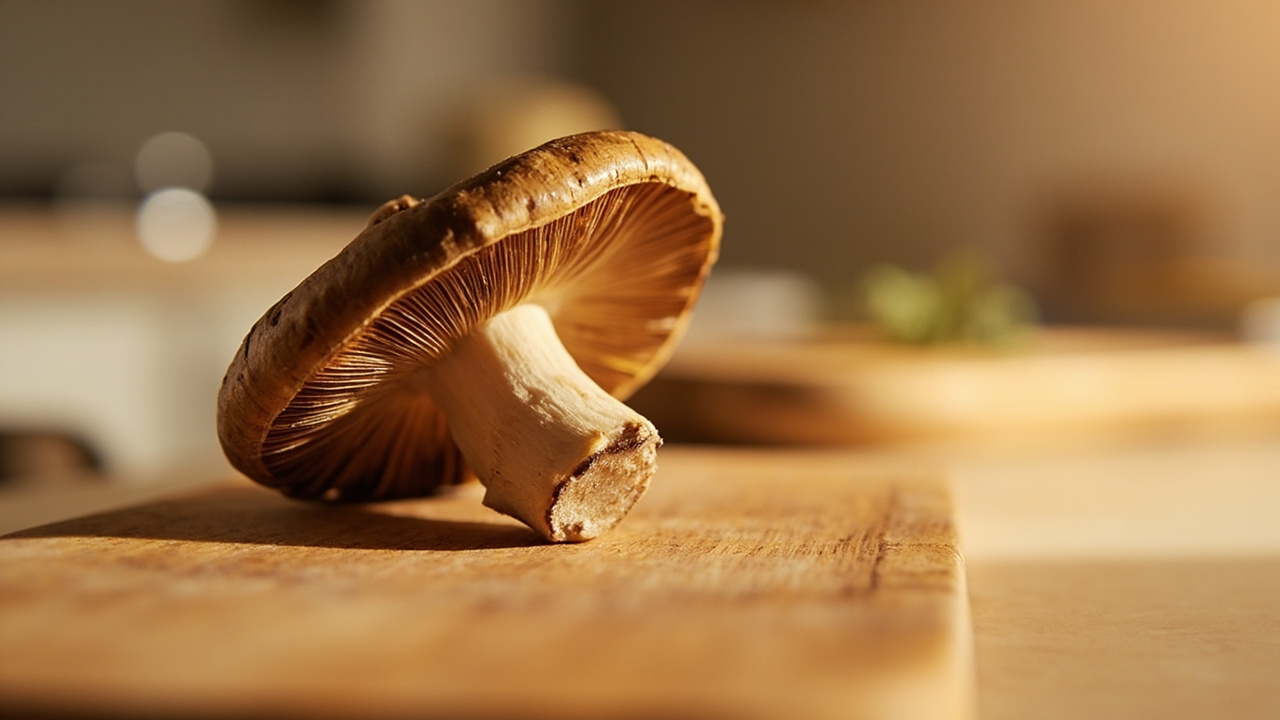
Shiitake is the classic culinary mushroom — deep, savory, and worth the wait. A kitchen kit works, but it runs slower and less forgiving than oyster.
Best for: Patient growers after classic edible flavor who can follow kit timing without forcing outdoor log projects first.
Quick answer
Yes — if you want deep savory flavor and can wait for it. Buy a ready-to-fruit shiitake kit, follow its soak, rest, or cold-shock card exactly — steps vary more than oyster — keep humidity honest at the block face, and harvest before caps fully flatten. Oyster fruits in about 7–10 days; shiitake often takes three to six weeks. Growing for the kitchen is the whole point: flavor, freshness, and quality you control.
What this is / is not
This page is about one thing: fruiting a ready-to-fruit shiitake block on a kitchen counter, then cooking what it gives you.
It is not a log-farming course — logs are real but slow and seasonal, so we keep them optional near the end. It’s not a recipe collection. And it isn’t a supplement-benefits page: FungiAtHome does not cover psychedelic or actives cultivation. Search interest for “shiitake” mixes cooking with growing; this page locks to home cultivation, because same-hour caps cook better than dry-rimmed store shiitake.
Decision tree: which shiitake route fits your kitchen
Pick your entry point before you buy anything:
Branch A — First shiitake, start with a kit
If this is your first shiitake, take Path A below. Sub-check: if you need a fast confidence win more than this flavor, oyster is the kinder first species, often pinning in about 7–10 days. If you’re here for the deep, smoky umami shiitake brings to a hot pan, stay and budget the wait.
Branch B — Kit worked; graduate to bags
If you’ve pulled at least one clean flush and want volume, move to grow bags after your first kit. Bags come after kits succeed, not before.
Branch C — Something already looks wrong
If the block is past its card’s window with zero pins, shows colored fuzz, or smells sour, skip the buying decisions. Run the 10-minute triage in Common mistakes below, then route by symptom: no pins or green fuzz.
Should You Grow Shiitake for Cooking? (The Gourmet-Only Decision)
This is the honest decision section, because shiitake asks more patience than almost any other kitchen kit. Work through it before you spend money.
Grow it for the cooking value. The kitchen case is real. Store shiitake often sit in packaging for days before you buy them — dry-rimmed caps, rubbery stems, aroma faded to almost nothing — and they keep fading in your fridge drawer. A home block hands you caps at peak kitchen readiness: firm, dense, aromatic, picked minutes before the pan — and picked at the stage you want, from tight buttons for skewers to broad open caps for the skillet. The difference shows up fastest in simple cooking — a hot skillet, a little oil, caps that brown and stay meaty instead of steaming into limpness. Fresh shiitake also holds its bite in soups and stir-fries, where tired caps turn slippery. If you cook shiitake weekly, that harvest-to-pan loop is the entire reward, and it’s the reason this page exists.
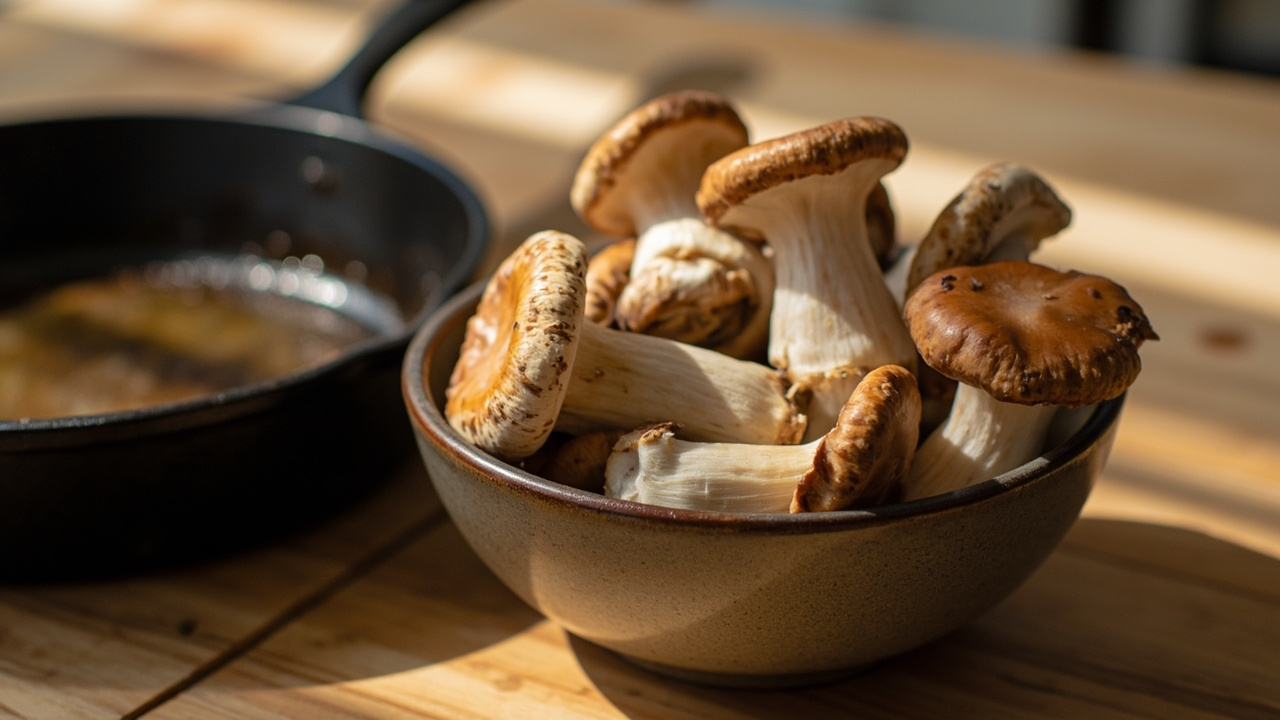
Know the patience trade. Oyster forgives; shiitake doesn’t. Oyster kits often fruit in about 7–10 days and shrug off imperfect care. Shiitake typically wants its soak, rest, or cold-shock window followed to the letter, then often three to six weeks from setup to harvest-ready caps. Lion’s mane sits between the two at roughly 14–21 days. You’re trading speed for depth of flavor — decide that trade now, with open eyes, not during a disappointed week three.
Know who should skip it. Skip shiitake as your first kit if you need a quick win for confidence — start with oyster and circle back later. Skip it if your goal is a steady grocery replacement: a kit delivers a few gourmet harvests over weeks, not a produce aisle. And if cooking isn’t really your interest, this is the wrong shelf — we grow mushrooms to cook them, full stop.
If the flavor-and-freshness case wins you over, pick your block next: the how to choose a grow kit guide walks the trade-offs, and readers brand new to kits should start with the first grow kit guide. A well-reviewed organic option like the Oakland Mushroom Co. shiitake kit is a sane default block.
What you’ll need
A short list, all kitchen-scale:
- A ready-to-fruit shiitake kit — the Oakland organic block by default, or the Root Mushroom Farm kit as the mid-price alternative.
- A fine-mist bottle — a continuous spray bottle makes dew, not puddles.
- A humidity dome if your kitchen air runs dry — a clear reusable dome tents the block during pinning.
- A clean counter spot with indirect light, and patience measured in weeks.
Torn between brands? The grow kit chooser.
Path A: From a grow kit (the default route)
The kit route is the default: the substrate arrives already colonized, so your job is timing and surface care, not lab work. One warning — shiitake kits include soak, rest, or cold-shock steps that oyster kits don’t, so the printed card outranks any generic advice, ours included. For shared kitchen operations, see how grow kits work.
Step 1 — Unbox, read the card, check the date
Open the box and read the printed card before anything else — it’s the law for your block: soak window, cut style, use-by range. Warehouse-aged blocks fruit weakly, so check that date. Vendors quote optimistic numbers; one popular kit prints “Harvest in 7-14 Days” — read that as the fastest-case vendor claim, not the typical schedule. The Oakland organic shiitake kit ships with this card-first setup.

Step 2 — The soak or cold-shock window (follow the card)
Many shiitake blocks want a cold-water soak before fruiting — commonly 12–24 hours — while other kits skip it and go straight to the cut. Don’t improvise: too short and pins stall for weeks; wildly long and you waterlog the block. Set a timer, follow the card’s number exactly.
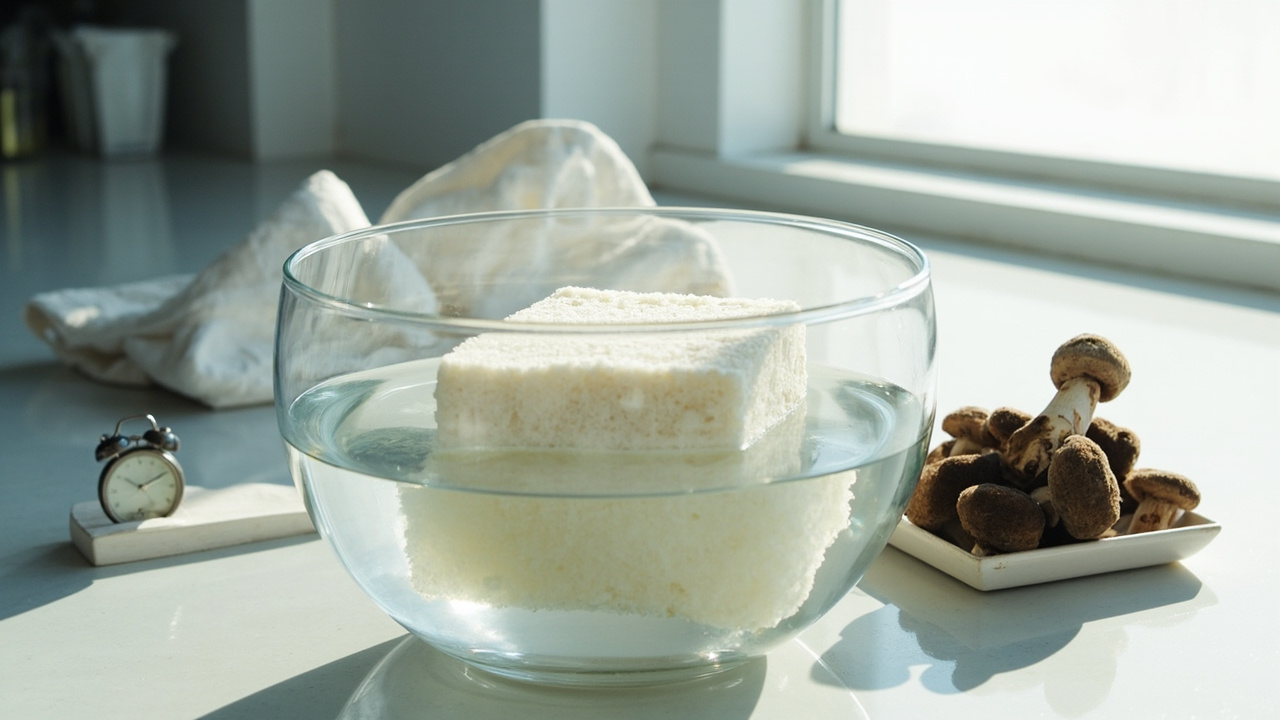
If a step slips and the block soaks overnight by accident, don’t panic-toss it — drain, pat the surface, and watch for a sour smell. If you’d rather not gamble one block on one soak, a second Root Mushroom Farm block costs less than a dead month.
Step 3 — Cut, place, and fruit
Cut the fruiting opening exactly as the card shows — usually an X or a single slit on one face, never a full unwrap. Then place it: indirect light, stable spot, away from drafts and heat. The face you cut is the face that pins, so stop moving it around.
Step 4 — The daily mist-and-check loop
Mist the block face, not the room: the cut where pins form is the surface that needs dew, and a fine spray once or twice a day is usually plenty — dewy, never pooling. Then the hard part: wait. Shiitake often takes three to six weeks to harvest-ready caps; cards vary, and some vendors quote 7–14 days as the fastest case. Dry kitchen air? A humidity dome slows the dry-out between mists.
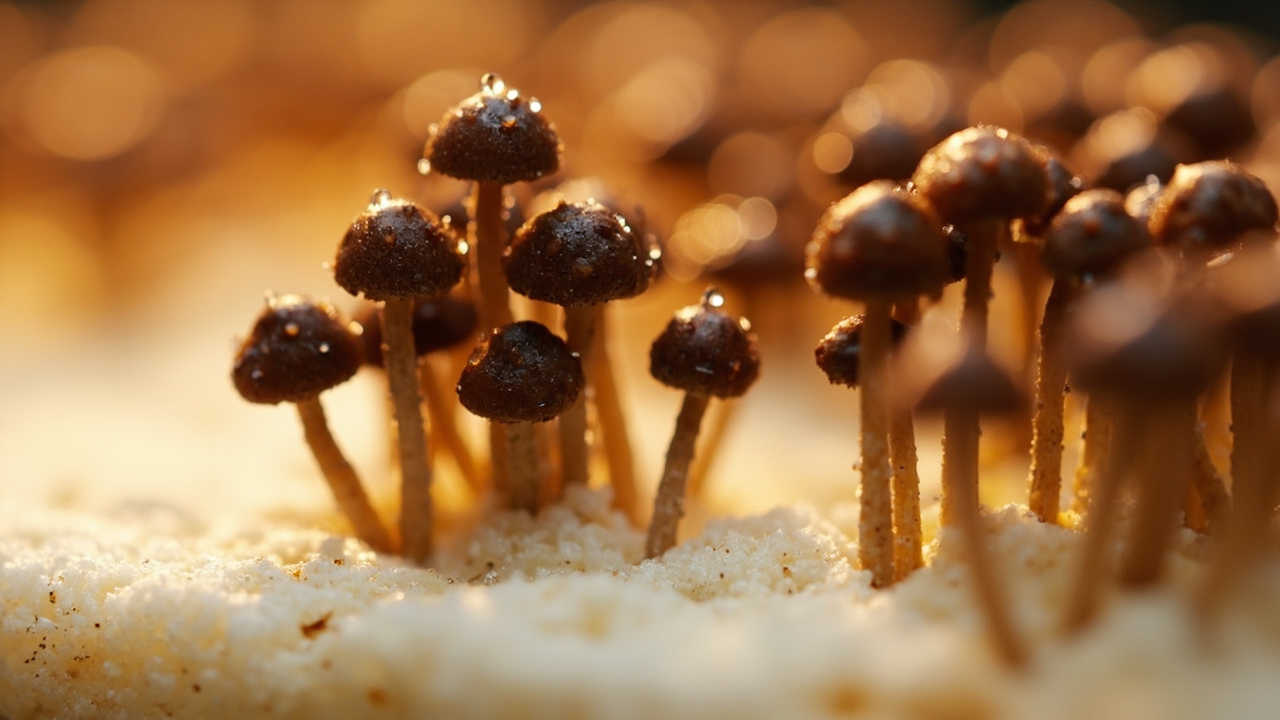
Check daily, and don’t cut new openings out of boredom — every extra cut is one more contamination door.
Path B: Bags and next-level routes
After one clean kit harvest, two upgrades open up. Substrate bags scale the same colonized-block idea to more volume — the grow bags guide covers sizes and when the jump makes sense. Both routes assume a kit already worked for you.
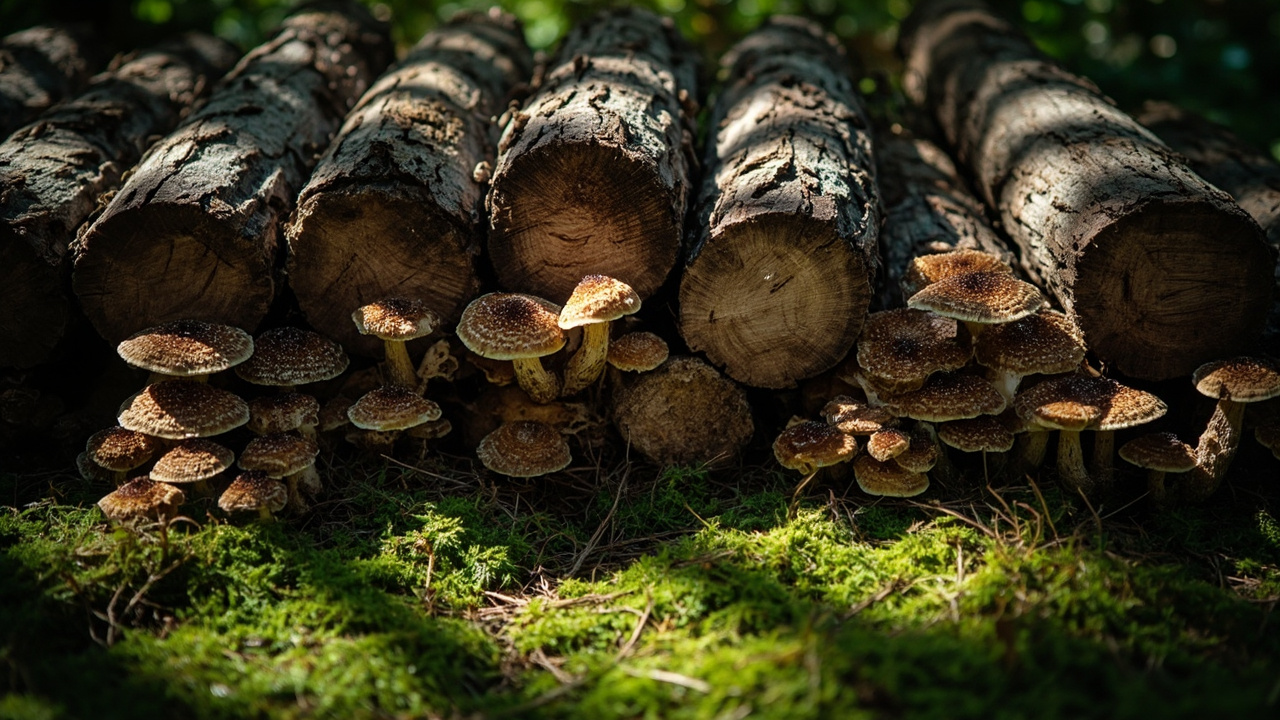
Outdoor logs — the long game
Log cultivation is the traditional method — real, cheap per pound once running, and slow: logs fruit on their own seasonal schedule. That’s why this route stays optional here; logs are a later backyard project, not a first harvest.
Conditions: temperature, humidity, light, air
Four factors, one rule: the card’s stated ranges outrank any number you read online, ours included.
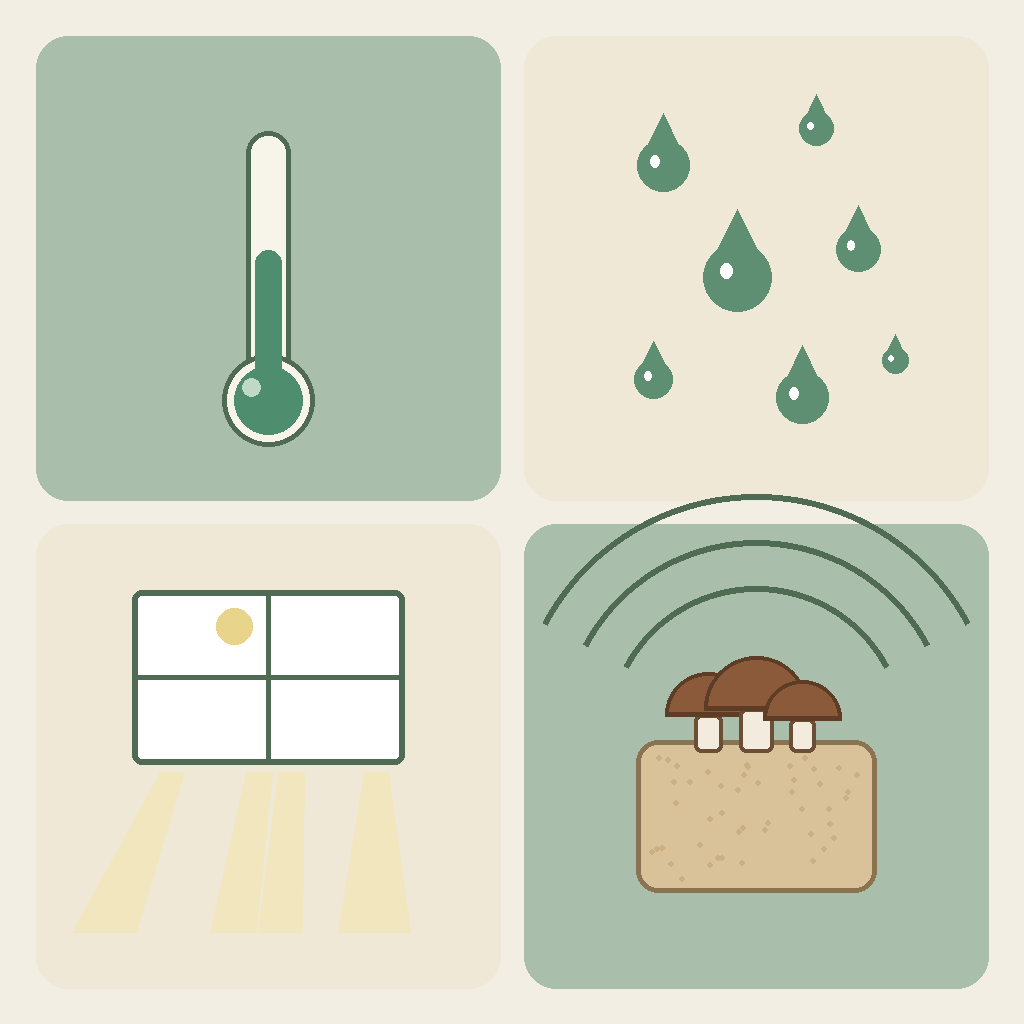
- Temperature: stay inside the card’s range — shiitake likes it cooler than most kitchens, and the card is the number that matters.
- Humidity: think surface, not room — the cut face should read dewy, not matte. Humidity tools for dry kitchens and a clear dome close the gap.
- Light: bright indirect daylight — the “near a window, not on the sill” kind. A single block doesn’t need a grow lamp.
- Air: gentle movement, not a draft. If a curtain or vent flaps at the block, move the block.
A continuous fine-mist bottle keeps the daily loop honest without soaking the face.
Harvest and the second flush
First flush harvest
Harvest when caps are open enough for kitchen use — edges still slightly curled, flesh firm — but before they fully flatten and drop heavy spores. Late caps cost you the kitchen quality you grew the block for. Twist the cluster off or cut at the stem base as the card directs; don’t rip chunks out of the face, and don’t wait for “one more day.”
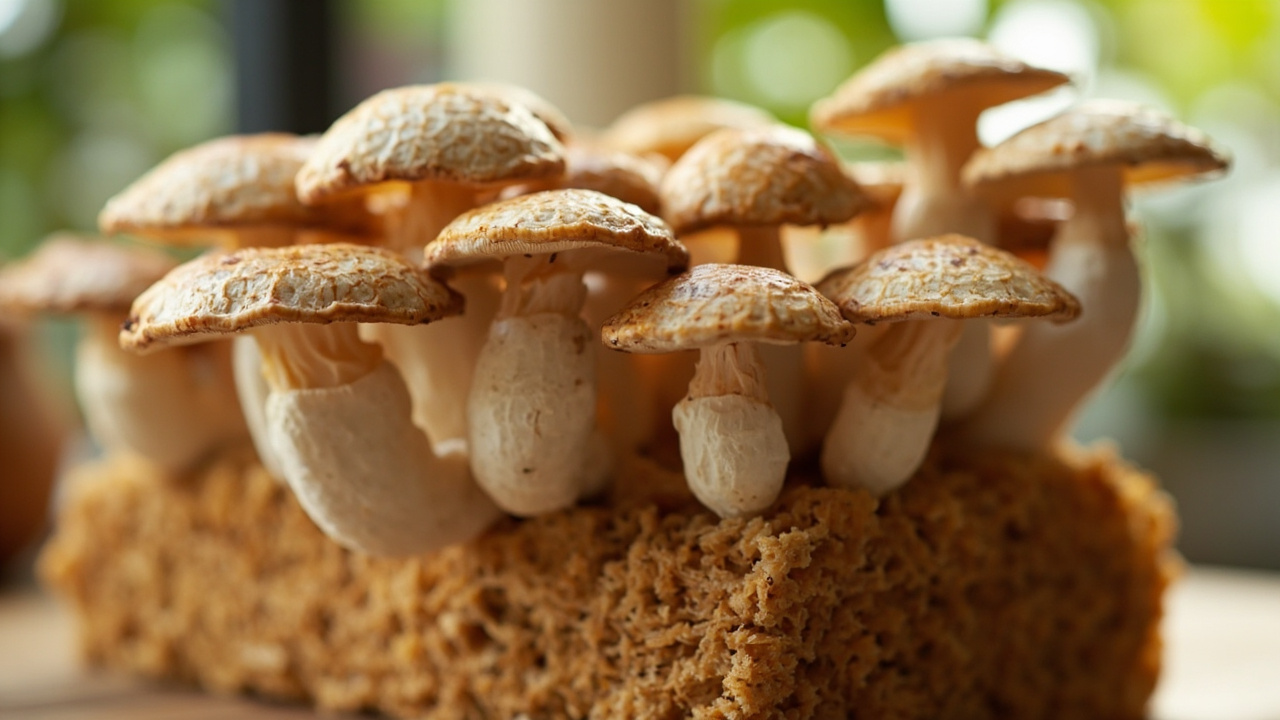
Cook what you picked within a day or two — that freshness is the entire point. A paper bag in the fridge buys a few days if the flush outpaces your pan.
Second flush: soak, rest, return
Don’t compost the block after flush one. Most shiitake blocks fruit again: soak 12–24 hours per the card’s re-soak instructions, rest and drain, then return to fruiting conditions — for shiitake, that soak often acts as the cold-shock trigger for the next round. Expect smaller yields each flush; that’s normal. The second flush method walks the full loop.
Stop if the block turns green and fuzzy or smells sour. Retire it and start a fresh ready-to-fruit block instead of gambling weeks on a sour one. And if you keep your own grain spawn on hand for the next block, storing shiitake grain spawn comes with one reassurance: brown metabolite pooling under the mycelium is normal for a rested shiitake jar, not a sign it has gone bad.
Common mistakes and failure triage
Do this first — the 10-minute triage
Before anything else: stop opening new cuts and stop guessing. Look at the surface and take one honest sniff. White or light tan and mushroom-smelling: fine, keep going. Colored fuzz — green, black, pink, strong yellow — or a sour smell: isolate the block away from food and other kits, then route by symptom: no pins, green mold, or the contamination overview.
Mistake 1 — Copying oyster instructions onto a shiitake kit
Running oyster steps on a shiitake block — skipping the soak, misting on an oyster schedule — is the fastest way to stall it. Fix: re-read how grow kits work and follow the shiitake card as printed, soak and all.
Mistake 2 — Improvising the soak or cold-shock window
Guessing the soak — “a few hours, whatever” or doubling it to “be safe” — delays pins or waterlogs the block. Use a timer and the card’s number. The second flush method explains why the window matters twice — first fruiting and every flush after.
Mistake 3 — Misting the room, not the block face
Spraying the air around the kit raises nothing but your water bill. Pins form at the cut face — that’s the surface that needs dew. A continuous fine-mist bottle aimed at the face once or twice a day beats a room spritz; humidity tools cover dry kitchens.
Mistake 4 — Harvesting too late
Waiting past the kitchen-ready point buys you flat caps, heavy spore drop, and dry rims — the exact quality losses you grew the block to avoid. When caps look open-but-firm, harvest. They don’t improve on the block.
Mistake 5 — Giving up after the first flush
Most blocks hold a second, sometimes third flush; quitting after flush one leaves harvests in the block. Soak, rest, return — the second flush guide has the loop. Quit only on green growth or a sour smell; a fresh kit restarts the clock cheaper than nursing a spent one.
Related species
Two kitchen siblings are worth knowing. Oyster is the faster, more forgiving first kit — often pins in about 7–10 days where shiitake takes weeks. Lion’s mane is the other kitchen gourmet, with a different texture and roughly a 14–21 day pace.
Key takeaways
- Start with a ready-to-fruit kit; leave logs for later.
- The printed card outranks every generic guide, including this one.
- Follow the soak and cold-shock windows exactly — no improvising.
- Budget three to six weeks, not the vendor’s fastest-case 7–14 days.
- Mist the cut face, not the room.
- Harvest at open-but-firm and cook within a day or two.
- After flush one: soak, rest, return — stop only for green growth or a sour smell.
Culinary / edible kitchen growing only. FungiAtHome does not cover psychedelic or actives cultivation.
Related guides
Back to species . Affiliate disclosure . Culinary / edible kitchen growing only. admin@fungiathome.com