Species · Beginner · Best first grow
How to Grow Oyster Mushrooms at Home (Kitchen Gourmet, Kit First)
If you want one kitchen-friendly species for a first harvest, oyster is the default. It tolerates imperfect humidity better than many gourmets and usually pins faster.
Grow oyster mushrooms at home from a kit: cutting the X, misting, when to harvest, second flush, and what to try when pins stall or the block turns green.
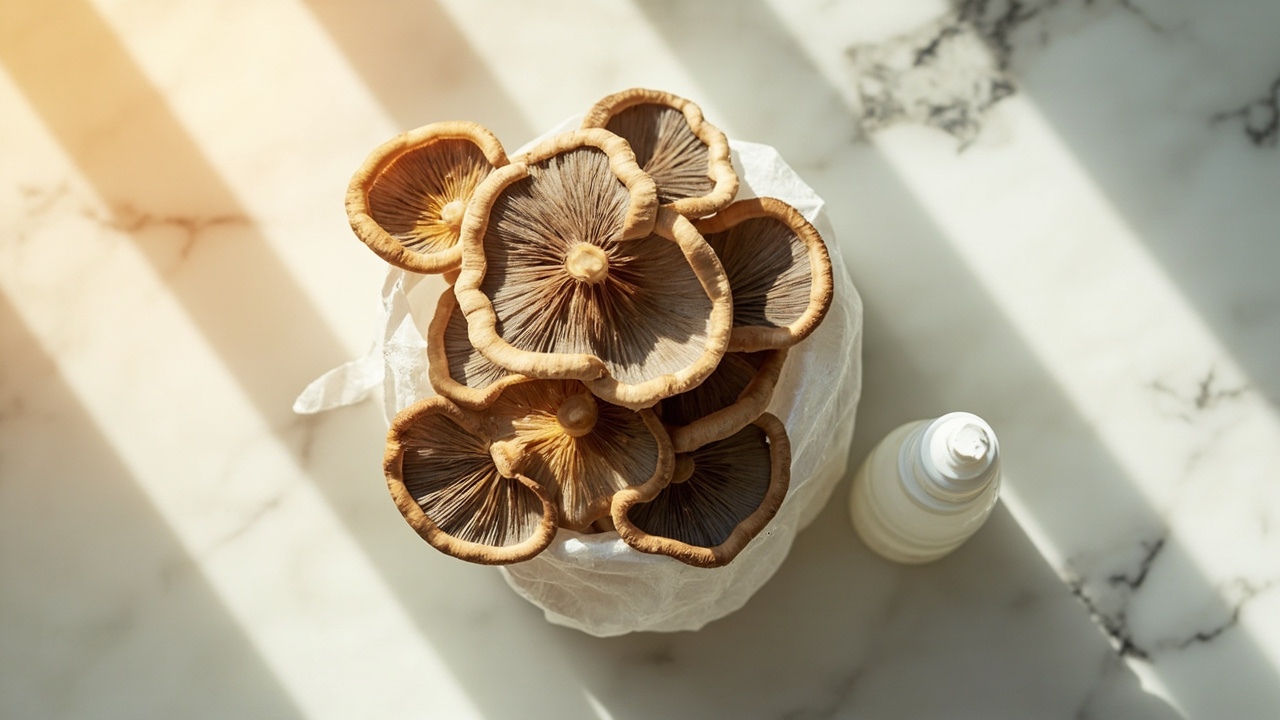
If you want one kitchen-friendly species for a first harvest, oyster is the default. It tolerates imperfect humidity better than many gourmets and usually pins faster.
Best for: First-timers who want a harvest without tight climate control or lab gear.
Quick answer
Start with a ready-to-fruit oyster kit on a kitchen counter: keep the bag on, cut a small X, mist the cut so it stays dewy, and wait for pins — often about 1–2 weeks in typical indoor conditions (a range, not a guarantee).
New to kits? Read Your first grow kit first, then use this page as the species-specific notes.
Why grow oyster (culinary only)
Oyster mushrooms (Pleurotus spp.) are classic edible gourmets: mild, meaty when cooked, and common in home kits. We write about growing and cooking them — not medical claims or “brain health” marketing.
They are popular with beginners because blocks colonize and fruit readily in ordinary rooms when humidity at the cut face is decent.
On the plate they behave like other store mushrooms: a quick sauté in a hot pan, folded into pasta, or tossed through a stir-fry. Caps stay tender; thick stems get a bit chewier, so slice those if you want even cooking. That’s the whole point of a kitchen kit — a cluster you cook the same day you twist it off, not a jar on a supplement shelf.
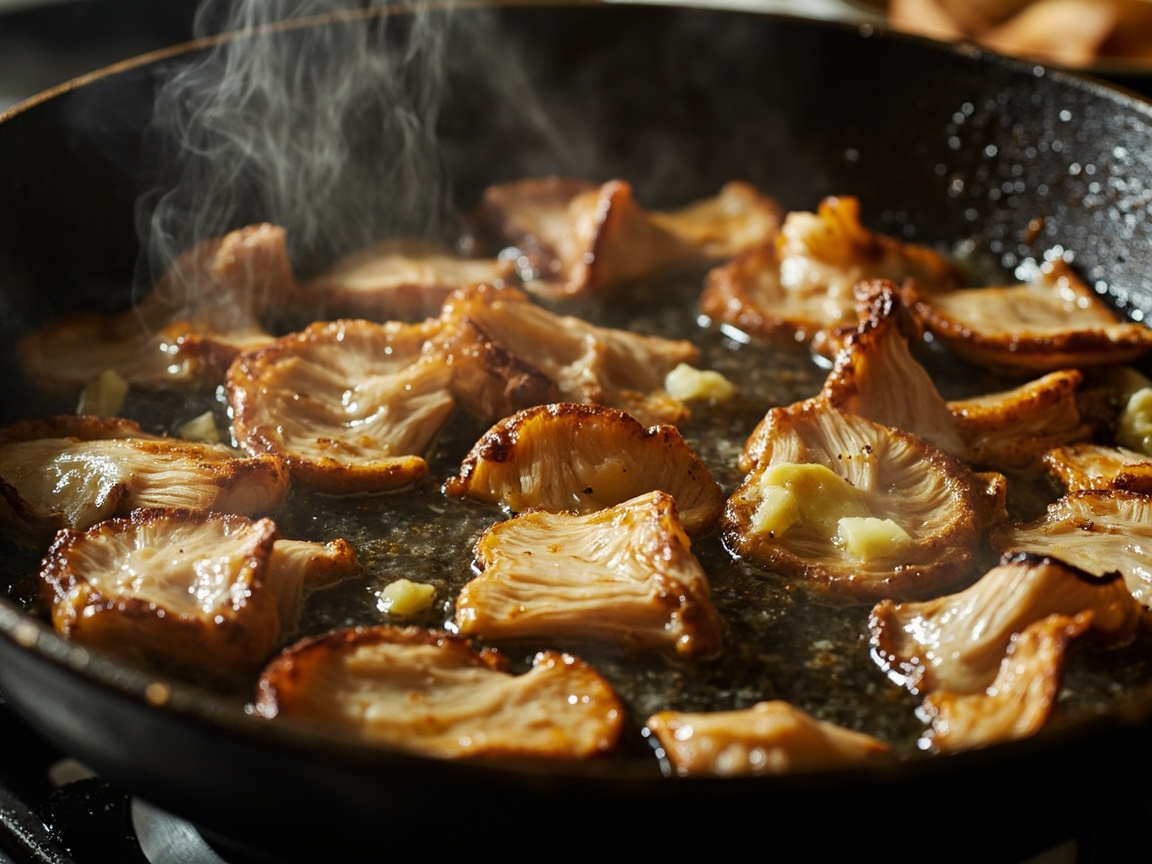
Blue, pearl, and pink oysters all cook the same way. Color on the cap is a kitchen cue, not a different project. Pink fades toward beige in the pan; blue and pearl stay more grey-tan. None of that changes the method — same hot pan, same salt, same rule: don’t crowd the skillet or they steam. If a cluster is huge, cook it in two batches so the edges brown.
If you came here for a harvest you can eat, you’re in the right place. If you came for a wellness aisle, stop at the next heading.
Gourmet-only decision: kitchen edible vs skip medicinal and actives
Three checks before you unbox anything. If you want dinner from a countertop kit, stay. If you want a wellness aisle or anything outside kitchen gourmets, this page isn’t the map.
Kitchen edible — yes, cook it
A kitchen oyster kit is for cooking. Sauté, pasta, stir-fry — same use as oyster you’d buy at the store. Harvest the cluster, cook soon, or refrigerate briefly; timing lives in Harvest below, not here.
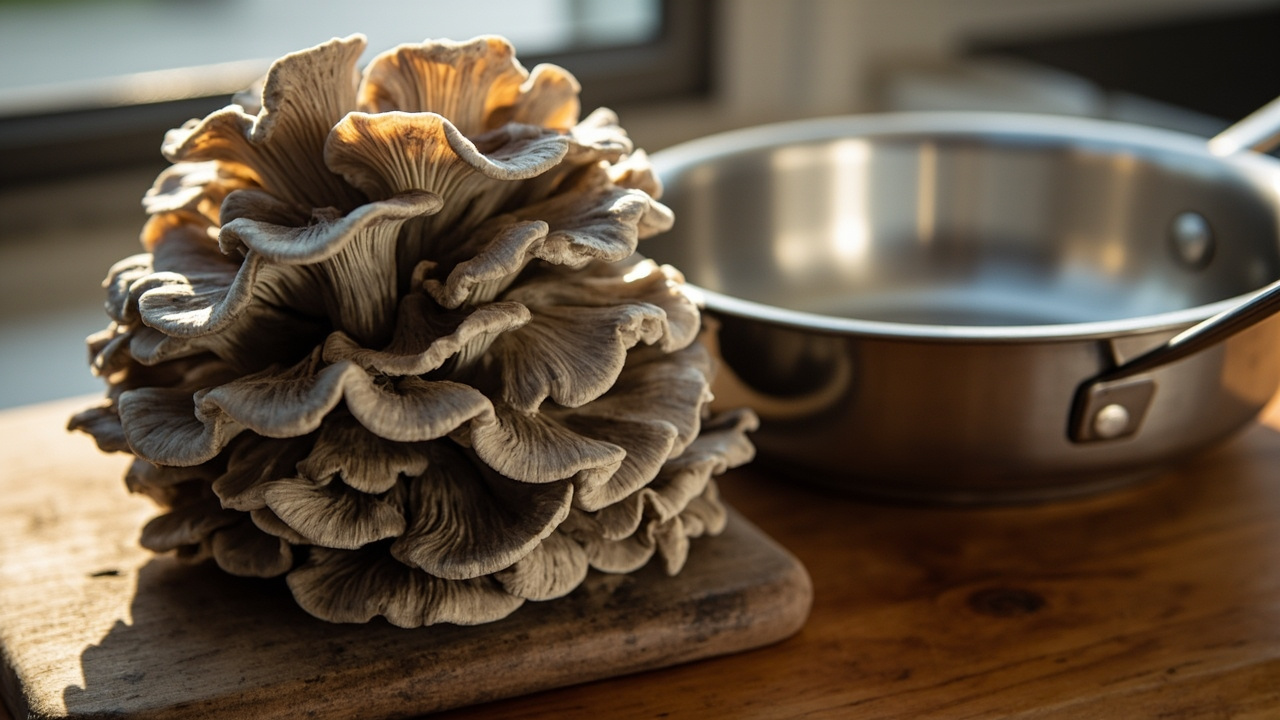
If you want a plate of edible mushrooms from a kit on the counter, continue to Is this right for you?. If you wanted a supplement story, the next two headings are the skip.
Don’t build a “health recipe” chapter around the harvest. Season it, brown it, eat it. That’s the job.
Skip medicinal / immune / brain-health marketing
Skip this page as a wellness or supplement shopping guide. We don’t write immune, brain-health, or remedy chapters. Growing notes stay culinary.
The FAQ already covers “are oyster mushrooms healthy to eat?” as food, plus a pointer to your doctor or dietitian for diet questions. We aren’t adding a health-effects section on top of that.
If a vendor listing leans wellness copy, ignore it and stay on kitchen harvest instructions only. Capsules, powders, and extracts are a different purchase — this page doesn’t rank them, replace them, or argue with them.
Skip psychedelic or actives cultivation (FungiAtHome does not cover that) + gourmet sisters (lions-mane, shiitake; not reishi-as-medicine)
Wrong site if you came for psychedelic or actives cultivation. FungiAtHome does not cover that — same line as the footer.
Gourmet sisters on this site (culinary species hubs, not medicine): lion’s mane and shiitake. Those pages are kitchen growing too. Don’t inbound reishi as a medicinal sell from here, and don’t use this oyster hub as a back door into anything we don’t grow for the pan.
After this skip-gate, resume oyster kit-first with Is this right for you?.
- Start with one ready-to-fruit oyster kit; keep the bag on.
- Cut a small X; mist to dew, not a puddle.
- Wait — pins often show in 1–2 weeks, then cook the cluster soon.
- Skip this page for wellness or supplement shopping.
- Stay on kitchen gourmets; FungiAtHome does not cover psychedelic or actives cultivation.
- Isolate on green; don’t scrape.
- Don’t jump to bags until one kit harvest works.
Is this right for you?
Choose oyster if: it is your first kit; you can mist once or twice a day; you want a shorter wait to pins.
Consider lion’s mane later if you want a showier fruit and can keep humidity steadier. Shiitake is great for flavor but often slower and more “patience required.”
For a first block, a 4 lb blue oyster kit is the usual kitchen-counter pick. If your room sits warmer — often above about 70°F — a pink oyster kit is the showier warm-room option. On a tight budget, the mini oyster kit is the smaller start (it usually includes a mister). Don’t buy three species at once; one kit teaches you the room.
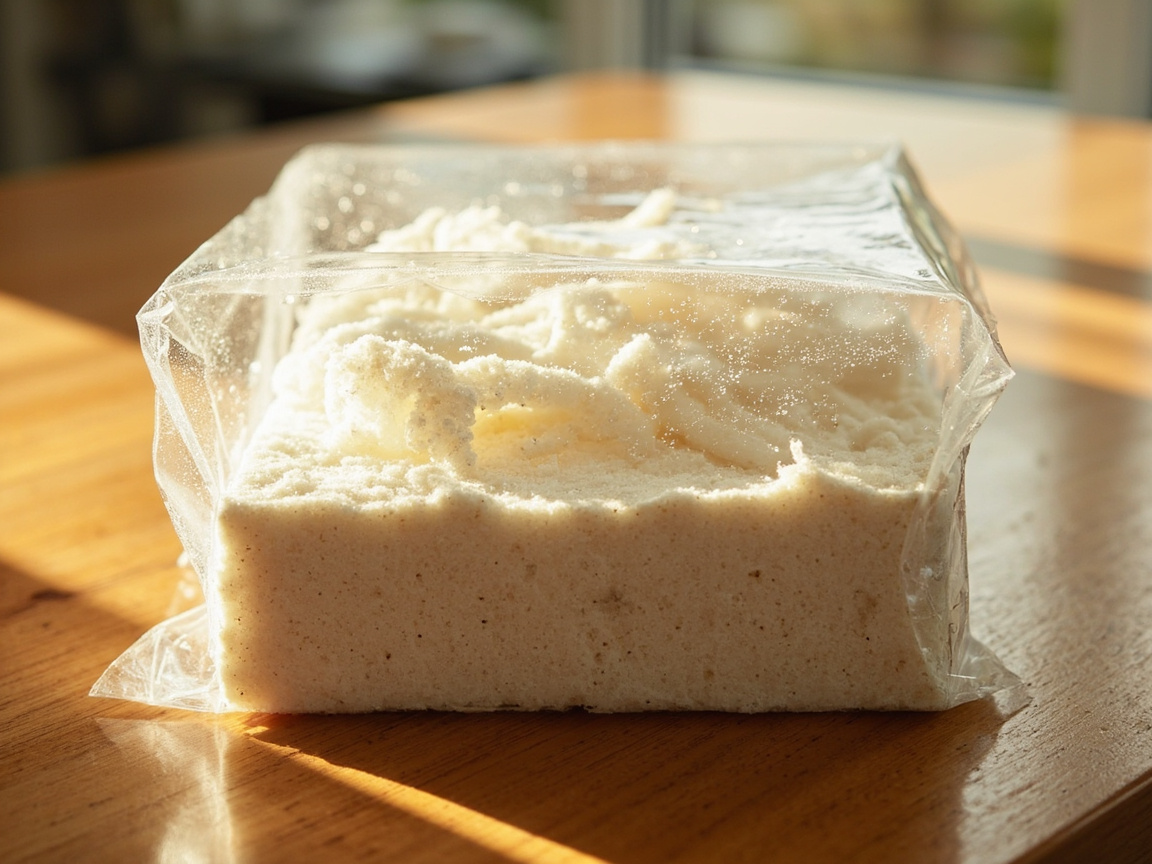
Skip oyster for now if you can’t mist at all, or if the only space you have is a closed cabinet with no air. Dry, stale air stalls pins. Fix the spot first, then come back.
Path A: From a grow kit (default)
The default path: a ready-to-fruit block, bag on, X-cut, mist, wait. Full step language lives in How grow kits work; this is the oyster-specific pass. Set the kit where you’ll actually see it — next to the kettle beats a forgotten spare room. You’ll mist more reliably if the bag is in the way of making coffee.
If you’re buying the first block, start with the 4 lb blue oyster kit unless you already chose pink or mini above.
-
Unbox and rest the sealed kit at room temperature if it was cold from shipping. Cold blocks sweat when you cut too soon. Leave it on the counter, still sealed, until it feels like the room — often a few hours, sometimes overnight. Don’t park it on a radiator or in a south window while it warms.
-
Cut a small X on the face only — do not pull the whole block out of the bag unless the label says so. The bag is the humidity shell. A modest X is enough fruiting surface; a giant flap dries the face out. If the vendor printed a cut line, follow that instead of improvising.
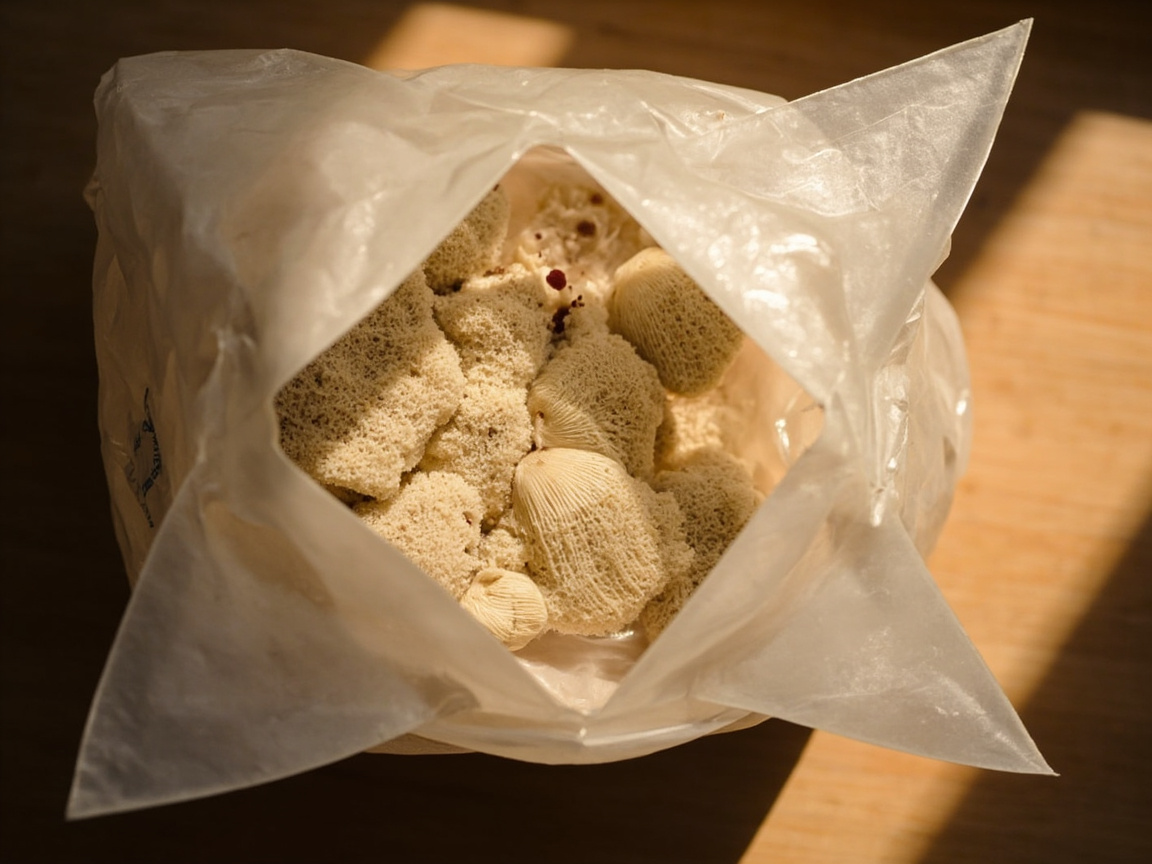
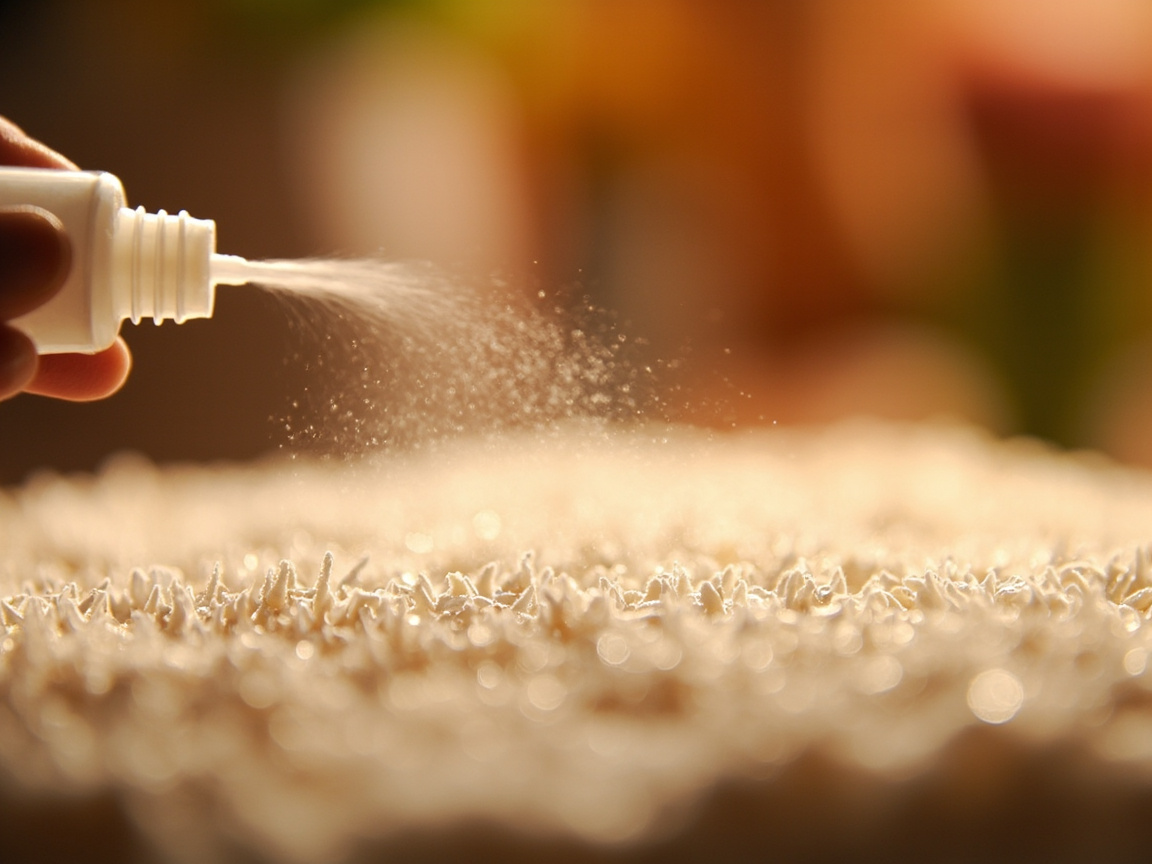
- Mist the cut with a fine spray. Dew, not a puddle. A continuous fine-mist bottle makes dew easier than a kitchen sprayer that spits streams. If water pools in the cut, you overdid it — ease off until the face looks dewy again, not wet.
-
Give indirect light and a little fresh air. No lab hood. A bright kitchen away from harsh sun is enough. Stale, sealed air makes long weak stems; a little room airflow helps without blowing the face dry. Often you’re misting once or twice a day — more in dry rooms, less if the face still gleams at dinner.
-
Harvest clusters by twisting at the base when caps look full, before they flatten hard or drop heavy spores. Don’t wait for “one more day” once the cluster looks ready; late caps get floppy and dusty. A folding mushroom knife with a brush helps if the twist doesn’t come clean.
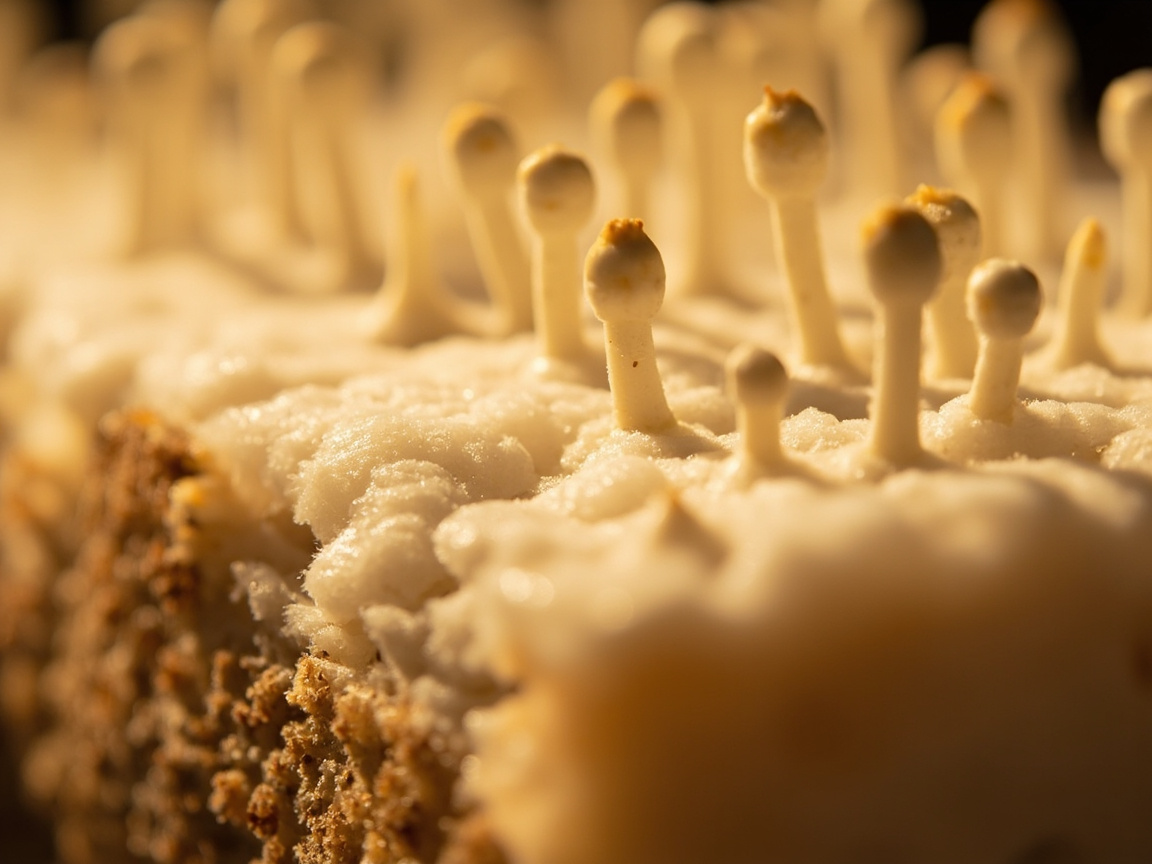
Pins often show in about 1–2 weeks after the cut, then swell into a cluster over several more days. Your room shifts both numbers. Tiny bumps you’d miss without looking are still pins — don’t recut the bag because it “isn’t doing anything.”
Path B: Bags / next level (short)
After one successful kit harvest, some growers move to larger bags. That path has more contamination risk and gear decisions. See Grow bags after your first kit — do not skip kits on day one.
Bags mean grain spawn into a filter bag, not a bigger version of the same X-cut. If that still sounds like the next project, pair blue oyster grain spawn with filter grow bags after the kit run, not instead of it. Coffee grounds and random kitchen waste aren’t a first substrate — they stay wet and spoil. If you buy spawn before the bag, how to store oyster grain spawn between grows is the easy version of that problem — oyster culture is the most tolerant of the six kitchen species and recovers fastest from a rest in the fridge.
If the kit hasn’t fruited yet, stay on Path A. A second 4 lb blue oyster kit teaches the room faster than a spawn jar will.
Conditions that matter (kitchen language)
Temperature: normal indoor rooms, roughly mid-60s to mid-70s °F (~18–24°C). Avoid radiators and cold drafts. Pink oyster often wants the warmer end of that range; blue oyster is happier in the middle. Don’t chase a grow-tent number on a kitchen counter — if you’re comfortable in the room, the block usually is too.
Humidity: the cut face should not dry out. Dry rooms need more misting or a simple humidity tent — see Humidity and misting tools. The same fine-mist bottle from Path A covers the daily pass. You’re aiming for a dewy face at a glance, not a wet bag. If the plastic looks fogged and the cut is glossy, skip that misting. If the face looks matte and pale by afternoon, mist again.
Light: bright room light is enough; avoid harsh direct sun cooking the bag. A counter that gets window light without sitting in the beam is the usual spot. Closets with the door shut starve both light and air.
Air: stale sealed air can make long weak stems. A little room airflow helps. Don’t point a fan at the cut — that dries pins off. A kitchen that already has people walking through it is usually enough exchange.
The mini kit’s included mister is a start; if it spits rather than mists, swap to the continuous bottle above. Don’t add a second gadget until the face tells you the first one isn’t keeping dew.
Harvest and second flush
Twist clusters off cleanly. Cook soon, or refrigerate briefly. Oyster doesn’t sit like a button mushroom — a day on the counter and the caps start looking tired. Wipe debris with the brush, don’t soak the cluster in the sink. Same-day cooking is the payoff: a quick sauté with garlic and a pinch of salt is enough. They take up butter and pan juices the way store oyster does. Don’t bury them under a heavy sauce on the first cook — you want to taste the cluster.
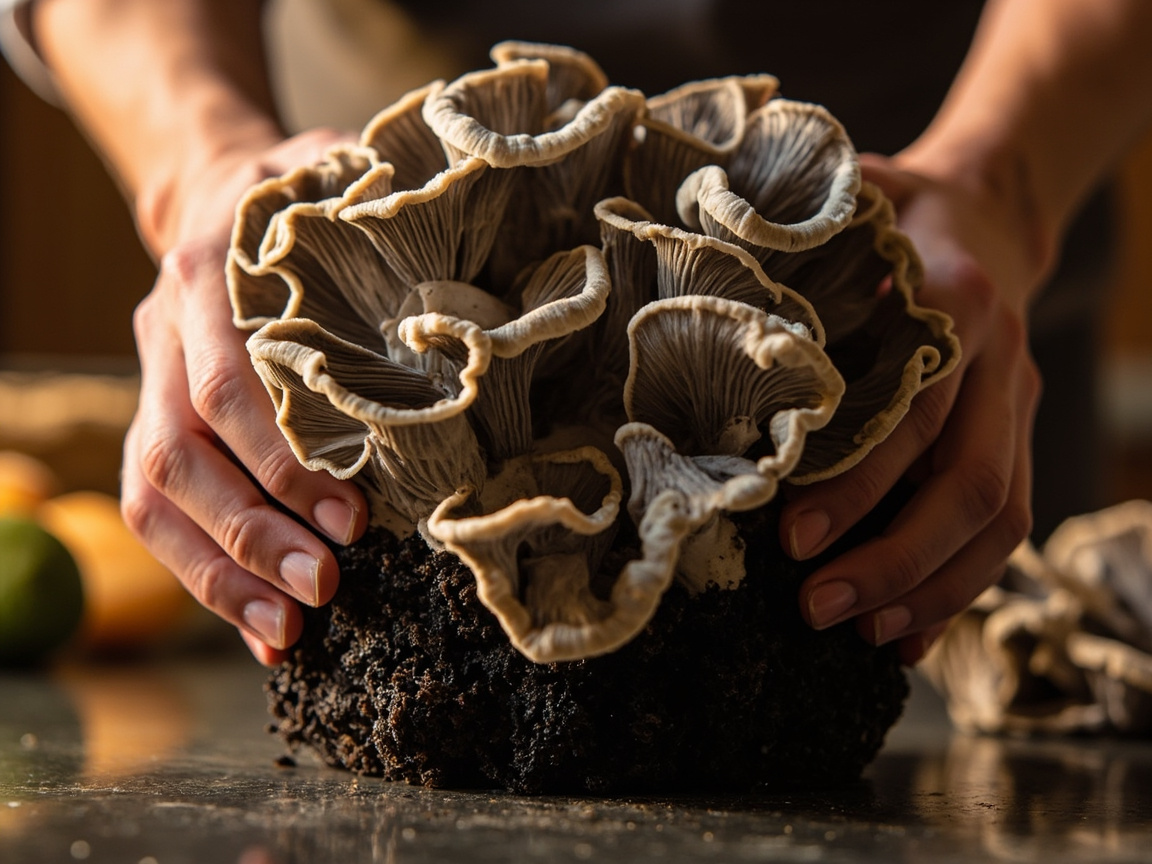
Harvest when caps are still slightly in-rolled or just flattening, before a heavy spore drop paints the bag. If you missed that window, cook anyway; it’s still food, just messier. The folding knife with brush is for the stubborn base, not for carving the block.
Many oyster kits can fruit again after a rest and rehydrate step if the instructions allow. Yield usually drops each flush. Stop if you see clear mold or the block stalls hard. Typical rest is several days, then a soak or heavy mist per the label — follow that card, not a forum soak time.
A second flush is optional. If you want a steadier pan supply, start a second kit while the first rests rather than squeezing a tired block. The same blue oyster kit or the pink oyster kit can stagger harvests without a bags project.
Common failures → Problems
Green patches → isolate and read Green mold on kits. Don’t scrape the green off and keep fruiting next to the cutting board. Move the kit away from other blocks and food prep, then use that guide for keep-vs-toss. Scraping spreads it; mystery sprays don’t “clean” a block.
No pins / pins stall → Pinning problems (often humidity first). A dry, pale cut face is the usual cause, not a “weak kit.” Mist to dew, check drafts, and give it the rest of the 1–2 week window before you recut or toss. Direct sun and a fan on the face abort pins that already started.
White fluff you do not trust → Contamination overview for lookalikes before you toss. Oyster mycelium is white. So is some contamination. If you can’t name it, isolate first, then compare — don’t dump a healthy block because the surface looks fuzzy on day three.
Culinary / edible kitchen growing only. FungiAtHome does not cover psychedelic or actives cultivation.
Related guides
Back to species . Affiliate disclosure . Culinary / edible kitchen growing only. admin@fungiathome.com