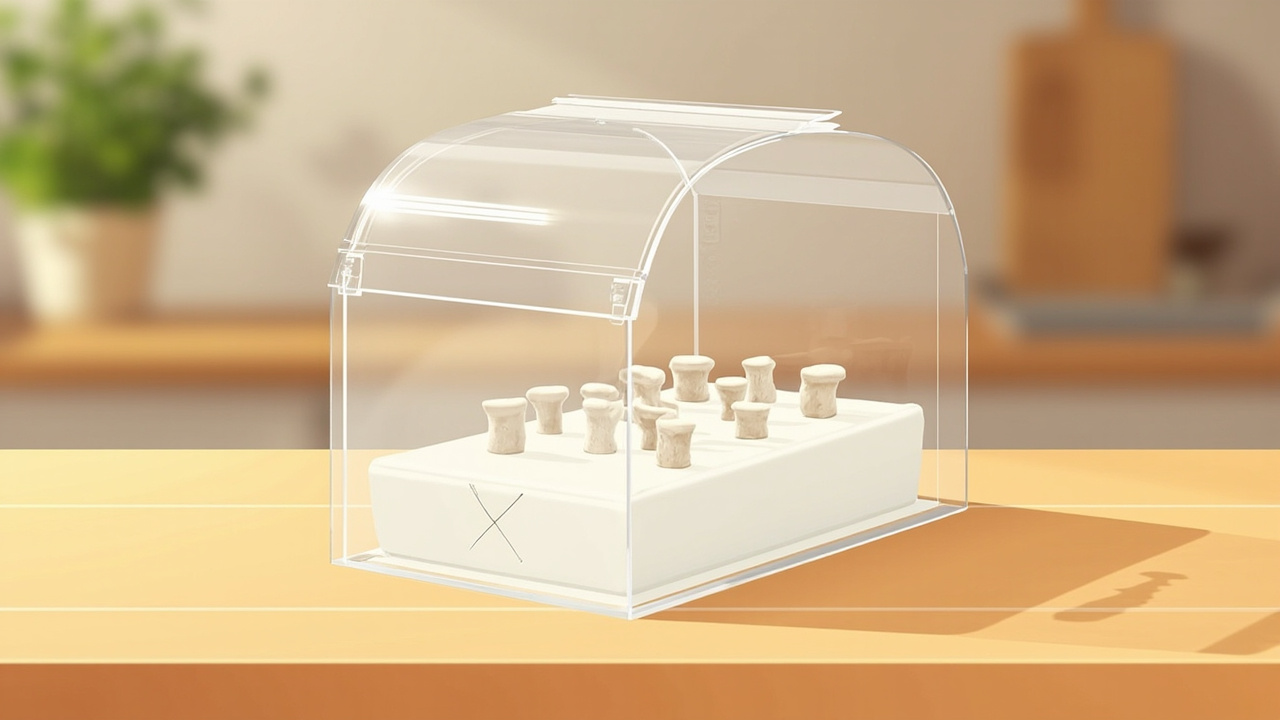
You bought a second ready-to-fruit block and the two kits are drying out between mists on the same counter, and now you’re wondering if a fruiting chamber is the next upgrade or an over-buy for a kitchen-scale grow. The short answer: most one-block growers don’t need a chamber at all, and most three-block growers are fine with a tabletop greenhouse. If you haven’t completed a first flush yet, work through the first-grow-kit walkthrough and the humidity tools guide before buying any chamber. The how-to-choose-grow-kit essentials page is also worth reading first to confirm the kit itself is the right species and weight for your kitchen. Below is the kitchen form-factor decision, from “no chamber needed” to “premium humidifier kit,” for one to three blocks.
Quick answer
Most one-block kitchen gourmet kits need no chamber at all - the bag-with-X-cut plus a mister or humidifier covers it. A chamber earns its keep when you run two or more blocks, when your kitchen drops below 60% RH for hours, or when you want pin-side viewing without opening the door. A clear tabletop greenhouse is the default build-versus-buy answer for one or two blocks at a time on the kitchen counter.
What a fruiting chamber is - and what it isn’t
A chamber holds RH and FAE steady
The chamber encloses one or more blocks and keeps humidity high while letting fresh air exchange through vents. Without FAE, pins stall even when humidity looks right. A chamber that holds RH but blocks air exchange will stall pins within a week.
A chamber is not a still-air box used for inoculation
A still-air box holds still air for agar or liquid-culture work. It has no FAE vents and no humidity control. Repurposing one stalls pins. The two tools look similar but solve opposite problems.
A chamber is not a monotub or shotgun fruiting setup
Those are advanced liquid-culture systems with bulk substrate. Off-topic for a kitchen gourmet grower who wants one or two blocks at a time.
A chamber is not a commercial grow rack
Multi-thousand-dollar rack systems with timed controllers are off-topic. This page covers one- to three-block kitchen setups only.
Why your kit may not need one yet
One block in a kitchen above 60% RH - kit bag is enough
A scored bag with the X-cut and twice-a-day misting produces a clean flush on a single block. No chamber.
Two blocks on the same counter - start to consider a cover
Two bags next to each other can share a humidity dome if your FAE is good (open the dome twice a day).
Three or more blocks rotating - chamber earns its keep
When flush 1 of block A and flush 1 of block B overlap, you want a single enclosed chamber that holds humidity across the whole rotation. Hand misting two or three blocks at staggered times is the moment automation starts to pay back. The chamber doesn’t replace misting - it just makes sure each mist lasts longer across more blocks at once.
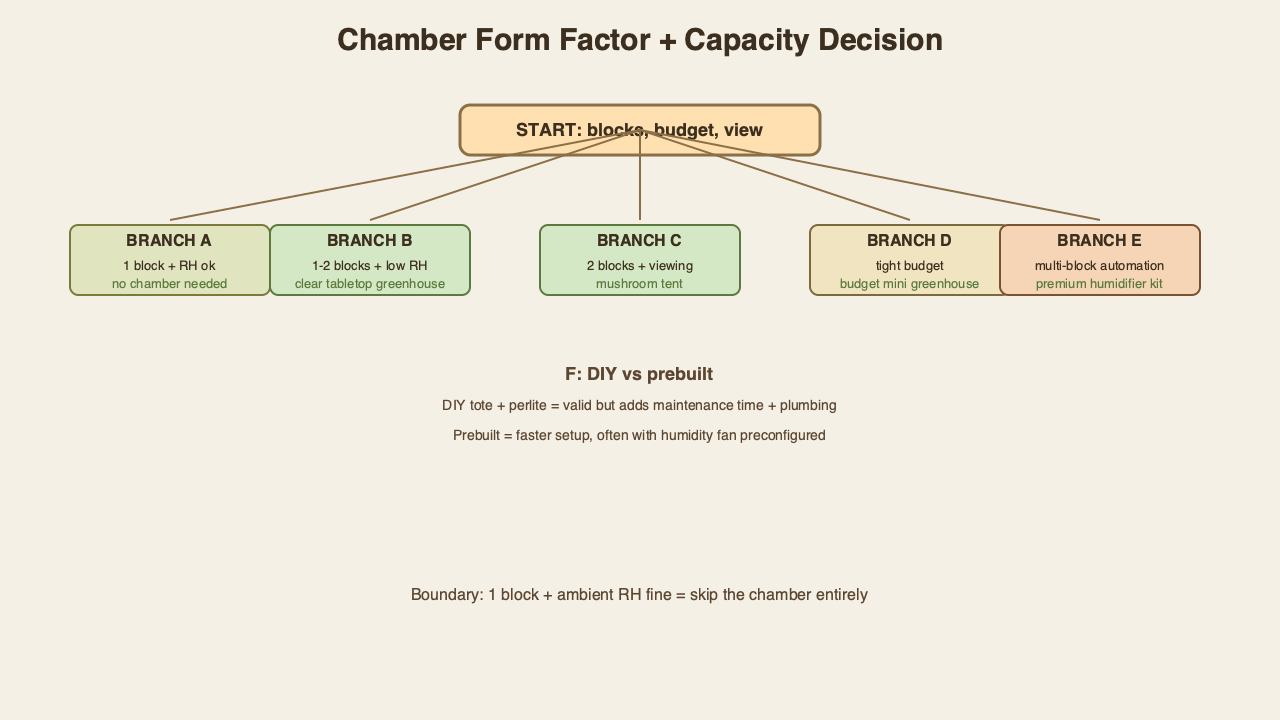
Decision tree - chamber form factor + capacity
ROOT: Which chamber form factor matches the number of blocks you’re running right now?
- Branch A - one block, ambient RH fine → no chamber needed. Kit bag + mister covers it.
- Branch B - one or two blocks, low humidity → tabletop clear greenhouse.
- Branch C - two blocks, mushroom-dedicated features wanted → mushroom tent with growth light.
- Branch D - tight budget, single block only → budget mini greenhouse.
- Branch E - multi-block rotation, automation wanted → premium humidifier + fan kit.
- Branch F - build versus buy → for one block, prebuilt wins on speed. For two or more blocks, a DIY tote is cheaper.
Branch A — One block, ambient RH fine, no chamber needed
Skip the chamber entirely. The bag, mister, and twice-a-day mist cadence handle the flush. Many first-time growers buy a chamber “just in case” and never need it - the bag does the same job.
Branch B — One or two blocks, low humidity
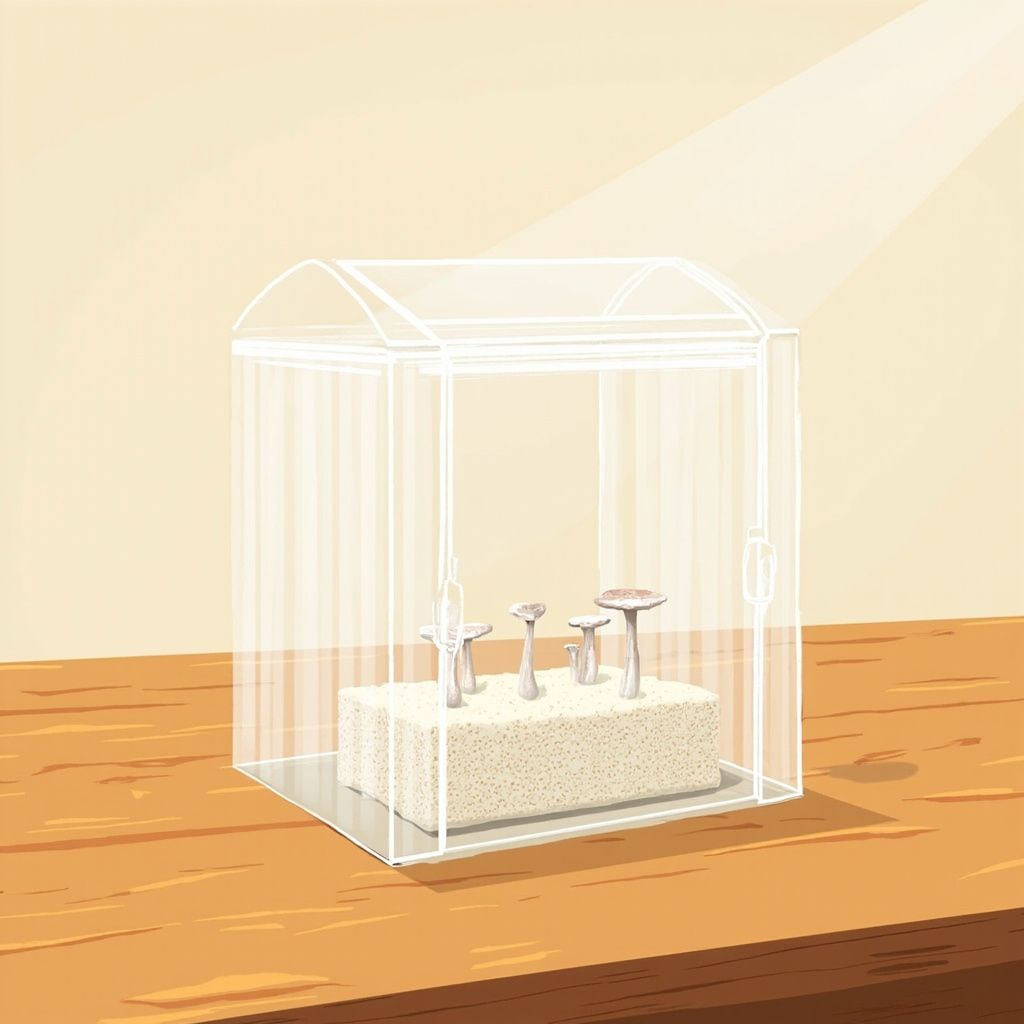
Tabletop clear greenhouse. Holds RH and lets you watch pins form without opening the door and dropping humidity. The UniBeBri 36-inch tabletop clear greenhouse is the default Branch B pick.
Branch C — Two blocks, mushroom-dedicated features wanted
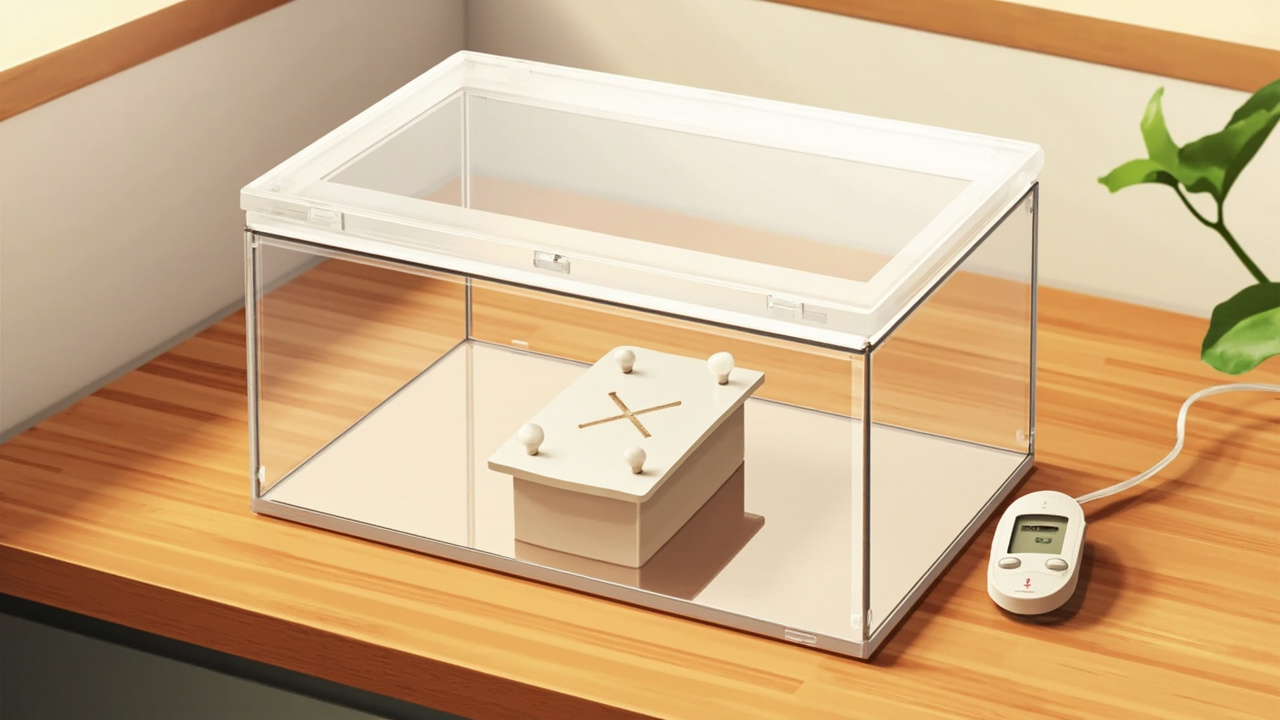
Tabletop greenhouse with a built-in grow light. The light bar is sized for pin-side viewing and a hygrometer sits at block height so you can read RH without opening the door. The XHIKOWAT mini greenhouse with grow light is the Branch C chamber with a built-in growth light ($45.99).
Branch D — Tight budget, single block only
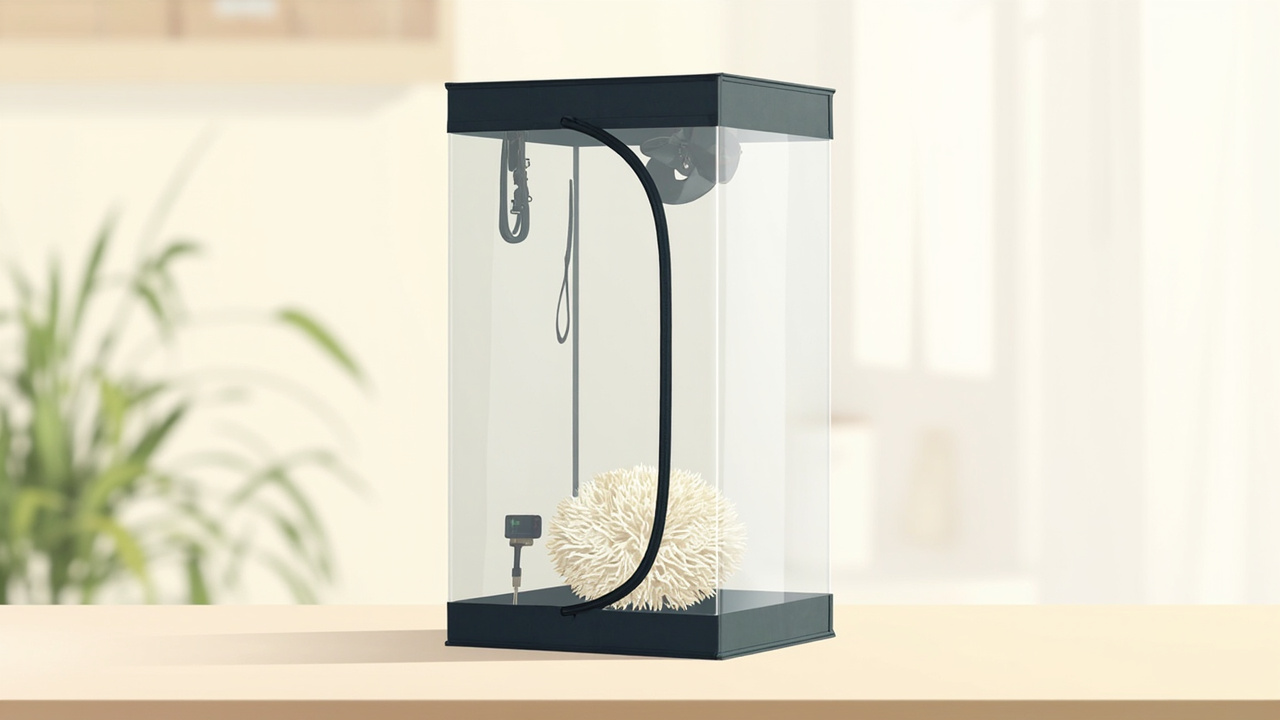
Budget mini greenhouse. Smaller footprint, lower price, holds humidity for one block. The BOHOIDEE mini greenhouse handles a single oyster or lion’s mane block for under $20.
Branch E — Multi-block rotation, automation wanted
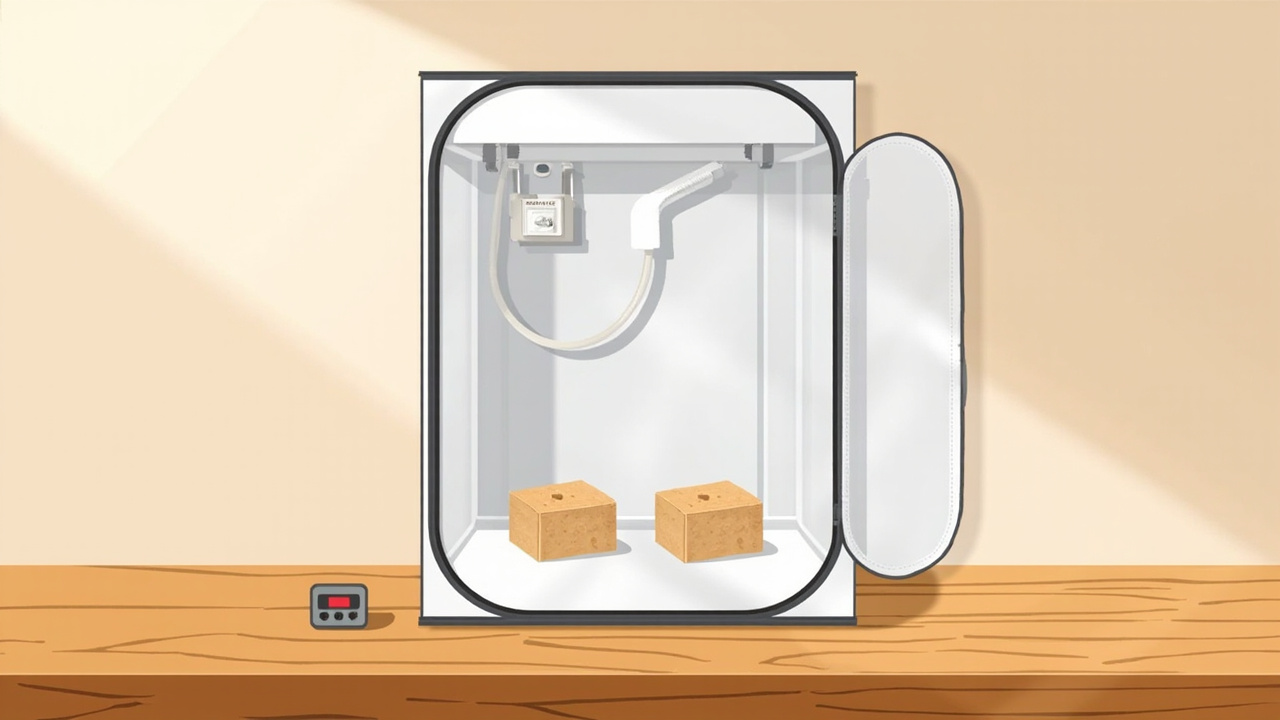
Premium humidifier + fan chamber kit. The humidifier and fan keep RH and FAE on a schedule without daily hand misting. The InnovifyHub premium mushroom tent kit is the only Branch E chamber with both humidifier and fan in one enclosure. Once you’re running two or more blocks on a rotation, the dehydrator essentials page covers how to preserve the harvest, and the spawn-storage methods page covers how to keep unused blocks between flushes.
Branch F — Build vs buy
For one block, prebuilt wins on speed. For two or more blocks, a DIY tote with 4-6 drilled FAE holes and a hand mister can match a prebuilt at lower cost. The DIY path is only worth it when you already own a drill and mister.
What you’ll need — purchase-mapped
Tabletop clear greenhouse (UniBeBri)
Clear acrylic tabletop greenhouse that lets you watch pins form on an oyster or lion’s mane block without opening the door and dropping humidity. The UniBeBri magnetic-door tabletop greenhouse is sized for two ready-to-fruit blocks side by side.
Tabletop greenhouse with grow light (XHIKOWAT)
A tabletop greenhouse with a built-in grow light and hygrometer for a kitchen gourmet grower who wants pin-side viewing without opening the door. The XHIKOWAT mini greenhouse with grow light is the Branch C pick with a built-in pin-side light at $45.99 (30 x 16 x 20 in).
Budget mini greenhouse (BOHOIDEE)
Smallest, lowest-cost clear greenhouse on the list - good first chamber for one block, less ideal if you want to fruit two blocks at once. The BOHOIDEE 14-inch budget greenhouse is the cheapest way to hold RH for one block.
Premium humidifier + fan chamber (InnovifyHub)
Full humidifier + fan + clear-window chamber for the gourmet grower who wants humidity and fresh-air exchange on a schedule without daily misting. The InnovifyHub chamber kit is the only Branch E pick that handles RH and FAE without daily intervention.
Reading the chamber’s hygrometer correctly
A common first-time mistake is reading the chamber hygrometer at the top of the chamber and assuming that number represents the block surface humidity. Humidity stratifies - warm moist air pools at the top, cooler drier air near the base where the block sits. Place the hygrometer at block height, near the substrate X-cut, not near the chamber ceiling. A reading of 78% at the top usually means 65-70% at the block - the difference matters for pinning.
When to add FAE holes to a sealed chamber
Even a prebuilt chamber with a passive vent benefits from one or two small FAE holes drilled near the bottom corners. Mushrooms exhale CO2 continuously and a fully sealed chamber reaches concentrations that stall pin formation within 24-48 hours. Two quarter-inch holes covered loosely with poly-fill stuffing allow gas exchange without dropping humidity below the target range.
Build vs buy — when each makes sense
Why prebuilt is faster for one block
A prebuilt tabletop greenhouse takes ten minutes to set up and packs flat for storage. A DIY tote needs drilling, sealing, and FAE tuning - an afternoon you probably don’t have on a first-block project.
Why a DIY tote is only worth it for two or more blocks
If you’re running two or more blocks and already own a drill and mister, the materials for a DIY tote are cheaper than a premium prebuilt. For one block, the prebuilt is faster.
Parts you would still need to buy for a DIY build
A clear plastic tote, a drill with a 1/4-inch bit, poly-fill stuffing for FAE holes, and either the UniBeBri or BOHOIDEE cover for light diffusion. Total cost matches Branch D or Branch E.
Sterile work happens elsewhere - don’t conflate
A fruiting chamber and a sterile workstation are different tools for different phases. The fruiting chamber on this page runs the pin-and-harvest phase after colonization. Sterile work — pressure cooker sterilization, grain spawn preparation, agar plate pouring — lives in the sterile-workstation essentials page and the sterilization-and-pressure-cookers page. Keeping the two phases physically and procedurally separate is the single biggest reason kitchen gourmet growers avoid contamination.
How to set up the chamber for first use
Wipe down all surfaces with isopropyl alcohol
New chambers ship with manufacturing dust on the walls. Wipe the inside with 70% isopropyl and let it air-dry before the first block goes in. The alcohol kills any stray spores that might compete with the kit mycelium, and a fresh wipe also picks up the foam packing residue that some plastic totes leave behind.
Mist the chamber walls before the first block goes in
A dry chamber walls dry the block faster than the bag ever would. Mist the inside walls of the chamber once before placing the block and once a day afterward for the first three days. Once humidity stabilizes at the block level, the wall misting is no longer needed.
Place the hygrometer at block height, not at the top of the chamber
Hygrometer placement matters: position it at the same height as the kit block, not at the top of the chamber. Humidity stratifies inside a closed chamber - the top reads 5-10% higher than the block surface. Reading the wrong height tells you the chamber is at 80% RH when the block is actually at 65%.
Open the chamber twice a day for FAE
Even an automated chamber needs FAE. Open the door for 30 seconds in the morning and 30 seconds in the evening to swap stale CO2-laden air out for fresh kitchen air. A premium chamber with a fan still benefits from a manual vent open at least once a day.
Common mistakes
- Buying an advanced humidifier + fan chamber for a single block - you pay for humidity control you cannot keep up with. One oyster block in a still-air bag outperforms it.
- Sealing the chamber airtight - even an automated chamber needs FAE. Closed chambers drop O2 and stall pins.
- Leaving the chamber in direct sun - direct sun heats the chamber past the 75F comfortable window and dries the surface. Pick an ambient-light, indirect-sun spot.
- Confusing a still-air box (inoculation) with a fruiting chamber (humidity) - they look alike but the still-air box lacks FAE vents. Pins stall inside.
- Cleaning the chamber with bleach and skipping the rinse - bleach residue off-gasses chlorine and stalls pins. Rinse thoroughly or use 70% isopropyl.
Key takeaways
- Skip the chamber for one block above 60% RH - the kit bag does the same job.
- A tabletop clear greenhouse is the default Branch B pick for one or two blocks.
- A tabletop greenhouse with grow light is Branch C for pin-side viewing.
- A budget mini greenhouse handles one block on a tight first-block budget.
- A premium humidifier + fan kit is Branch E for multi-block automation.