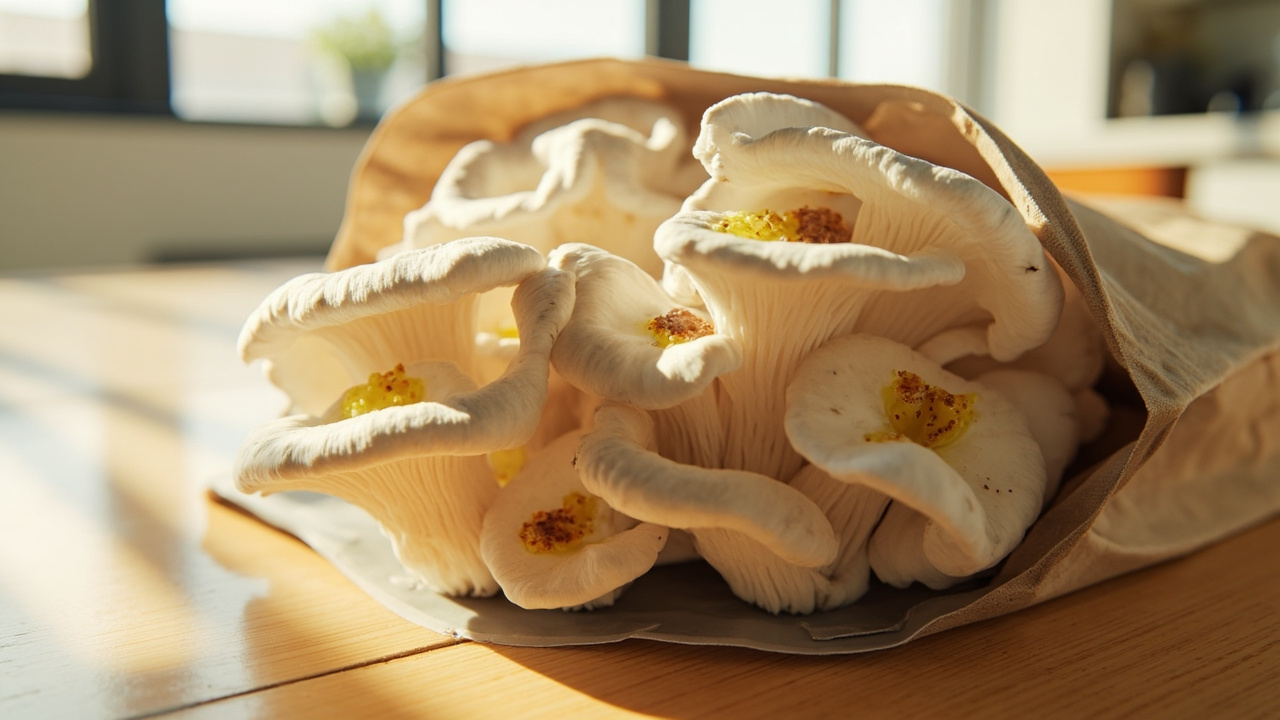
Yellow-brown wet spots on fruiting gourmet caps after heavy misting are blotch, not green mold. Ease the water, add air, pull the worst fruit, then decide keep, isolate, or discard.
Quick answer
Bacterial blotch on gourmet kitchen mushrooms shows as yellow-brown wet spots on caps during fruiting, often after heavy misting or standing water on the fruit. It is not green mold and not dry bruising. Ease misting, improve air movement, remove the worst fruit, and decide keep, isolate, or discard the block. Edible harvests from clean caps may continue if blotch stays limited; slimy whole clusters with off odor mean stop and restart.
What this is / is not
What bacterial blotch is
Yellow to brown wet or greasy spots on caps of fruiting gourmet mushrooms (often oyster) during high-moisture fruiting. Think kitchen kit language, not a lab culture ID. Free water on caps plus warm stagnant air is the usual setup. You’ll usually notice it after a heavy mist session or when fruit sits soft and overdue.
What this is not
Not Trichoderma green mold and not cobweb grey webbing. Not dry bruise marks from handling. Not “the mushrooms went bad in the fridge” storage rot — this page is in-grow fruiting. Not health advice and not actives cultivation content. Culinary edible kitchen grows only.
If the block itself is throwing powdery green patches, you’re on the wrong page. If grey filaments float above the face, that’s cobweb territory. Stay with blotch only when the fruit bodies are the spotted surface.
What it looks like vs lookalikes
Classic blotch cues
Spots start pale yellow and may darken. The surface looks wetter than the surrounding cap tissue. They often sit on cap tops after heavy misting or where water pools. Touch is optional — if the spot looks greasy and the cluster smells off, you already have enough signal for a kitchen decision.
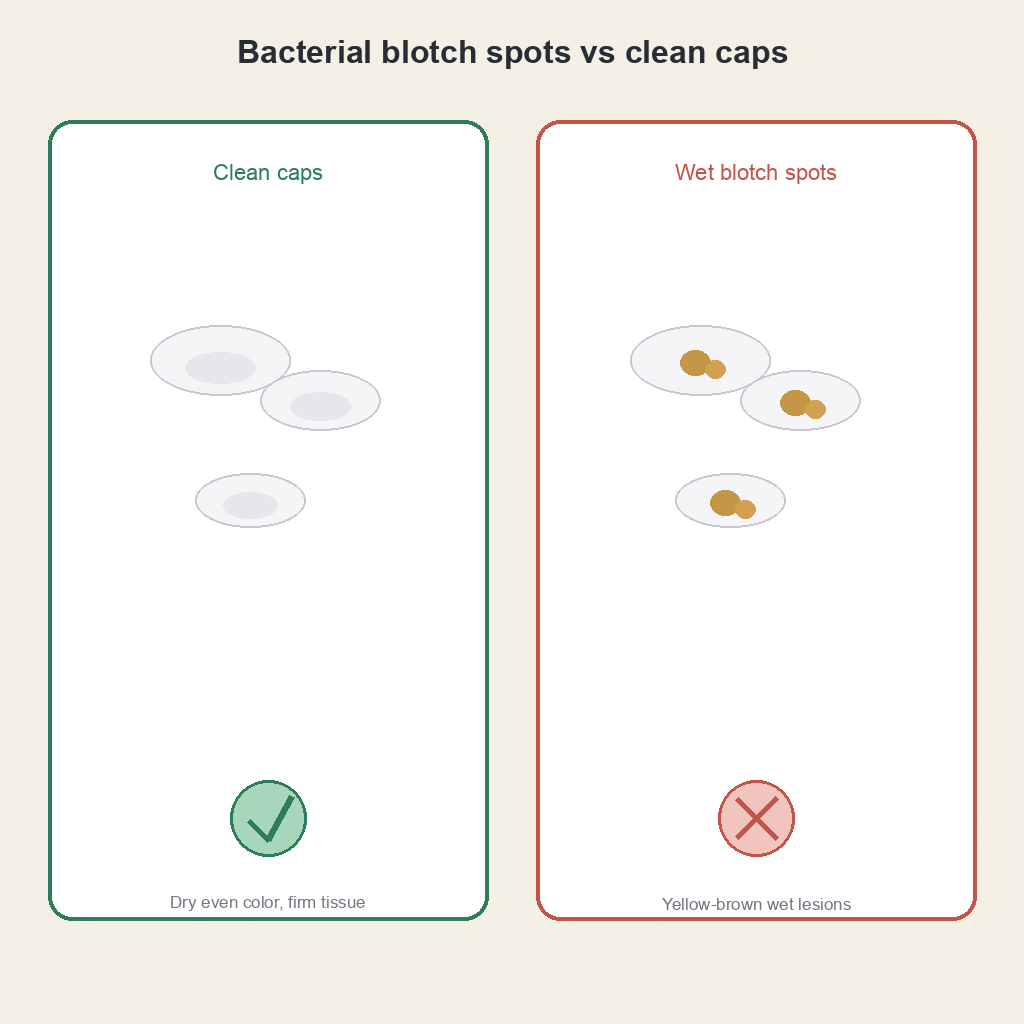
Daylight photos help more than flash. Flash can make clean caps look wet and make wet spots look dramatic. Compare a spotted cluster to a firm clean cluster from the same flush when you can. Rate of change over 12–24 hours matters more than one scary photo.
Blotch vs green mold
Green powdery patches on block or substrate → green mold instead of blotch. Blotch lives on fruit bodies during fruiting, not as a powdery colony on the block face. If both show up, isolate and handle the green path first because the block itself is compromised.
Blotch vs cobweb
Cobweb is aerial grey filaments above the surface — see grey web lookalike path. Blotch is spotted tissue on caps.
Blotch vs normal water sheen
Brief mist sheen evaporates. Blotch lesions persist and spread on the fruit. When several symptoms compete, open the broader contamination framework first.
Why it happens (kit language)
Blotch is a fruiting-stage moisture problem more often than a mystery kitchen fail on the block. Free water sits on caps, air doesn’t move, the room runs warm, and harvest waits a day too long. Fix those four and most kitchen blotch stories get shorter.
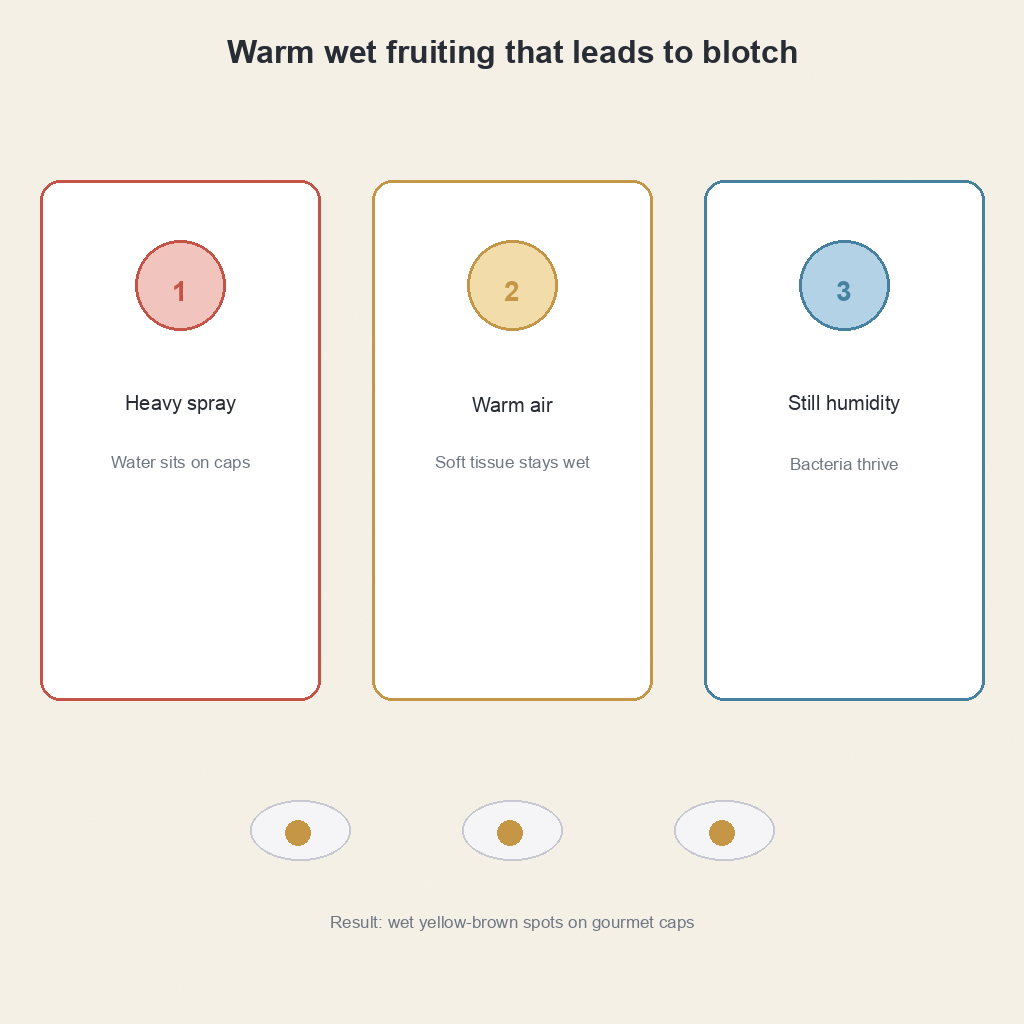
Free water sitting on caps
Coarse spray or over-misting leaves droplets that feed soft spotting on gourmet fruit. Sink sprayers are a common culprit in apartments. If you can see beads sitting on cap tops an hour later, you overdid it. Mist the air or the tent walls when fruit is dense; don’t hose the dinner.
Low air movement in humidity tents
Sealed tents without exchange trap wet films on fruit. Humidity without breath is not the same as good fruiting conditions — see fruiting air and humidity basics. A tent that never opens is a wet box, not a fruiting plan.
We’ve seen apartment growers chase “more humidity” for days while the real issue was zero fresh air around already-wet caps. The meter can look fine while the fruit still softens.
Warm fruiting rooms
Higher room temps speed soft spotting on kitchen grows. A simple room thermometer and hygrometer helps you separate “too dry to pin” from “too wet on the caps.” Don’t guess from how the hallway feels — tool links land after keep / isolate / discard.
Harvest delay
Overdue clusters get soft and blotch-prone. Compare timing against oyster fruiting expectations so you don’t leave dinner on the block for days. Firm, clean-smelling fruit is the harvest cue — not “maybe tomorrow looks bigger.”
Do this first
Stop flooding the fruit
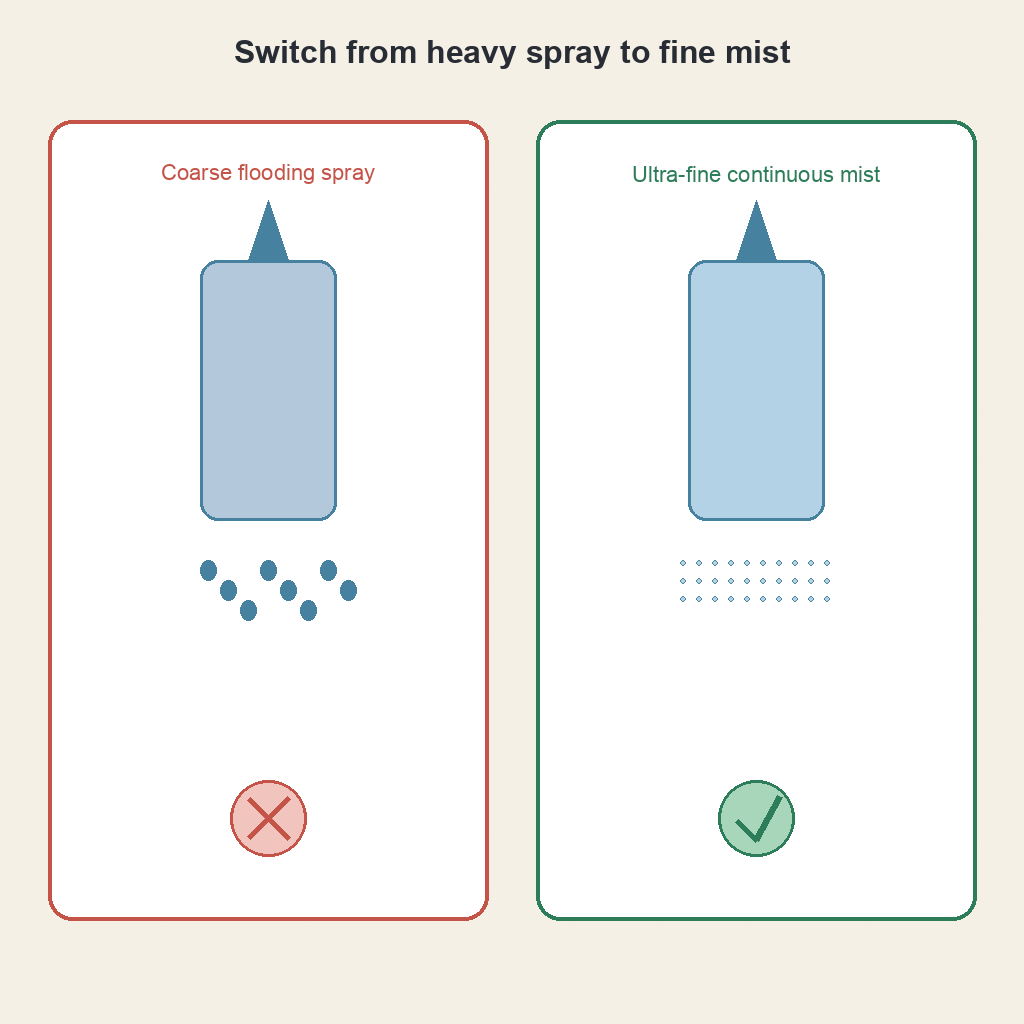
Switch to fine mist or mist the air and walls of a tent — not heavy streams on caps. If you already soaked the flush, pause misting for half a day and let free water evaporate with gentle air. More water is not a fix when the fruit is already wet.
Add gentle air exchange
Open the tent briefly. Avoid sealed still air around fruiting gourmet kits. Two short air breaks a day beat one dramatic blast that cracks a dry face later. You’re aiming for movement, not windburn.
Remove the worst fruit
Twist off heavily spotted clusters into a bag. Don’t leave rotting fruit on the block “to see if it recovers.” Soft, sour fruit rarely becomes kitchen-grade dinner. Pull the worst same day so clean clusters have a chance.
Dry the face to a light dew
Aim for glistening, not puddles, on the cut face. A continuous ultra-fine mister is the first tool swap most growers make once the branch is chosen. Keep a paper towel under the kit so drips don’t sit in a tray of stale water overnight.
Separate from pristine kits
If you fruit multiple blocks, isolate the blotchy one and stop sharing misters. Keep a dedicated fine mister for clean kits only. Wipe scissors with 70% IPA after you remove soft fruit so the next cluster doesn’t inherit the mess. Product links sit after the decision branches below.
Keep, isolate, or discard
Smell and spread beat color drama. A few outer spots on firm fruit is not the same problem as a slimy whole flush. Use daylight photos and a same-day recheck before you upgrade from keep to isolate or discard.
Branch A — Keep (limited blotch)
A few spots on outer caps, stems firm, smell normal mushroomy, majority of cluster clean. Action: remove bad fruit, ease mist, improve air, harvest clean caps promptly for cooking if quality is still kitchen-grade. When in doubt about a soft, off-smelling cluster, don’t put it on the plate. Photograph the remaining clusters in daylight so you can judge spread honestly in 24 hours. If spots stay limited and stems stay firm, cook the clean fruit the same day rather than waiting for a bigger flush.
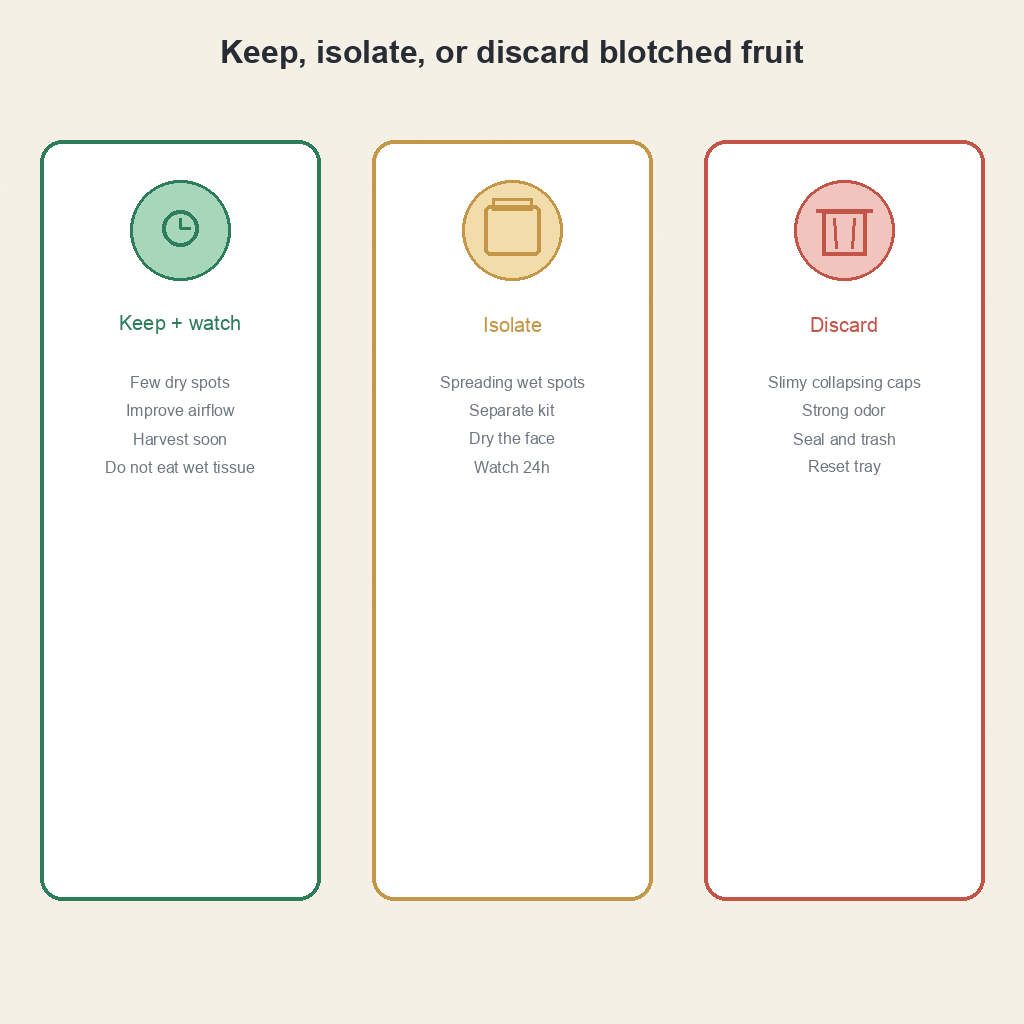
Branch B — Isolate
Spreading spots across multiple clusters, or you share a humidity tent with other gourmet kits. Action: quarantine the block, dedicated mister, reassess in 24 hours. Shared tools are how blotch becomes a shelf story. Move clean kits out of the shared shell first when space is tight — quarantine is for the sick unit, not a punishment for the whole shelf. Label the quarantined bag with today’s date so you don’t “check tomorrow” forever.
Branch C — Discard
Whole flush slimy, collapsing, strong sour or fishy off odor, or blotch returns aggressively after cleanup. Action: bag closed, discard, wipe the area, restart later with drier misting habits. Don’t bleach the fruit “to save dinner.” Soft fruit with a sour edge is not a patience project; it is a hygiene decision for the rest of the kitchen shelf.
Branch D — Reclassify
Grey aerial web → grey web lookalike path. Green substrate patches → green mold instead of blotch. No pins or dry cracked face → dry opposite failure mode plus humidity tools. Wrong page means wrong first moves. If two cues show at once, isolate first, then open the matching hub instead of stacking random sprays.
After the branch is set, swap to a continuous ultra-fine mister for clean kits, wipe tools with 70% IPA, and confirm room numbers before the next flush. Concrete product links sit in Kit vs bags, Prevent, and What you might need after this decision section is finished.
Kit vs bags
Kitchen RTF kits
Smaller fruiting surface. Faster harvest cadence helps you get clean fruit off the block before soft spots spread. Kits also make it easier to retire one unit without mourning a huge project. When a kit goes blotchy, you can bag it and restart without losing a month of bag work.
After the branch call, keep a dedicated continuous ultra-fine mister for clean kits, wipe tools with 70% IPA, and confirm room numbers with a TempPro TP50.
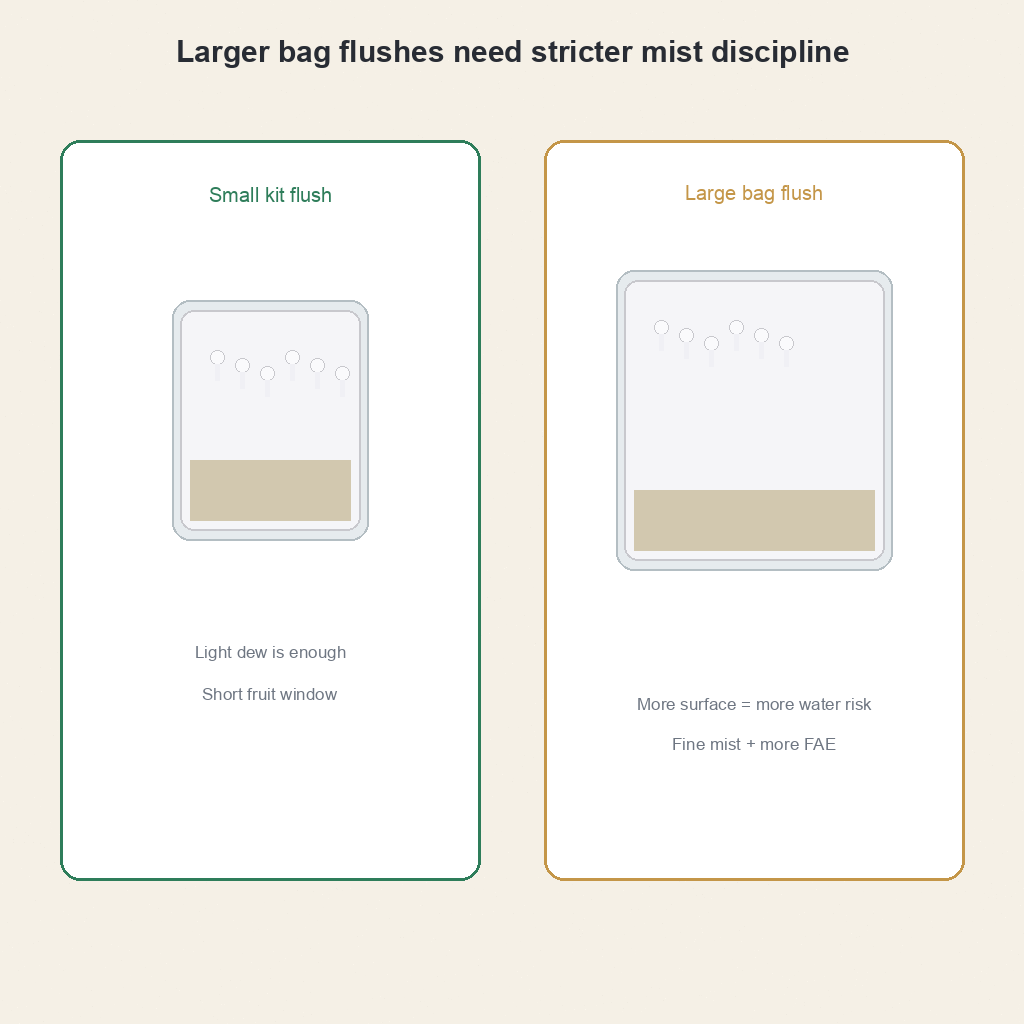
Bags with larger flushes
More fruit mass holds more surface water. Stricter mist discipline. If you’re still shaky on kit fruiting baseline, lock kit habits before scaling bags. A large flush in a sealed tent is where free water becomes a weekly problem. Bag projects need the same keep/isolate/discard nose test — soft sour fruit still gets pulled, just with more mass at stake.
Apartment shelves with mixed kits and bags need the same rule: isolate the blotchy unit, stop sharing misters, and fix air before you open the next bag. Shared humidity tents are convenient until one blotchy flush seeds wet film on everything nearby.
If you’re already on Path B bags, don’t push a blotchy flush just to protect sunk cost. Harvest clean fruit, remove soft clusters, and reassess air the same day. A fine mister and honest air beats buying another bag while the shelf stays wet.
Prevent next round
Fine mist only
Ultra-fine mister over coarse spray bottles. Keep a SUPER+ fine mist 2-pack on the shelf so you don’t fall back to the sink sprayer. If the nozzle clogs and starts jetting, clean it before the next fruiting cycle — jets create the free water blotch loves.
Fruit, then breathe
Humidity plus scheduled fresh air beats sealed wet boxes. If apartment air is desert-dry, a tabletop humidity shell can help — still open it daily. Tool roles live in fine misting tools. A shell that never opens is just a wet box with better packaging.
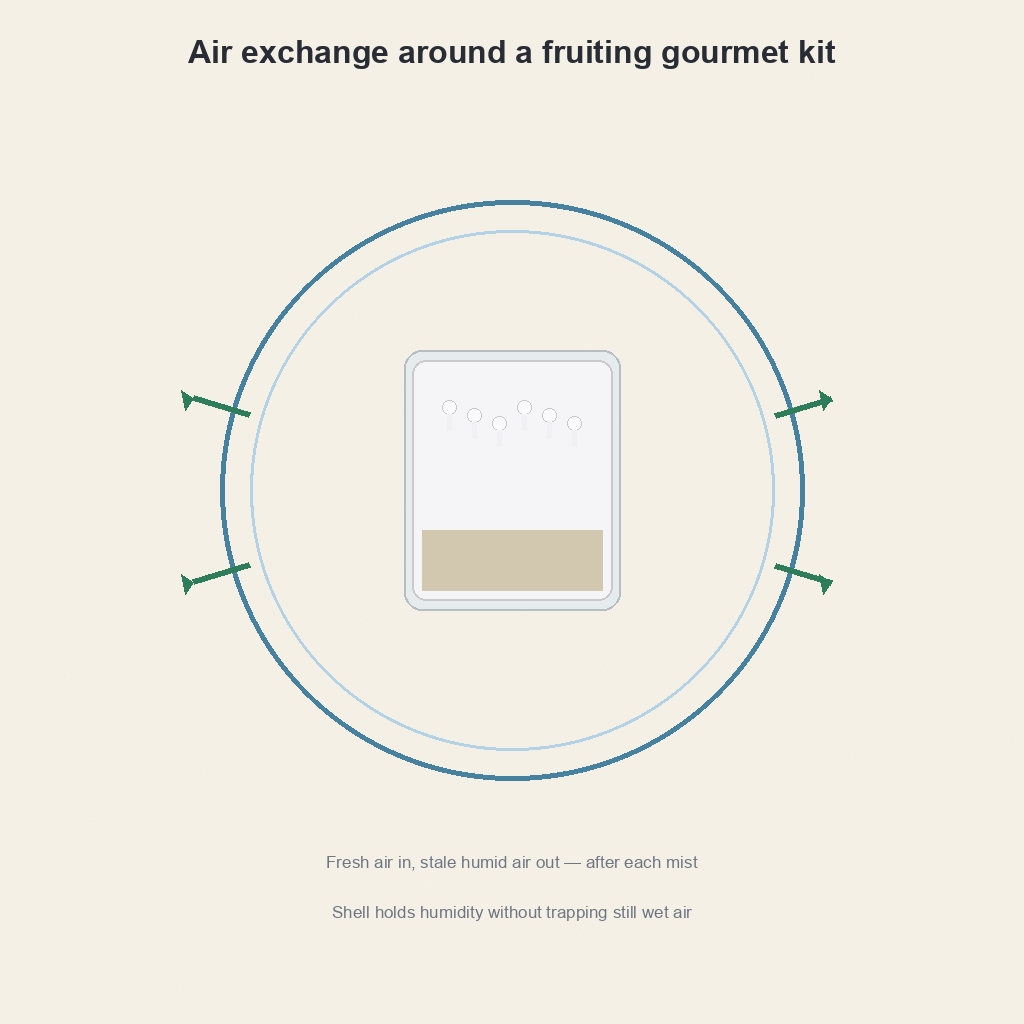
We’ve found the cheapest prevention is a calendar habit: mist for dew, open for air, harvest on time. Gear only fills gaps the habit can’t cover.
Harvest on time
Pick gourmet clusters before caps flatten and soften. Dinner quality drops fast once free water sits on soft tissue. Keep a dedicated fine mister for the next flush so you don’t fall back to the sink sprayer the day after a blotch scare.
Don’t store wet harvested mushrooms in sealed warm bags on the counter
Post-harvest handling is separate, but it’s often confused with in-grow blotch. Cool and dry the harvest promptly after cutting.
Common mistakes
- Blasting caps with a jet spray “for humidity” — creates the free water blotch loves. Fine mist exists for a reason.
- Leaving spotted fruit on the block for days — spreads soft rot through the flush. Pull the worst clusters the same day you notice them.
- Sealed humidity tent 24/7 with zero air — wet stagnant air on gourmet fruit. Open the shell on a schedule.
- Bleaching fruit “to sanitize dinner” — not a kitchen fix; the discard path exists for a reason.
- Ignoring smell — sour or off odor upgrades the decision toward discard. Your nose is part of the decision tree.
Don’t chase more humidity gear until mist technique and harvest timing are honest. Most blotch fixes are free.
What you might need
After the decision tree. Roles, not a haul list.
Fine continuous mister
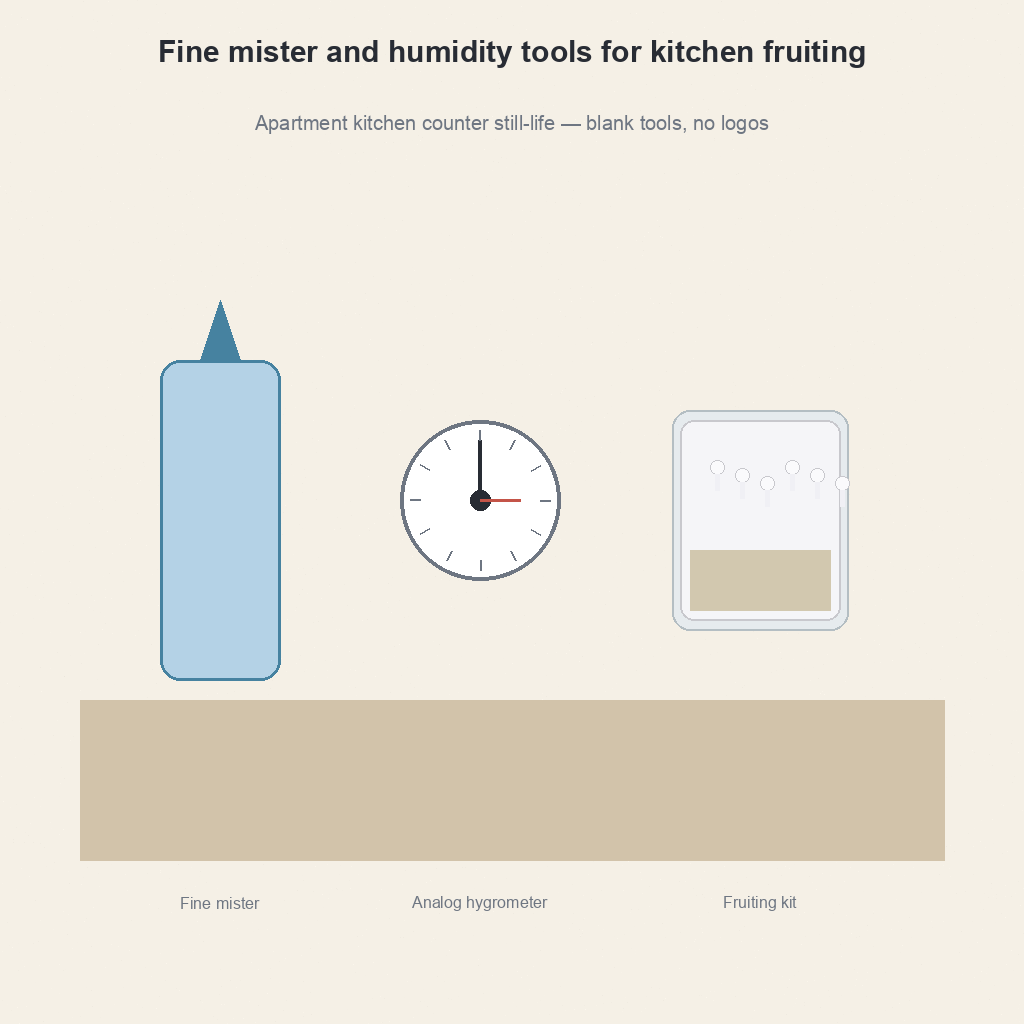
Primary tool swap for blotch-prone fruiting: SUPER+ ultra-fine mist bottles. Buy the tool after you accept that sink sprayers are part of the problem, not a free humidity solution.
Hygrometer
Separate “too dry” pinning failure from “too wet” blotch with a TempPro TP50. Numbers stop the argument between “needs more water” and “already too wet on the caps.” Place it next to the kit, not across the room by the window.
Optional tabletop humidity shell
Only if apartment air is desert-dry — and it still needs exchange: mini indoor greenhouse tent. If your room already sits humid, skip the shell and fix mist technique first. Extra plastic without air makes blotch worse.
IPA for tools
After removing bad fruit, wipe scissors and counters with MaxTite 70% isopropyl alcohol.
Fresh oyster gourmet kit
Restart after full discard with a Back to the Roots oyster kit. Open it clean, mist for dew, harvest on time.
Related
Key takeaways
- Bacterial blotch means wet yellow-brown cap spots on fruiting gourmet mushrooms during high-moisture kitchen fruiting.
- First moves: less free water on caps, more gentle air, remove the worst fruit the same day.
- Keep / isolate / discard with smell and spread as tie-breakers — not one dramatic midnight photo.
- Prevention is fine mist technique, scheduled air exchange, and harvest timing before clusters soften.
- Restart only after you change the wet-face habit that caused the last blotch round.
- Culinary edible kitchen grows only — not clinic content and not actives cultivation.
Culinary / edible kitchen growing only. FungiAtHome does not cover psychedelic or actives cultivation.